Using Master Pages
Each new Print template automatically gets one Master Page. A Master Page is a layer between the Media and the pages in Print sections. Master Pages are meant to contain headers, footers and all other elements which aren’t part of the text flow. With Master Pages you can make elements appear on multiple pages, or only on the first or last page of the section. Unlike the Media, Master pages are printed when the template is merged with a record set.
1. Adding an element to a Master Page
This exercise shows how to add an element to a Master Page.
- Open Master page 1: on the Resources pane, open the Master pages folder and double-click Master page 1. The Master Page is opened in the workspace.
-
Add a Positioned Box by clicking the Insert Positioned Box icon on the toolbar.Elements on a Master page aren’t part of the text flow, so they need to stay in place. Therefore they have to have an absolute position, or be located in another element that has an absolute position.
-
Position the box to the top right of the page, in a way that it doesn’t overlap with the letterhead. Clicking on one of the borders of the box allows you to drag it. Click on one of the small squares to resize it. Alternatively, you could type its top, left, width and height on the Attributes pane, for example:
Y-offset: 1.8in
X-offset: 5.55in
Width: 2.2in
Height: 0.8in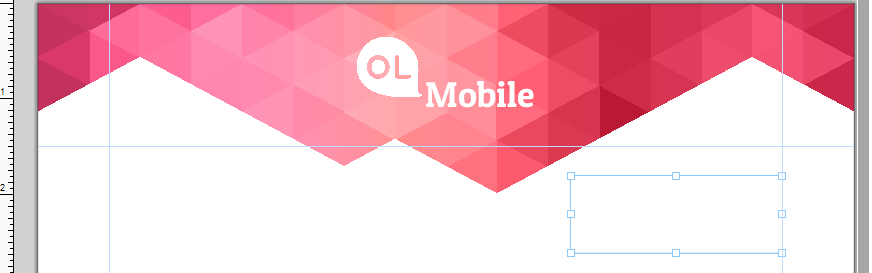
- Click inside the box and type the following text:
OL Mobile
2030 Pie-IX Blvd, Suite 500
Montreal (QC) Canada, H1V2C8
www.olmobile.com
Click Shift + Enter to insert a line break. - Reopen the Print section by double-clicking it. You will see that the address is now shown on every page of the Print section.
2. Adding and applying Master pages
The address on the Master Page appears on all pages of the section, but it only needs to be visible on the first page of the section. The solution is to add a second Master Page and to apply each Master Page to different pages, or rather ‘sheet positions’. This exercise shows how to do that.
- On the Resources pane, right-click the Master pages folder and select New Master Page.
- A small dialog will appear with a name for the new master page (Master page 2). Click OK to accept the proposed sizes and add the new Master Page.
- On the Resources pane, open the Context folder, and in the Print folder, right-click the section (Section 1) and select Sheet Configuration…
- Uncheck the option Same for all positions. In this context, a position is the position of a sheet in the output. A sheet can be the first or the last sheet in the output, or one of the sheets in between. If the output consists of one sheet, it has the ‘Single sheet’ position.
- For the front of the First Sheet and Single Sheet position, select the Master Page with the address box: use the Master Page Front drop-down to select Master page 1. (When Duplex – double-sided printing – is not enabled, you can only select a Master Page for the front.)
- For the Middle Sheet(s) and Last Sheet position, select Master page 2 as the Master Page for the front.
- Click OK to close the dialog and apply the changes.
- Toggle to Preview mode to verify that the Master pages are displayed correctly.