Deploy OL Connect resources
OL Connect resources are files created with OL Connect’s Designer or DataMapper. In order to use them in OL Connect Automate nodes, they need to be deployed to the OL Connect Server first. This tutorial shows how this is done using the Designer, and provides a recipe to automate this from within your project.
Before starting, ensure you’re familiar with the essential concepts of OL Connect Automate and Node-RED, including editor features and flow design. See Documentation, Training, and Support for links to getting started topics and information about using samples and tutorials. Nodes shown in flow example images may display their entered names, set in the node Properties panel, instead of their default names.
Deployed resources are stored in the OL Connect File Store. Nodes can reference these resources either by their name or by the internal database ID (also known as the managed file ID). Using the resource name is the simplest approach, as it ensures the nodes always access the latest available version. This way, when a resource is updated or redeployed, the nodes automatically use the new version.
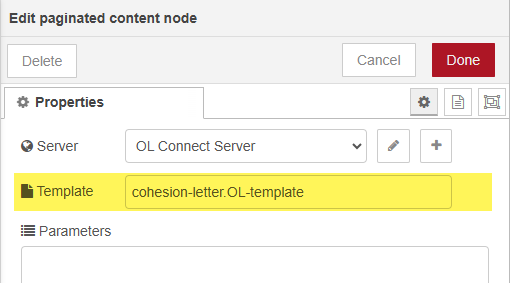
The following image shows the Properties of the paginated content node, referring to a template by its name.
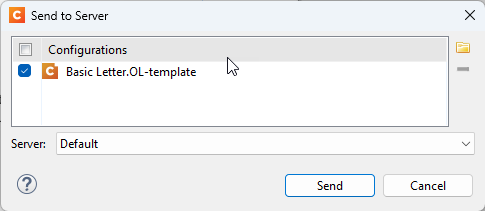
Send to Server
Resources can be deployed to the OL Connect Server directly from OL Connect Designer using the Send to Server option. This sends the resources to the server’s File Store, making them active immediately after upload. This is helpful when developing an OL Connect Automate project, especially when you want to review and test changes quickly.
To upload a resource to the OL Connect Server:
-
Open or create a template, data mapper configuration, or preset in OL Connect Designer.
-
Select File → Send to Server. The Send to Server dialog appears.
-
Click Send to deploy the resource to the selected OL Connect Server.
By default, resources are sent to the server on the local machine. Additional server connections can be configured in the Preferences dialog of OL Connect Designer.
Automated deployment
Uploading resources with OL Connect Designer works well when developing a local project, but it becomes cumbersome when deploying or relocating it on a different machine (for example, when moving from development to test or production in a DTAP environment). Let’s take a look at how to automate resource deployment using a Startup flow.

Trigger the flow at Startup
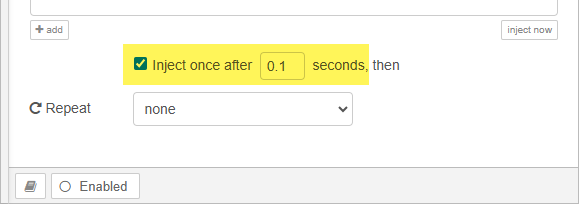
The flow starts with the inject node. This node can be used to trigger the flow, and can be configured to inject once each time the flow starts.
Iterate resources
The folder listing node retrieves a list of OL Connect resources from a specified project folder or workspace location. The folder path can be hardcoded, but it is recommended to use a Global Environment Variable for flexibility. The node outputs an array (list) of file paths in msg.payload, which can be iterated over by connecting a split node.
The image below shows the folder listing node configuration. The folder location is set using a Global Environment Variable called ENV_WORKSPACE, and the File masks field is configured to filter and retrieve only OL Connect-related resource files.

For more information on using Global Environment Variables, see the blog article Sample data tactics for Folder Capture in OL Connect Automate.
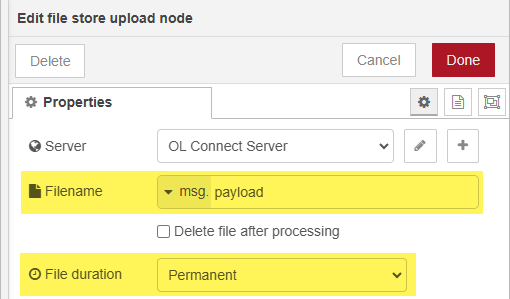
Upload files
The folder listing node stores the array of file paths in msg.payload. The split node iterates over this list by creating a sequence of messages, each containing a file path in msg.payload.
The file store upload node uploads files to the OL Connect File Store. In this example, the node is configured to read the file path from msg.payload. The File Duration option is set to Permanent, ensuring the file remains in the File Store. Files marked as permanent will not be removed automatically by OL Connect’s Clean-Up Service. When uploading a file with the same name, it replaces the previous version, ensuring OL Connect nodes always use the latest version.
Final steps
You can finish the flow with a debug node or a join node. A join node is useful if you plan to add follow-up tasks for this flow.
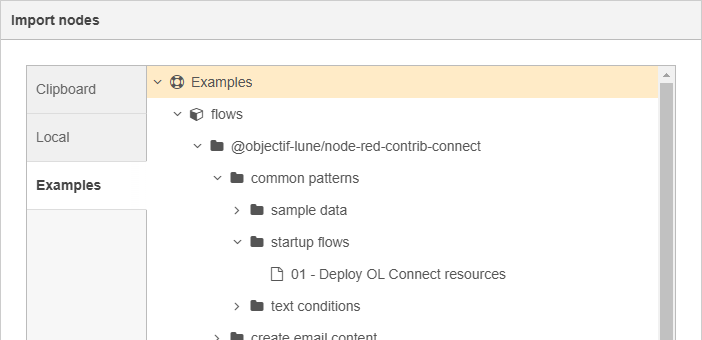
This flow is available in the examples included with the @objectif-lune/node-red-contrib-connect package. To access it, go to the upper left menu, and select Import → Examples. Navigate to common patterns → startup flows under @objectif-lune/node-red-contrib-connect.