Working with style sheets
You’ve learned how to navigate the content and how to apply formatting to selected text. The Outline pane revealed two subheadings that inherited the Heading 2 style from Microsoft Word. Both the Outline pane and the breadcrumbs show the underlying HTML element. These Heading 2 subheadings are identified by the <h2> element.
To change these headings into something else (a paragraph, or a heading of another level) you can use the Formatting toolbar (see the picture) or the menu: Format > Paragraph Format.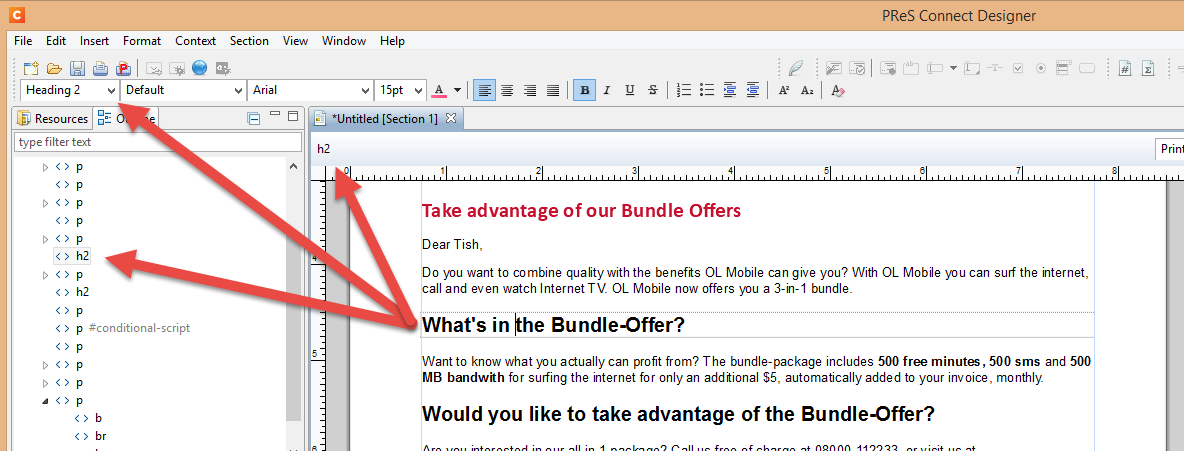
In order to change the way a heading or paragraph looks, you could select its text and use the toolbar buttons or open the Formatting dialog: choose Format > Text… This is called local formatting.
However, instead of formatting elements locally, it is recommended to use Cascading Style Sheets (CSS).
You can add a style rule to a style sheet to format several elements at the same time. This may save you a lot of time. Style rules ensure that formatting is applied consistently.
In OL Connect Designer, style rules can be made using the Stylesheets dialog.
1. Creating a style rule
In this exercise you will learn how to change the formatting of the level 2 headings with CSS, via the Stylesheets dialog.
- Choose Edit > Stylesheets…, to make the Stylesheets dialog appear.
-
The selected context is Global. Style rules created in this context will apply to all context types. Use the drop-down to select the Print context. Style rules created for a specific context (in this case, the Print context) will only be applied to sections in that context.
- Click the green Plus icon to create a new style rule.
-
Enter h2 in the Selector field. The selector defines to which elements in the document the rule applies. By stating h2 the rule applies to all level 2 subheadings.
The Selector field in the New Rule dialog accepts any standard CSS selector:
- an HTML tag (for example, type p to select all paragraphs)
- a class (for example: .burgundy)
- an ID (for example: #intro)
- a combination of CSS selectors (for example: div#intro p.burgundy selects all paragraphs with the class burgundy in a <div> that has the ID intro); see CSS Selectors on MDN.
Note: In an HTML file, each ID should be unique. This means that a particular ID should be used only once in each section. A class can be added to multiple elements, even if those elements are of different types.
- Make the following changes to the style properties on the Type tab:
- Font size: 12pt
- Color: Click the Color Picker icon next to the Color field and enter the following values (or use the eyedropper tool to pick the color of the subject line in the letter):
CMYK: Cyan 0, Magenta 92, Yellow, 77, Black 22
- Click OK to close the Color Picker dialog and go to the Spacing tab.
- Make the following settings in the Margin section:
- All sides: uncheck
- Margin bottom: 3pt
- Click OK to create the style rule.
Note that the lower part of the Stylesheets dialog shows the style declarations for the selector in the upper part of the dialog.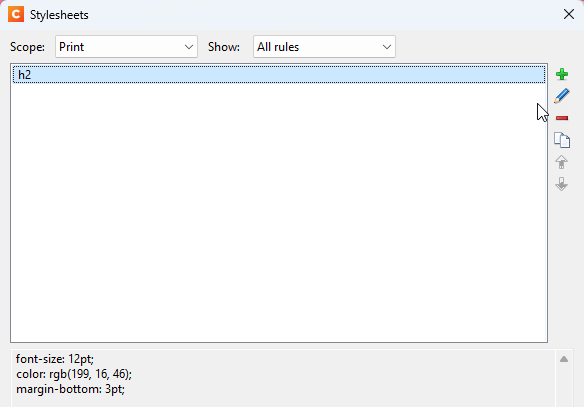
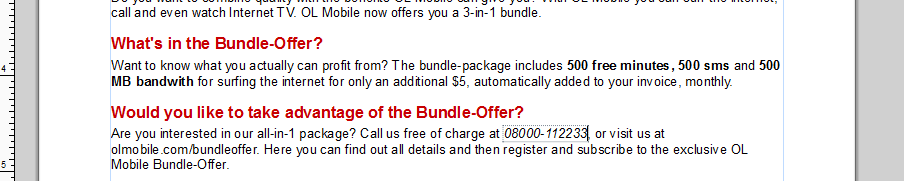
- Click Save to store the rule with the template. The properties should now be applied to the subheadings....
-
... but they are not.
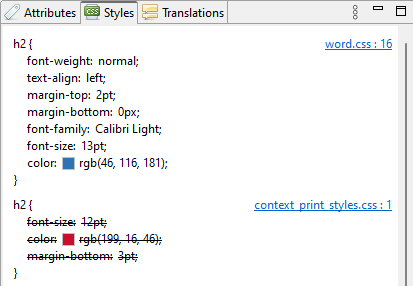
Let's take a look at the Styles pane, at the right, to see what happened. Place the cursor in one of the headings and click the Styles pane at the top right.
Note: The Styles pane also shows a link to where the style rule is located, e.g. context_print_styles.css. You could click the link to open the CSS file in the workspace and edit it directly.
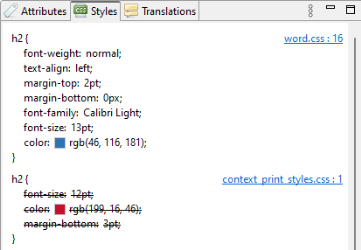
As you can see, the style rules we just created got replaced with the style rules that were imported with the Word document.
-
So let's remove those imported style rules.
-
- Choose Edit > Stylesheets….
- In the Stylesheets dialog, use the drop-down to select the Word context.
- Click h2, then click the Delete icon.
-
- Close the Stylesheets dialog. In Preview mode, the level 2 headings now look the way we want them to look.
2. Editing a style sheet
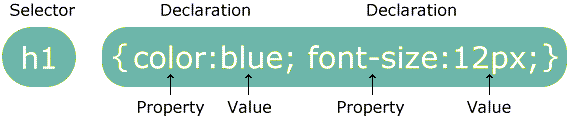
As you’ve seen in the Stylesheets dialog, a rule consists of a selector and a set of declarations.
The selector points to the HTML element you want to style.
The style-set contains one or more declarations, each ending with a semicolon. A declaration includes a property name and a value, separated by a colon.
In this exercise you will change a CSS file directly, instead of via the Stylesheets dialog. As you gain more knowledge of CSS, this option will become increasingly convenient.
This letter is designed to fit on one page. But in a longer letter, the signature image and the name of the representative might sometimes end up on different pages. These elements should stick together. This can be arranged using the CSS page-break-after property.
- Select the paragraph that contains the name and title of the representative: place the cursor in the paragraph and then click on p in the breadcrumbs.
- Give the paragraph an ID: on the Attributes pane, type rep in the ID field. This ID will be used as the selector of the style rule.
- On the Resources pane, expand the Stylesheets folder and double-click context_print_styles.css. The file opens in the workspace. As you can see, it already contains the selectors and style rules that were added via the Stylesheets dialog.
- Add the following style rule:
#rep {
	page-break-before: avoid;
}
Tip: Type Ctrl + Space to get suggestions. As you start typing, the list of suggestions will get shorter. Use the arrow keys to select a suggestion and press Enter to insert it in the style sheet.
- Save the file: press Ctrl + S.