Implement a Trigger under Novell 3.x
Unless otherwise indicated, always press ENTER at the end of a command. Note that you can exit any window or command area at any time by pressing ESCAPE.
To install a trigger:
-
Log on to the server, and enter Supervisor and printdef.
-
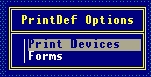
In the PrintDef Options dialog box, select Print Devices.
-
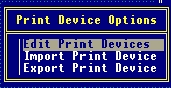
In the Print Device Options dialog box, select Edit Print Devices.
-
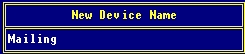
Press INSERT.
-
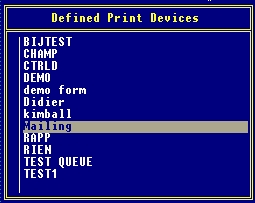
In the New Device Name dialog box, enter the name of the document you want to execute. For this example, enter Mailing.
-
In the Defined Print Devices dialog box, select Mailing and press ENTER.
-
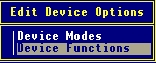
In the Edit Device Options dialog box, select Device Functions.
-
Press INSERT.
-
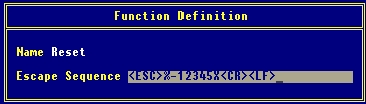
In the Function Definition dialog box, enter the following information:
-
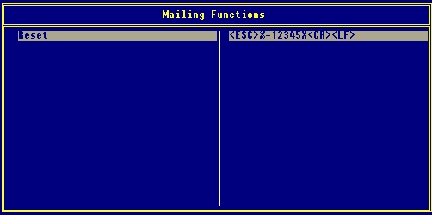
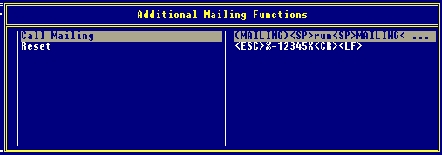
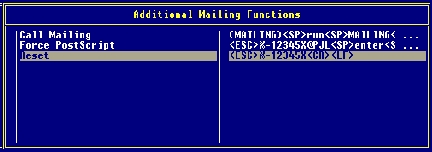
In the Name field, enter Reset
-
In the Escape Sequence field, enter the following sequence: <ESC>%-12345X<CR><LF>
-
-
Press ESCAPE. In the Save Changes dialog box, select Yes and press ENTER to save the changes.
-
In the Mailing Functions dialog box, press INSERT.
-
In the Function Definition dialog box, enter the following information:
-
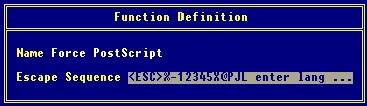
In the Name field, enter Force PostScript
-
In the Escape Sequence field, enter the following sequence: <ESC>%-12345X@PJL enter language = PostScript <CR><LF>
-
-
Press ESCAPE. In the Save Changes dialog box, select Yes and press ENTER to save the changes.

-
In the Function Definition dialog box, enter the following information:
-
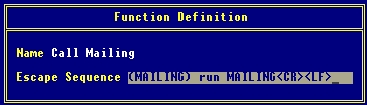
In the Name field, enter Call Mailing
-
In the Escape Sequence field, enter the following sequence: (MAILING) run MAILING<CR><LF>
-
-
Press ESCAPE. In the Save Changes dialog box, select Yes and press ENTER to save the changes.
-
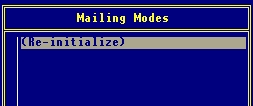
Press ESCAPE again. In the Edit Device Options dialog box, select Device Modes.

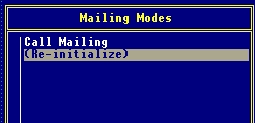
The Mailing Modes dialog box appears.
-
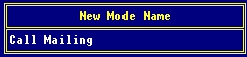
In the New Mode Name dialog box, press INSERT and enter Call Mailing.
-
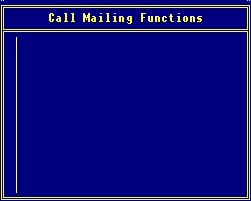
In the Call Mailing Functions dialog box, press INSERT.
-
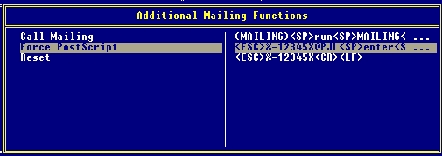
In the Additional Mailing Functions dialog box, select Force PostScript and press ENTER.
-
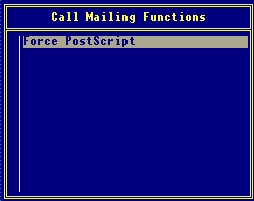
The Call Mailing Functions dialog box should display Force PostScript.
-
Press INSERT.
-
In the Additional Mailing Functions dialog box, select Call Mailing.
-
Press ENTER.
-
Press ESCAPE to return to the Mailing Modes dialog box.
-
In the Mailing Modes dialog box, select (Re-initialize).
-
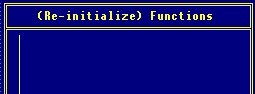
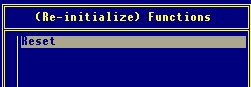
In the (Re-initialize) Functions dialog box, press INSERT.
-
In the Additional Mailing Functions dialog box, select Reset and press ENTER.
-
The (Re-initialize) Functions dialog box displays Reset.
-
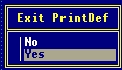
In the Exit PrintDef dialog box, select Yes to save the changes.
-
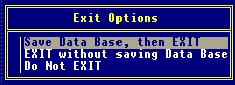
In the Exit Options dialog box, select Save Data Base, then EXIT.
-
Press ESCAPE several times to exit Printdef.
-
In DosPrompt, enter Printcon.
-
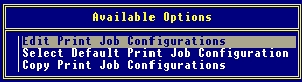
In the Available Options dialog box, select Edit Print Job Configurations.
-
Press INSERT.
-
In the Enter new name field, enter Mailing.

-
Press ENTER.
-
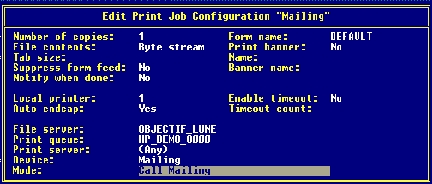
In the Edit Print Job Configuration "Mailing" dialog box, adjust only the following settings. Leave all others untouched.
Options : SettingsPrint Queue : Printer where the intelligent document residesDevice : MailingMode : Call MailingPrint Banner: No
-
Press ESCAPE and save the changes.
To test the trigger installation:
-
In DosPrompt, enter pconsole to access pconsole.
-
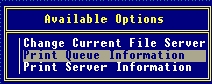
In the Available Options dialog box, select Print Queue Information and press INSERT.

-
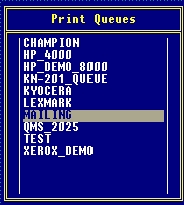
In the New Print Queue Name field, enter MAILING.

-
In the Print Queues dialog box, select Mailing and press ENTER.

-
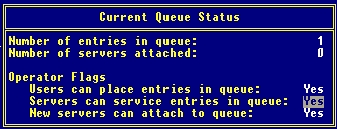
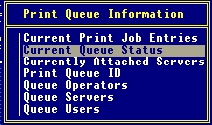
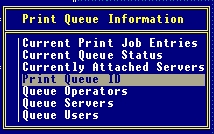
In the Print Queue Information dialog box, select Current Queue Status.
-
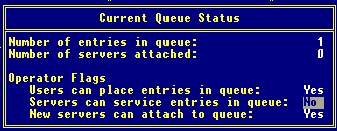
In the Current Queue Status dialog box, select No for the Servers can service entries in queue option.
-
Press ESCAPE several times to exit pconsole.
-
In the DOS prompt, enter the following line:
/l=2 represents the LPT port to which the printer is connected. In this example, it is LPT2.
-
Return to pconsole.
-
In the Available Options dialog box, select Print Queue Information.
-
In the Print Queues dialog box, select Mailing.
-
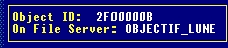
In the Print Queue Information dialog box, select Print Queue ID. The following dialog box appears.
-
Make a note of the Object ID.
-
Press ESCAPE several times to exit pconsole.
-
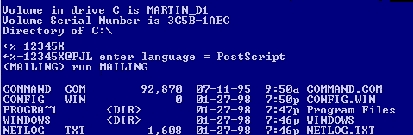
In DOS, enter the following to create a sample spool file:
c:\>dir>lpt2
| 16. | In the drive on which the Sys Volume is mounted, enter the following lines: |
Y:\>cd system
Y:\SYSTEM>dir *.qdr
A list of all printer queues, including the one you just created, appears. The new printer queue has the same name as the Object ID noted earlier.
| 17. | Enter the following: |
Y:\SYSTEM>cd 2F00000B.qdr
Y:\SYSTEM>2F00000B>dir
The following appears.

| 18. | Using the information located in the directory, enter the last line. In this case: |
Y:\SYSTEM\2F00000B.QDR>type oo2f0001.q :more
| 19. | If no error occurs, the trigger and printer queue test is successful. The trigger appears at the start of the file. |
| 20. | In the pconsole > Print Queue Information > Current Queue Status dialog box, change Servers can service entries in queue to Yes. |