Combine and attach areas
The Configuration Components pane, the Object Inspector, and the Messages area can be attached or combined to one another and share the same space. However they are displayed, you can always drag, dock, or undock any area as desired. You can also switch among areas when they are combined, as well as maximize or minimize areas when they are attached. For more information, refer to Customizing the Workspace.
The following procedures will show a number of things you can do to change the way information is displayed by PlanetPress Workflow Configuration program.
Combining areas
Click either a title bar (separate or attached areas) or a tab (combined areas) displaying the name of the Configuration Components pane, the Object Inspector or the Messages area and move the mouse pointer. As you drag, a rectangle is displayed to show the landing position. Drag the rectangle directly over another area and release the mouse button when the shape of a tab appears at the bottom of the rectangle.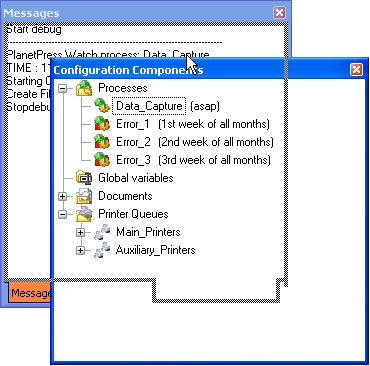
Switching between combined areas
At the bottom of the combined area, click the tab of the area you want to bring to the top. If all the tabs are not displayed, use the left and right arrows to navigate between them.

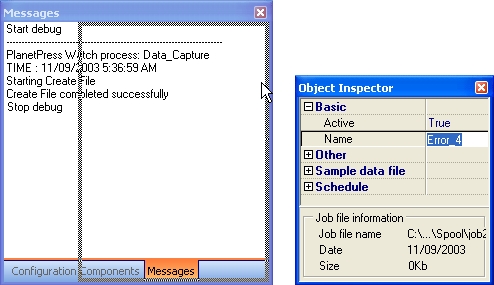
Image: The left and right arrows let you show hidden tabs.
Reordering tabs in a combined area
At the bottom of the combined area, click the tab of the area you want to move, drag it to the left or right and drop it at the desired position.

Image: Dragging a combined area to new position.
Taking an area out of a combined area
To take an area out of a combined area, do one of the following:
- Click the tab displaying the name of the area you want to take out and move the mouse pointer so as to drag the area away from the combined area. As you drag, a rectangle is displayed to show the landing position. Release the mouse button when the rectangle is away from the combined area.
- Double-click the tab of the area you want to take out of the combined area. The area will jump outside of the combined area.
Attaching areas
Note: You can attach an area to a group of combined areas, as well as change combined areas into attached areas. When attaching previously combined areas, you may find it easier to do it in two steps: begin by taking the area out of the combined area and then try attaching it.
To attach areas:
- Click either a title bar (separate areas) or a tab (combined areas) displaying the name of the Configuration Components pane, the Object Inspector or the Messages area and move the mouse pointer. As you drag, a rectangle is displayed to show the landing position.
- Drag around to the edges of another area and release the mouse button when the rectangle appears to the left or right, or above or below the other area. The rectangle should not display a tab at its bottom, otherwise the areas will not be attached but rather combined.
- Resize each part of the new group as desired.

Image: Attaching an area to a group of combined areas. The rectangle showing the landing position is not tabbed and the area will therefore be moved next to the combined area.
Maximize or restore attached areas
To maximize or restore attached areas, do one of the following.
- To maximize a vertically attached area, click the upward pointing arrow on its title bar.
- To restore a vertically attached area, click the downward pointing arrow on its title bar.
- To maximize a horizontally attached area, click the left pointing arrow on its title bar.
- To restore a horizontally attached area, click the right pointing arrow on its title bar.
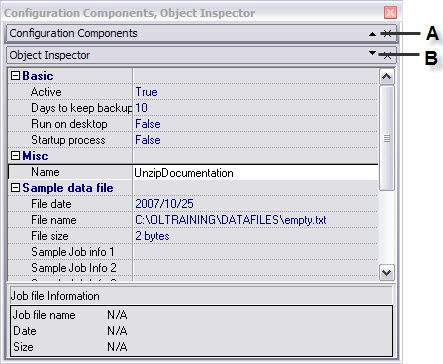
Image:
A) Click to maximize this area.
B) Click to restore this currently maximized area.
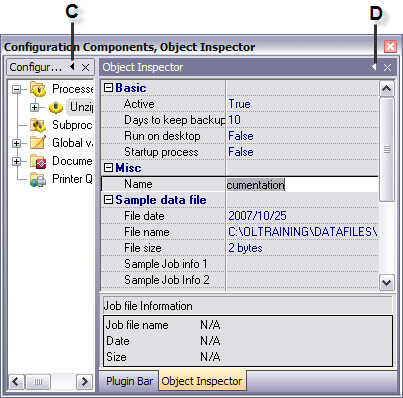
Image:
C) Click to maximize this area.
D) Click to restore this currently maximized area.
Taking an attached area out of a group
To take an attached area out of a group, do one of the following:
- Click the title bar displaying the name of the attached area you want to take out and move the mouse pointer so as to drag the area away from the group. As you drag, a rectangle is displayed to show the landing position. Release the mouse button when the rectangle is away from the group.
- Double-click the title bar of the area you want to take out. The area will jump outside of the group.