Creating the Job Preset: grouping
A Job Creation Preset contains a set of rules to group, order and sort print content items.
The Job Preset that we need will group items by their number of pages (1 to 2, or above), so that the actual output can be split into two files: one file (or one job, if the output task would actually output to a printer or printer queue) containing documents that have one or two pages, and one with larger documents.
- Launch Connect Designer by double-clicking the application icon.
- Choose File > Print Presets > Job Creation Settings… The Job Creation dialog appears.
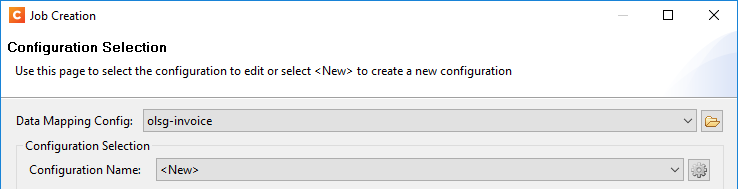
- Click on the Browse button to the right of the Data Mapping Config drop-down list and select the data mapping configuration for XML provided with this tutorial: OLSG-invoice.OL-Datamapper, or the data mapping configuration that you have created with the DataMapper walkthrough ‘Creating an XML Data Mapping Configuration’. Without a data mapping configuration it isn’t possible to select a data field in the criteria for grouping.
- Check Use grouping in the Options section and click Next. The Grouping Options dialog opens with the Job Grouping Fields tab selected by default. The tabs are supplementary to one another, so you could group documents in document sets, job segments and jobs. The lower part of this dialog is reserved for page break grouping options.
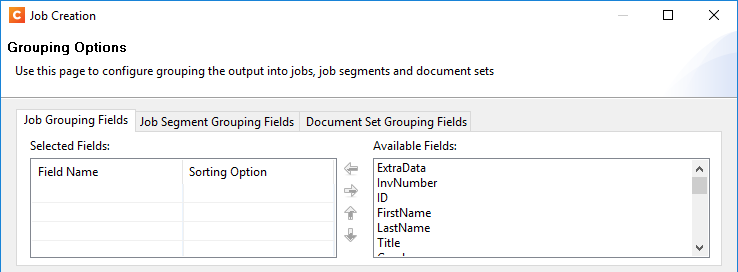
- In this exercise we’re only grouping the documents by their number of pages: size grouping.
Note: Page break grouping can also be used in addition to ‘normal’ grouping. It can take place before or after the grouping on the chosen level.
- Size grouping can only be done on one level. Select Job Segment from the Grouping Level drop-down list.
- Select Page count from the Group by: drop-down.
- Click the Add button to add a size range.
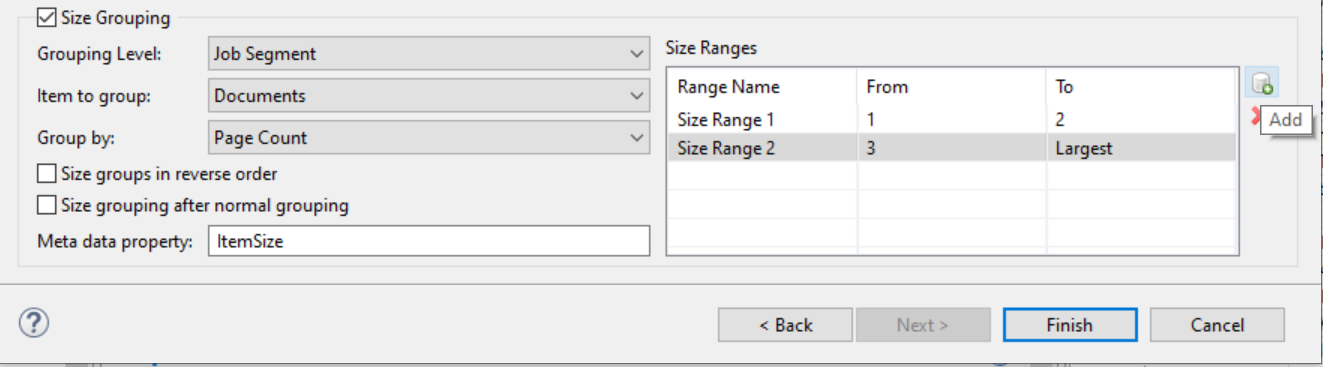
- Change Size Range 1 so that it contains all documents from 1 to 2 pages: click in the To field and type 2.
Size range 2 is automatically adjusted to contain all documents larger than two pages. - Click Finish. The Save file window opens.
- In the Name field type the name for your job file configuration: Group-by-pages, and click Save. Your job file configuration is saved with the name Group-by-pages.OL-jobpreset. A Job Preset's default location is C:\Users\<username>\Connect\workspace\configurations\JobCreationConfig.