Move or Copy Work
Work items can be moved around the Work Tree at any time. There are two ways to change a work item's location in the Work Tree:
Tip: You can also move multiple work items in the Work Tree at once by reordering the Work Tree.
Moving a Work Item in the Work Tree
From the Summary page, PowerSteering users can choose a new location for a work item (and all of its descendant work) in the Work Tree by editing the "Parent" field.
To move a work item in the Work Tree:
Before You Start: PowerSteering users will require the "Move" Project Task permission to edit the "Parent" field of a Work Item.
-
Navigate to a work item.
-
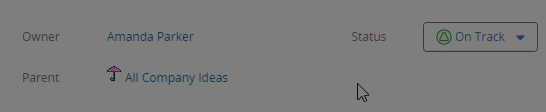
Click on the Pencil icon
 while hovering over the "Parent" field:
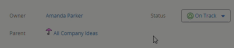
Click image to play.
-
Select a new location for the work item using the "Location in Work Tree" window:

-
Click the OK button.
After clicking OK, the work item and its descendant work will be moved to the new location in the Work Tree.
Copying a Work Item
PowerSteering users can replicate already existing work items and publish them somewhere else in the Work Tree. When this occurs, team members, Tags, Custom Fields, descendant work, and documents will be copied over to the new work item. Status reports, Issues, Risks, Action Items, Metrics, Cost, and History will not be copied.
Note: Ownership of the work item is initially assigned to the PowerSteering user who performs the Copy. Permissions are initially copied from the original. If permissions are inherited and the new work item has a different parent than the original, access to the work item might change accordingly.
To copy a work item:
Before You Start: PowerSteering users will require the "Move" Project Task permission to edit the "Parent" field of a Work Item.
-
Navigate to a work item.
-
Select Project
 → More → Copy from the Navigation Menu.
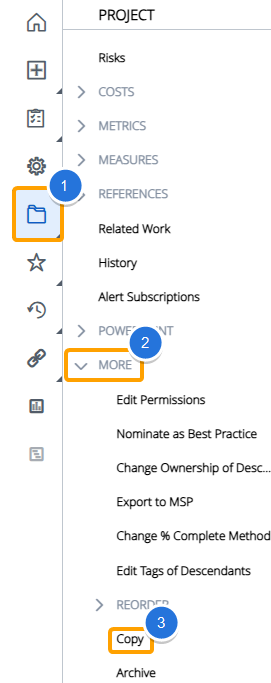
-
Select the Copy button from the window that appears.

-
Finish the creation process for the new work item.
Note: This will be the same as creating new work in PowerSteering. Certain fields (Custom Fields, Tags, Team Members) will already be populated if they contain values on the original work item.
-
Click the Finish & Create button.
After clicking Finish & Create, your newly-created work item will be published.