Copy Data From One Metric View to Another
If a Metric contains multiple views (the tabs above the Metric grid), PowerSteering users can quickly copy data from one view to another.

The "Copy Data" table can be used to transfer Metric data between views, either in full or by selecting specific data to copy.
Note: Although locked Metric values can be copied, they cannot be changed. This means that any locked values from the view chosen from the "Copy From" menu can still appear on your current view. However, any locked cells on your current view will not be affected by the Metric copy.
Example: Imagine you have a Metric with a view called "Initial Estimate" and a view called "Approved Budget." Once the "Initial Estimate" values get approved by a manager, they are to be entered into the "Approved Budget" view. If the "Approved Budget" numbers end up being the exact same as the original "Initial Estimate" numbers, the "Copy From" feature will save you time from having to tediously enter the approved values into the new view. Even if the manager would like some changes, it will be much easier to copy all of the values from the "Initial Estimate" view and then make those changes on the "Approved Budget" view.
Tip: Tag values can also be copied from one Metric line item to another Metric line item on the same view. For more information, see Step 4 from how to enter Tag/Custom Field data into a Metric.
Note: Metric is a replaceable term in PowerSteering. Your organization may use a different label to represent metrics on your site.
To copy data from one Metric view to another:
Before You Start: Users can only copy Metric data that they have permission to edit. They require the "Update Metric Numbers" Project Task permission on the work item to copy numeric data, the "Update Metric Custom Fields" Project Task permission to copy Custom Field data, and the "Update Metric Tags" Project Task permission to copy Tag data.
-
Navigate to a work item.
-
Select Project
 → Metrics → the desired Metric from the Navigation Menu.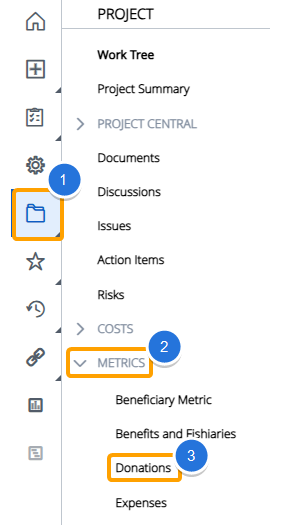
-
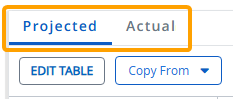
Select the Metric view that you would like to copy data onto.
-
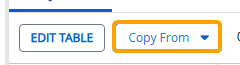
Select Copy From.
-
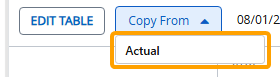
Select the Metric view that you would like to copy data from.
-
Configure the "Copy Data" fields to determine which data will be copied from the selected view to the current view.
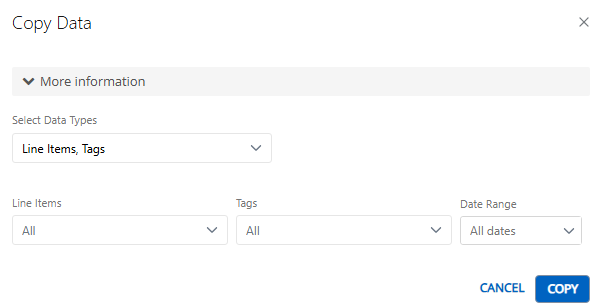
Note: Although locked Metric values can be copied, they cannot be changed. This means that any locked values from the view chosen from the "Copy From" menu can still appear on your current view. However, any locked cells on your current view will not be affected by the Metric copy.
-
Select Data Types: Select which types of data will be copied over: line item data (numeric data), Custom Field data, and/or Tag data.
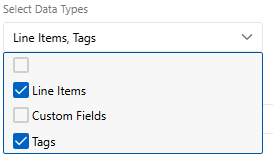
-
Line items: Select which line items will be copied over. Only data from the selected line items will be copied.
-
Custom Fields / Tags: Select which of the Custom Fields and/or Tags will be copied over. Only data from the selected Custom Fields and/or Tags will be copied.
-
Data Range: Select a date range for the numeric data that is to be copied. Only data that falls within the date range will be included.
Note: This option will only appear if Line Items is selected from "Select Data Types".
-
-
Select the Copy button.
Note: Upon selecting Copy, you may be prompted to enter a comment on the Metric. See Add Comments to a Metric for more information.
Once your copy is complete, the selected data will be displayed on the Metric view.