Adding Files to Microsoft Teams Space
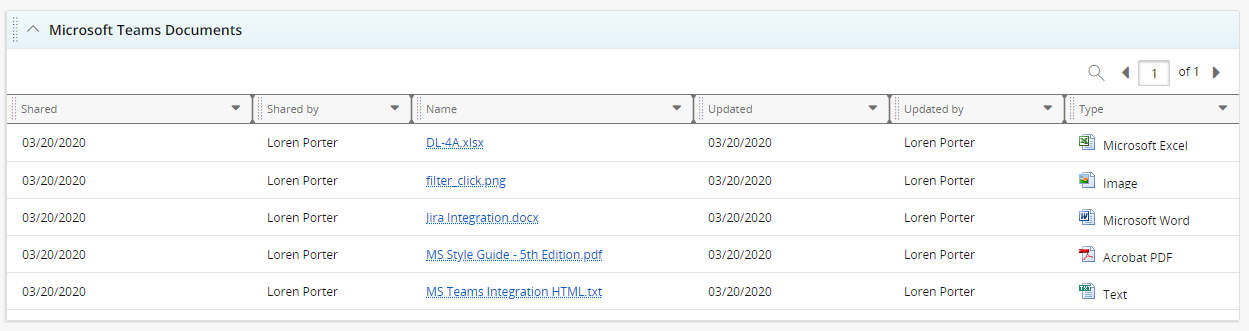
After a Team Space has been created for a Project, Team Members can add files to the Team Space that will appear in the "Microsoft Teams Documents" module on the Project Summary page in PowerSteering. Any documents added to the "General" channel will automatically appear in the module once the Summary page is refreshed. Similarly, files that are removed from the "General" channel will also be removed from the module.
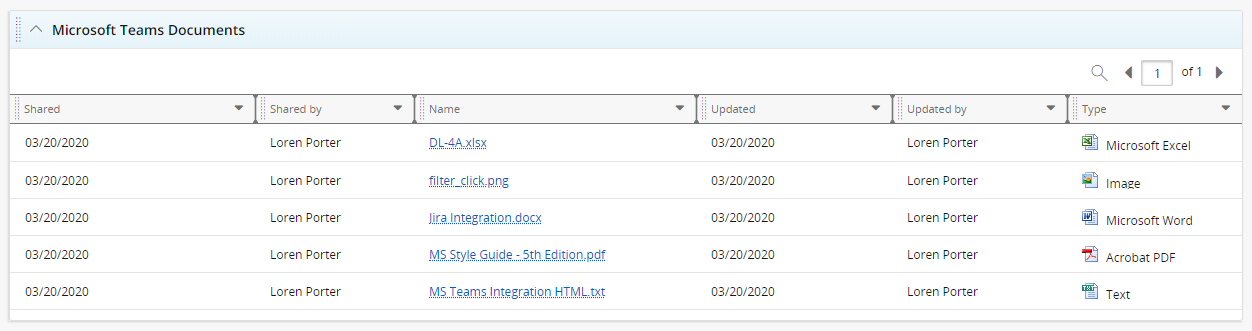
From here, files can be opened up in an external browser tab or downloaded directly onto your device.
Note: Only documents stored in the "General" channel in Microsoft Teams will be added to the "Microsoft Teams Documents" module. If another channel is added, none of the files uploaded to it will be accessible in PowerSteering.
Note: Documents deleted from the "General" channel in Microsoft Teams will also be removed from the "Microsoft Teams Documents" module whenever
Note: None of the documents in the "Microsoft Teams Module" are reportable. For example, if a document count for a report is run in PowerSteering, these documents will not be counted.
To add files to a Team Space:
-
Navigate to the Project.
-
Click the Go to Team Space button in the top-right corner of the Project Summary page:

-
Click Files from the "General" channel.
-
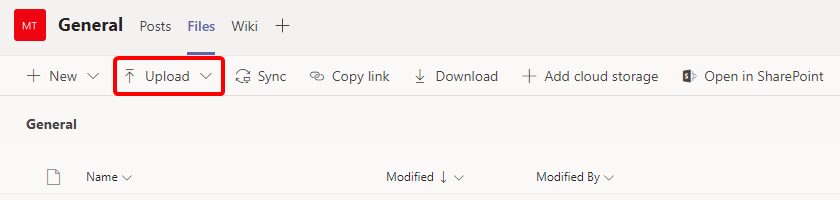
Click Upload from the toolbar:
-
Click "Files" to add files to the Team Space
OR
Click "Folders" to add all the files from specified folders to the Team Space.
Note: If an entire folder is added, all of its files will appear listed in the "Microsoft Teams Documents" module. The folder itself will not appear.
-
Use your computer's "Open" window to select the files you wish to upload.
-
Click Open.
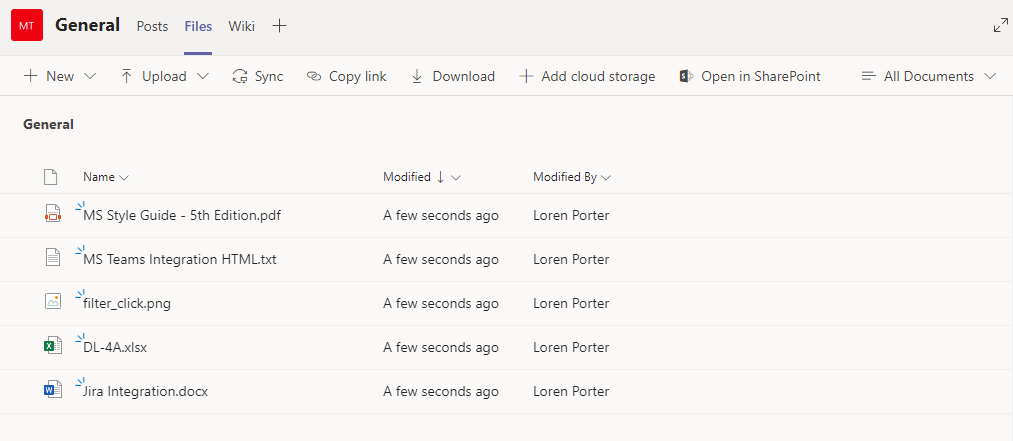
At this point, you should have one or more files in the "General" channel of your Team Space:
These same files will also be accessible from the "Microsoft Teams Documents" module on the Project Summary page in PowerSteering: