Approving / Rejecting Leave Request(s)
This article how to approve a Leave Request Entry.
- Access the Leave Request Manager page:
- Within the My Assigned Items web part of the Home Page: Click the Leave Request link
- From the Navigation Menu: Click Entries then select Leave Request Manager in the Navigation Menu.
- Click Assigned Requests to access Leave Requests you must act on.
- My Requests tab: Submitters' own Leave Request in its various states are displayed in My Requests tab.
Assigned Requests tab: Leave Requests the logged-in user must act on are displayed in the Assigned Requests tab.
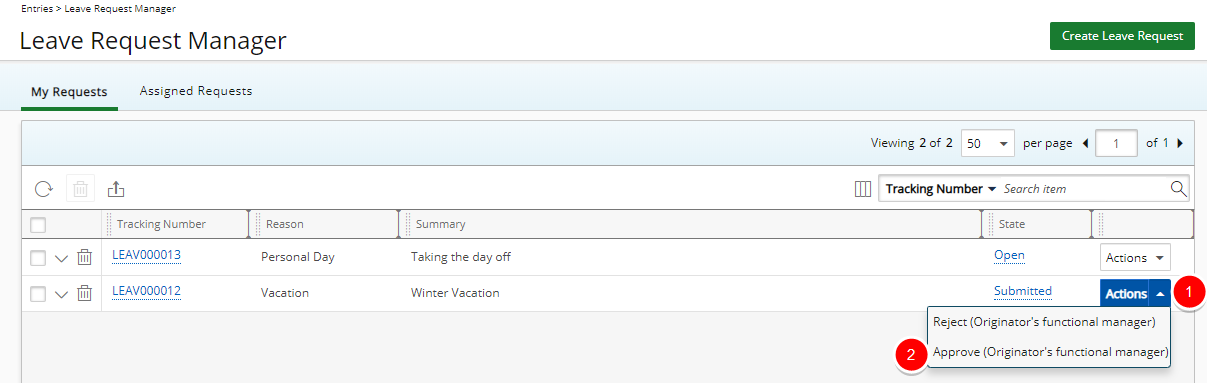
- Click Actions to open the Actions context menu.
- Select the appropriate Action.Approve or Reject.
The options available to you will vary depending on how the Leave Request Workflow has been setup.
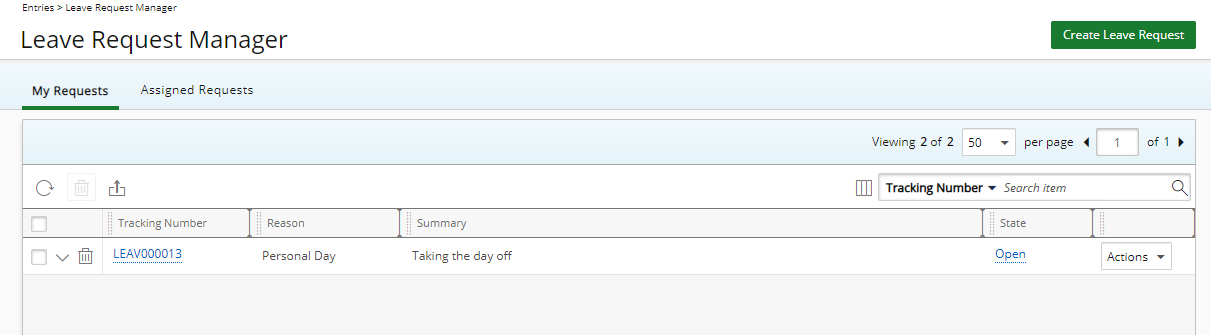
- Upon actioning on a Leave Request, the Leave Request Manager page will refresh and you will see the remaining Leave Requests in your List.
Note: No Time Entries can be created, updated or deleted when a Timesheet Period is closed. Subsequently, when the Create Time Entries on Approval option is checked for the Approve Transition for the Leave Request Workflow, upon trying to approve a submitted Leave Request, an error message is displayed informing you that Time Entries cannot be created, updated or deleted because the Timesheet Period is closed. Likewise, if for a reason, you decide to Reject an already approved Leave Request for which Time Entries were created in a User’s Timesheet and the Period was subsequently closed, an error message is displayed informing you that Time Entries cannot be created, updated or deleted because the Timesheet Period is closed. Provided that the Delete Time Entries on Rejection option is selected for the Reopen Transition in the Leave Request Workflow.
- The Leave Request you actioned on will move along to the next state within the predefined Leave Request Workflow and will be assigned accordingly.