Data Entry Screen component (created documents)
On the Data Entry Screen component, you can enter data or pull in Customer Relationship Manager (CRM) data to replace merge codes in your document or presentation. The Data Entry Screen can also be used to further identify a document as, for example, "sender information" that is not included in the build of a document but resides to identify who is providing the document to a customer.
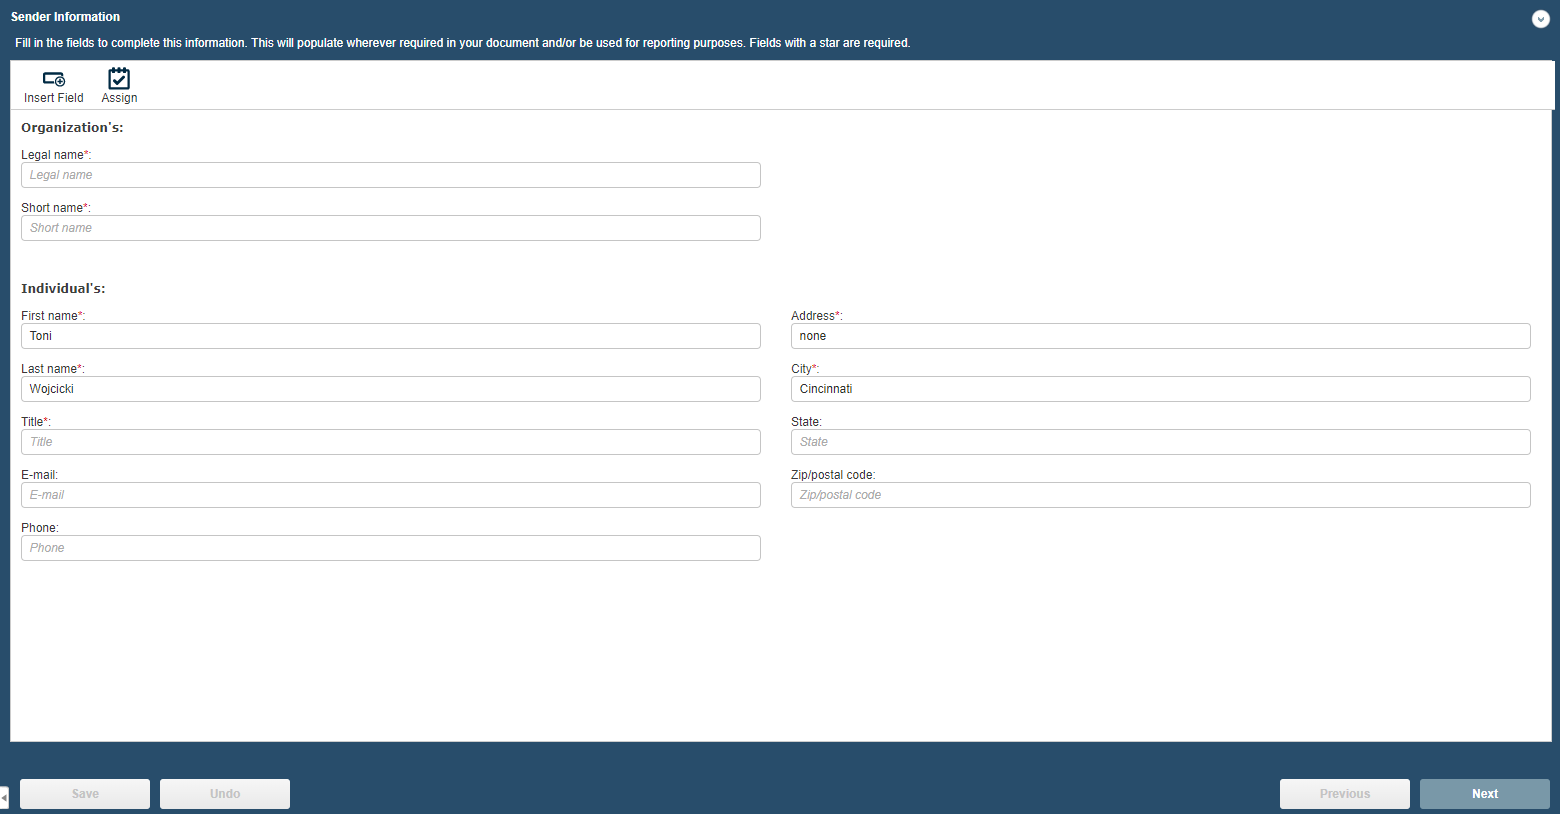
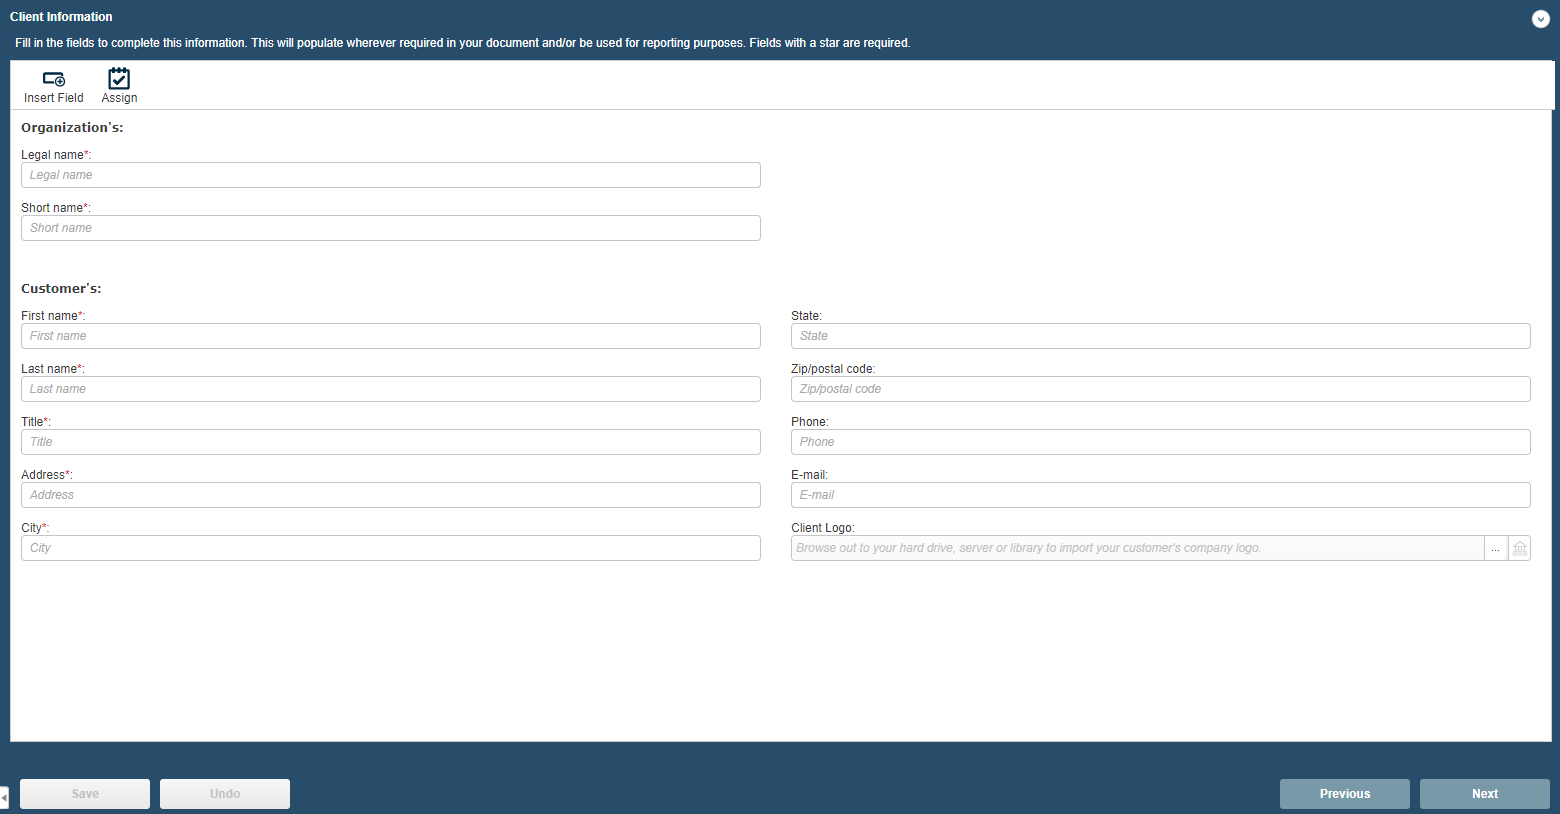
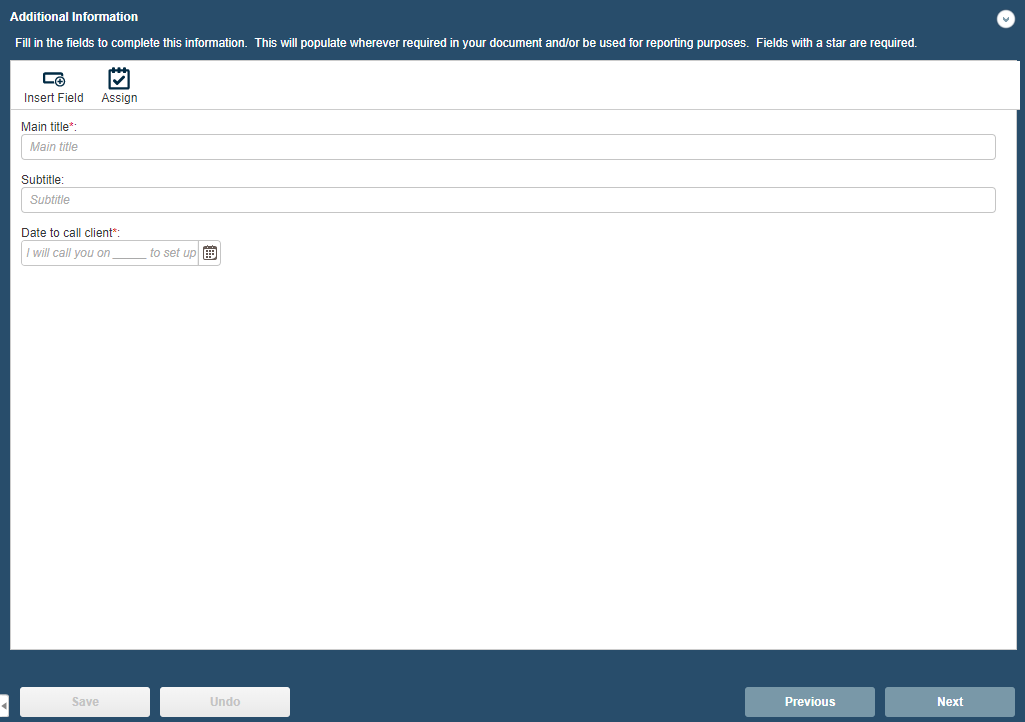
The following examples of Data Entry components show the various ways they can be structured for use. Click on the images to expand.
Sender Information
Client Information
Additional Information
Assign
You can assign users a as owners of the component to grant them access to complete it and assign it to others.
- Click the Assign
 icon. The Assigned Users dialog displays.
 - Click Unassigned, select the users to assign, and then click Assign. You can press and hold the Ctrl key while selecting users to select multiple users.
- Click Close.
Complete a Data Entry screen
- Select the data Entry screen in the navigation panel. The Data Entry component displays in the workspace.
- Enter data into the fields.
- For date fields, click the Calendar
 icon and select a date.
 - For graphic fields, do one of the following:
- To upload an external file, click the ellipsis … next to the field to retrieve the image, and then click Open.
- To insert a file from the library, click the Library
 icon beside the field to display the library page. Locate the image, then from the Actions menu, select Save to Document Field and then select the field where the graphic should be inserted.
- To add a new field, click Insert Field, select the field and then click Select.
- For date fields, click the Calendar
- Click Save.
Navigate the component
- Use the Next and Previous buttons at the bottom, or click the component in the left side panel to navigate through the Required components. Once all required fields are complete and saved, a green checkmark displays next to the component.
- To abort all modifications made to this component, click Undo.
Save the component
- To save changes to the component, click Save.
Field types
In addition to the typical text, dropdown, date, and numeric fields, you may encounter fields that allow you to insert a graphic file either external to Upland Qvidian or from the library.
- To upload an external file, click the ellipsis … next to the field to retrieve the image, and then click Open.
- To insert a file from the library, click beside the field to display the library page. Locate the image, then from the Actions menu, select Save to Document Field and then select the field where the graphic should be inserted.
CRM data
On a component designed to retrieve Customer Relationship Management (CRM) data, the CRM Retrieve Data link displays when a field has been related to a CRM Merge Code. The CRM Menu allows you to retrieve the CRM data into specified fields.
If you have company contact information stored in a CRM software product, you can pull this information directly into your document without manually entering the information.
Upland Qvidian supports the following CRMs:
- Outlook
- Salesforce.com (Production or Sandbox environment can be used.)
Retrieve CRM data
For Outlook, you first need to open Outlook, select your Address Book, and then select the contact you want to retrieve.
For Salesforce.com, records are in their database as a result of what is entered into the field within either Client Info or Sender Info.
- On the Data Entry Screen component, complete at least the Company Legal Name field so that Upland Qvidian can locate this CRM information.
- Click the Retrieve CRM Data link. The CRM information will populate the appropriate fields. If you are using Salesforce.com or Microsoft CRM and more than one record is found, the CRM Results dialog displays.
- Click on the record (row) of the contact you want to retrieve and then click OK. The contact information is retrieved into the fields within either Client Info or Sender Info.
Clear CRM Fields
- To remove the CRM information on a component workspace, click Clear CRM Fields.
Querying CRMs
You can use wild cards to query CRMs. See the table below for examples.
| Query | Result |
|---|---|
| John | Will match only the exact string |
| Jo* | Will match all strings starting with Jo |
| *oh* | Will match all strings with oh somewhere in them |
| *on | Will match all string ending with on |
| ?on | Will match all strings that start with any single character and then end with on |
| J?h* | Will match all strings that start with J, then has a single character, then an h and then anything after that |
Insert Field
The Insert Field icon displays when there is at least one field on the page requiring data entry, to allow you to insert a merge code.
- Select the field where you want to insert a code, then click Insert Field icon to display the Insert Merge Code dialog.
Custom Actions Menu
The Custom Actions Menu displays on select Data Entry Screens based on configuration settings. Each Custom Action menu item represents a specialized operation or request to be conducted by systems external to Upland Qvidian.
Note: These actions and the definition of the external systems are configured in Administration > Application Settings > Integration.
Granting users permission to access these actions is configured in Administration > Users > Properties > Integration Permissions panel.
- To call an action, select it in the Custom Actions menu. The Custom Action’s specialized operation/request is submitted to, and processed by, the corresponding external system.