Structured Content component (created documents)
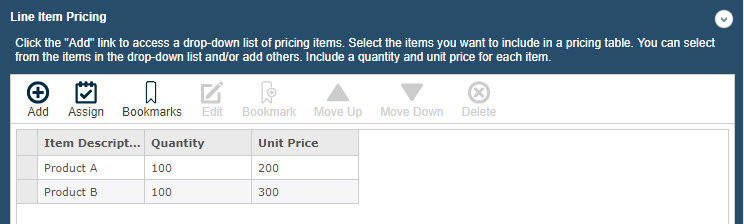
A Structured Content component is designed with field codes allowing the entry of different types of data in each code’s field that can be used in a document during its build process. This component is often structured in the form of a grid and the fields form the columns of a record.
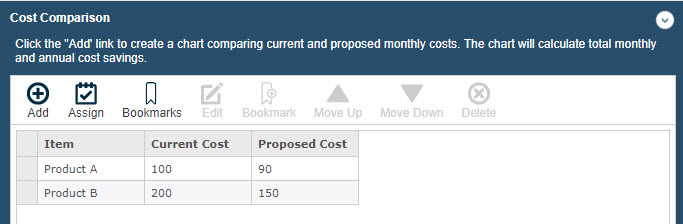
The following examples of Component and Details show the various ways components can be structured for use.
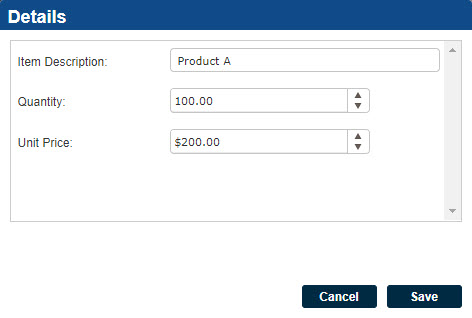
Line Item Pricing
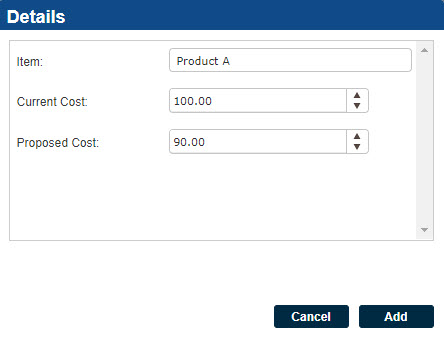
Cost Comparison
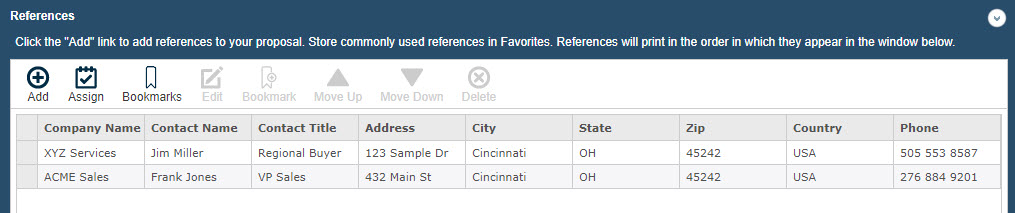
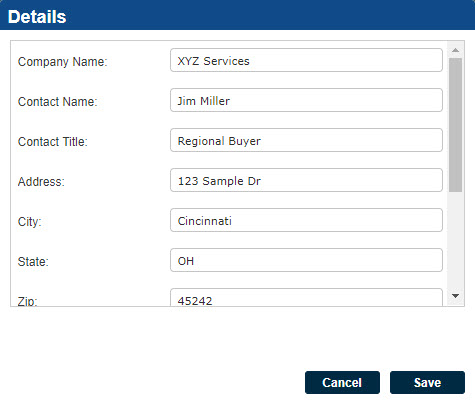
References
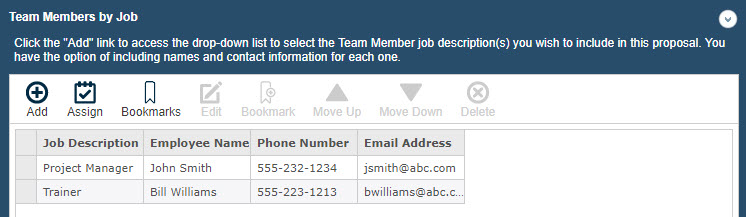
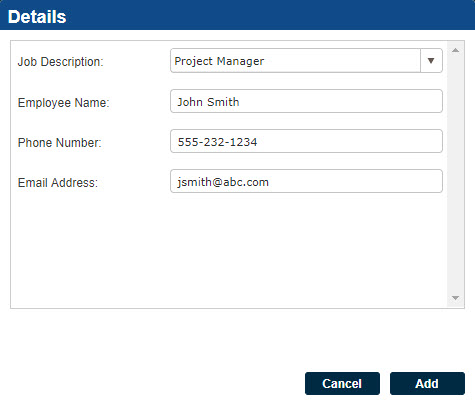
Team Members by Job Title
Navigate the component
- Use the Next and Previous buttons at the bottom, or click the component in the left side panel to navigate through the Required components. Once all required fields are complete and saved, a green checkmark displays next to the component.
- To abort all modifications made to this component, click Undo.
Save the component
- To save changes to the component, click Save.
Add record details
- Click the Add
 icon to display the Details page where you can add CRM data.
CRM data
On a component designed to retrieve Customer Relationship Management (CRM) data, the CRM Retrieve Data link displays when a field has been related to a CRM Merge Code. The CRM Menu allows you to retrieve the CRM data into specified fields.
If you have company contact information stored in a CRM software product, you can pull this information directly into your document without manually entering the information.
Upland Qvidian supports the following CRMs:
- Outlook
- Salesforce.com (Production or Sandbox environment can be used.)
Retrieve CRM data
For Outlook, you first need to open Outlook, select your Address Book, and then select the contact you want to retrieve.
For Salesforce.com, records are located in their database as a result of what is entered into the field on the Client Info or Sender Info dialog.
- On the Data Entry Screen component, complete at least the Company Legal Name field so that Upland Qvidian can locate this CRM information.
- Click the Retrieve CRM Data link. The CRM information will populate the appropriate fields. If you are using Salesforce.com or Microsoft CRM and more than one record is found, the CRM Results dialog displays.
- Click on the record (row) of the contact you want to retrieve and then click OK. The contact information is retrieved into the fields on the Client Info or Sender Info dialog.
Clear CRM Fields
- To remove the CRM information on a component workspace, click Clear CRM Fields.
Querying CRMs
You can use wild cards to query CRMs. See the table below for examples.
| Query | Result |
|---|---|
| John | Will match only the exact string |
| Jo* | Will match all strings starting with Jo |
| *oh* | Will match all strings with oh somewhere in them |
| *on | Will match all string ending with on |
| ?on | Will match all strings that start with any single character and then end with on |
| J?h* | Will match all strings that start with J, then has a single character, then an h and then anything after that |
Edit record details
- Select the record to view and edit and then click the Edit
 icon to display the Details dialog where you can edit CRM data.
Assign
You can assign users and roles as owners of this component to review, complete, reference, etc.
- Click the Assign
 icon to display the Assigned Users dialog to perform this action.
Bookmark records
- Select the records you want to add to your Bookmarks list, then click the Add Bookmark
 icon. A confirmation message briefly displays.
Add or remove records from bookmarks
- Click the Bookmark
 icon to display the Bookmarks dialog.
 - Select the records and then click Add to add or the Remove Bookmark
 icon to remove.
Order a record
- Select the record to re-order and then click the Up and Down arrows to move the record one row at a time to the desired position. You can also order a block of selected records.
Delete records
- Select the records to delete and then click the Delete
 icon. You are prompted to confirm.