Navigating the Dashboard - Filters
To learn more about Filters, watch the demo video here.
Filters are used to limit what is displayed within the dashboard, allowing you to isolate a given date range, more easily examine negative feedback to identify improvement opportunities, etc. Access the filter options by selecting the filter icon to expand the menu.
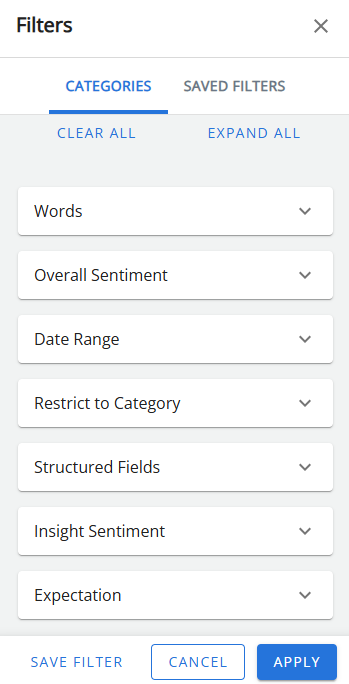
You can select filter options from the drop-down menus in the categories tab or select saved filters from the saved filters tab.
Applied filters are displayed at the top of the dashboard (above the tabs). If the filters are a saved filter group, the name of the saved filter is also displayed. The applied filter also applies to Messages and Time Trend tabs.

Applying Filters to your Dashboard
-
In the filters pane, expand the category you wish to filter using the down arrow, e.g. press the arrow for sentiment to view options for sentiment filters.
-
Select the appropriate criteria from as many filters as you desire, e.g. filter for negative feedback by selecting the negative feedback checkboxes.

-
Select dates for your analysis using the calendar pop-up, or use the default date range.
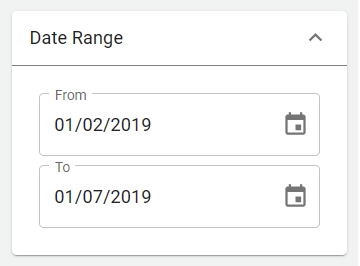
Note: The dashboard always applies a date filter. You can change this using the date range filter settings.
-
Click Apply to apply your filter selection to the dashboard.
Tip: If you plan on using the same filter selection on a regular basis, you can also save your filter selection.
You can clear applied filters by pressing the X next to a filter or using the icon to the right of the applied filters list to clear all filters.
Note: Clearing a date filter will restore the default date range filters.
Using Saved Filters
To save a filter selection:
-
Choose your criteria using the drop-downs and checkboxes as if you were applying filters.
-
Click Save to open the save filter window.
-
Give your filter selection a name and, optionally, a description.

-
Choose if it is a private or public filter.
Note: A Private filter can only be viewed by the creator, while a Public filter can be viewed and used by anyone using the same project.
-
Click Save button to save your selection.
To update a saved filter:
-
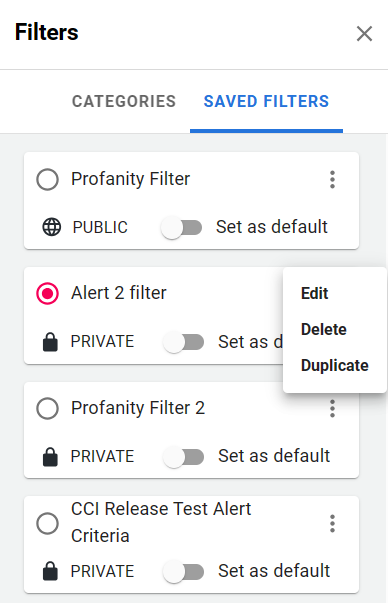
Open the filter menu and select the saved filters tab.
-
Locate your saved filter and click icon to Edit, Delete, or Duplicate the filter.
-
Click on Private/Public button to update the privacy setting.
-
Select the toggle button to set the saved filter as default.
Note: A default filter can be set so that when a user logs into the Dashboard, they see a preset filter applied to their Dashboard. Otherwise, it will only display data for the current date.
To apply a saved filter selection:
-
Open the filter menu and select the saved filters tab.
-
Locate and select the saved filter from the list to apply your selection to the dashboard.