Email Templates
In RightAnswers, email templates are preconfigured templates for email notification messages that are automatically sent when certain events occur in the RightAnswers platforms. You can edit the email templates to customize them.
To edit an email template
-
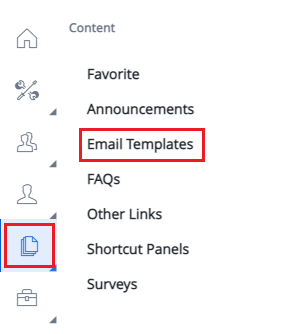
Navigate to Content > Email Templates.
-
Click the email template or the Edit icon
 next to the email template to be edited.
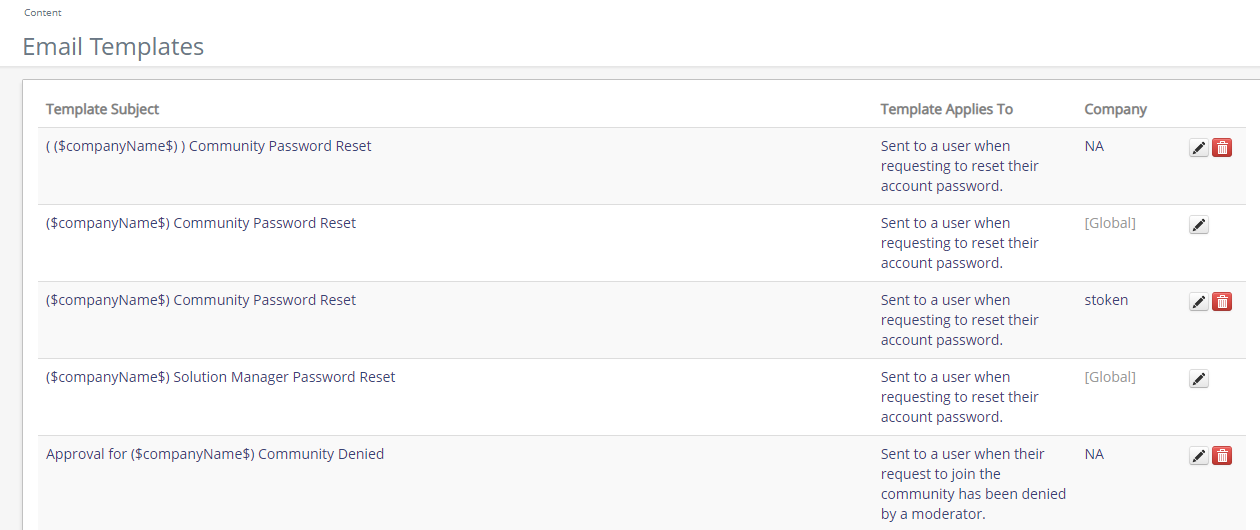
-
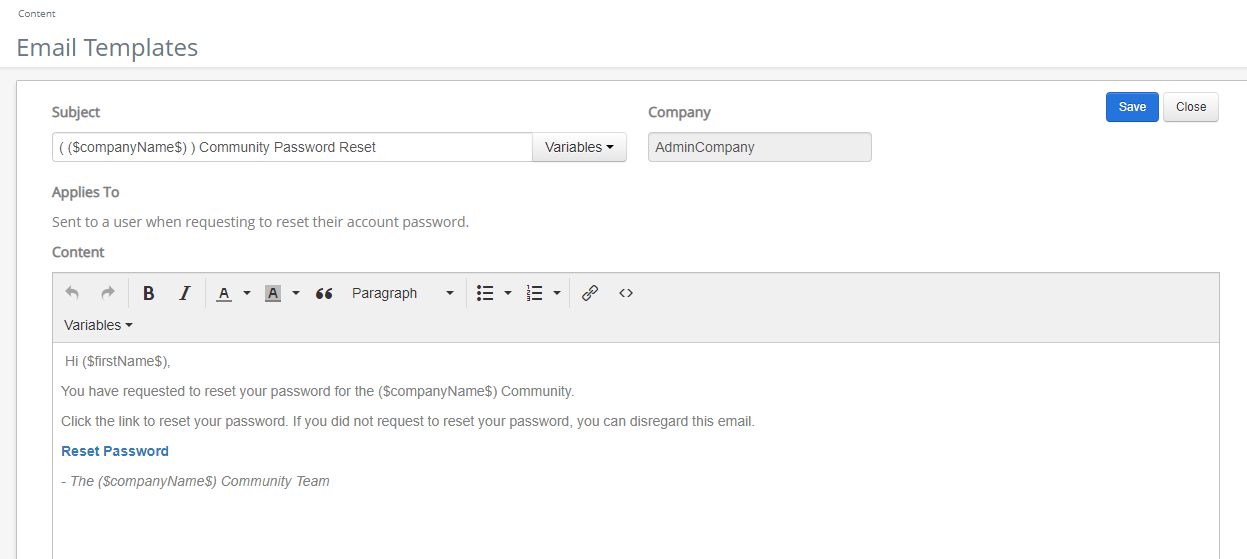
Review the Subject and Content to determine where necessary changes are to be made.
-
Add Variable tags in the email content.
 NOTE: Variables are placeholder text that appear in the email templates. These tags will be replaced with their corresponding data when the email is generated (e.g. ($solutionID$) will be replaced by the solution ID number).
Use variables in the Subject field: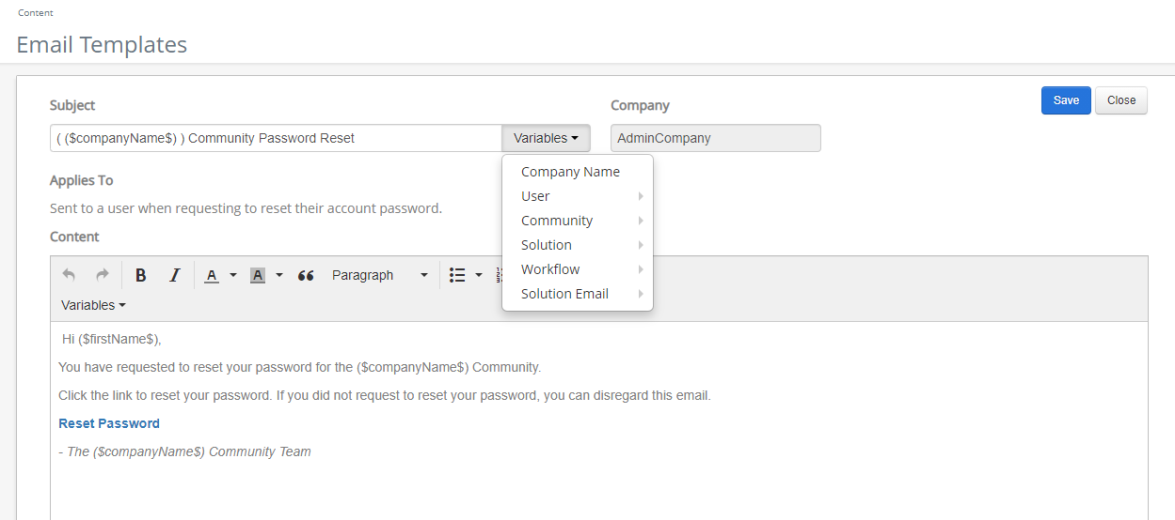
Use variables in the Subject or Content field:- In Subject or Content, place your cursor where you want the variable tag to appear.
- Click the Variables dropdown.
-
Select the Variable. The possible variable tags are:
- Company Name - ($companyName$)
- First Name - ($firstName$)
- Last Name - ($lastName$)
- User Name - ($userName$)
- Email - ($emailAddress$)
- Mentions Comment Text - ($commentsText$) (Content only)
- Community
- Community Name - ($community$)
- Discussion - ($discussion$)
- Topic - ($topic$)
- Flagging Text - ($flaggingText$)
- Flagging Type - ($flaggingType$)
- Flagging Reason - ($flaggingReason$)
- Link - 'Here is a link' (Inserts a link to the Community)
- Solution
- Author - ($solutionAuthor$)
- Collection - ($solutionCollection$)
-
Comments (Content only)
- Last - ($solutionLastComment$)
- All - ($solutionAllComments$)
- ID Link - ($solutionID$)
- Status - ($solutionStatus$)
- Taxonomy - ($solutionTaxonomy$) (Content only)
- Title - ($solutionTitle$)
- Workflow
-
Approval Action
- ($approvalCurrentStep$)
- ($approvalTotalSteps$)
- ($triggeredUsername$)
- Name - ($workflowName$)
- Trigger Type - ($triggerType$)
- Conditions - ($workflowConditions$) (Content only)
- Scheduled Solutions - ($scheduledSolutions$) (Content only)
-
Approval Action
- Solution Email
- User Name - ($userName$)
- Company Name - ($companyName$)
- Email Address - ($emailAddress$)
- Comment - ($commentsText$) (Content only)
- SA Interface Title - ($SA_InterfaceTitle$) (Content only)
- SA Solution URL - ($SA_solutionURL$) (Content only)
- SS Interface Title - ($SS_InterfaceTitle$) (Content only)
- SS Solution URL - ($SS_solutionURL$) (Content only)
- Comment
- Recipient First Name - $(RecipientFirstName) (Content only)
- Resolver First Name - $(ResolverFirstName) (Content only)
- Resolution Category - ($resolutionCategory$) (Content only)
- Resolution Comment - ($resolutionComment$) (Content only)
The variable is inserted into the content.
- Company Name - ($companyName$)
- Click Save.