Add User
Users can be setup and configured in the Administrator Console.
Self Service portal users can also register by clicking the Sign Up option on the portal. After submitting their details, the request is sent for approval. Once approved, the user is successfully registered and active in the portal.
Note: The User Management section is for creating user profiles within the RightAnswers platform itself. If user authentication and profile management is handled externally, such as in Active Directory, you can skip this section as the primary point of user management is the external method.
-
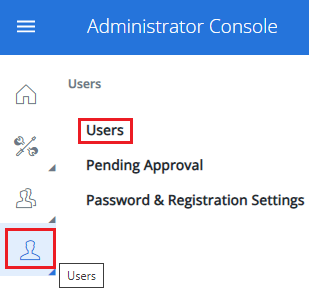
Navigate to Users > Users.
-
Click Add User.
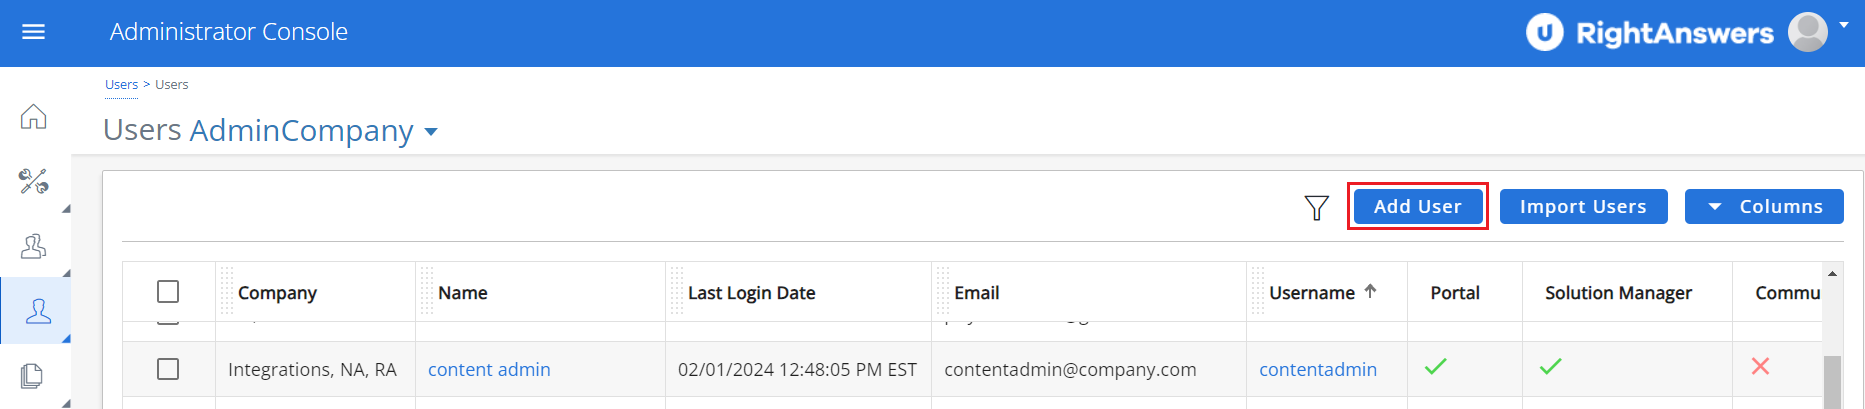
The Add User page is displayed.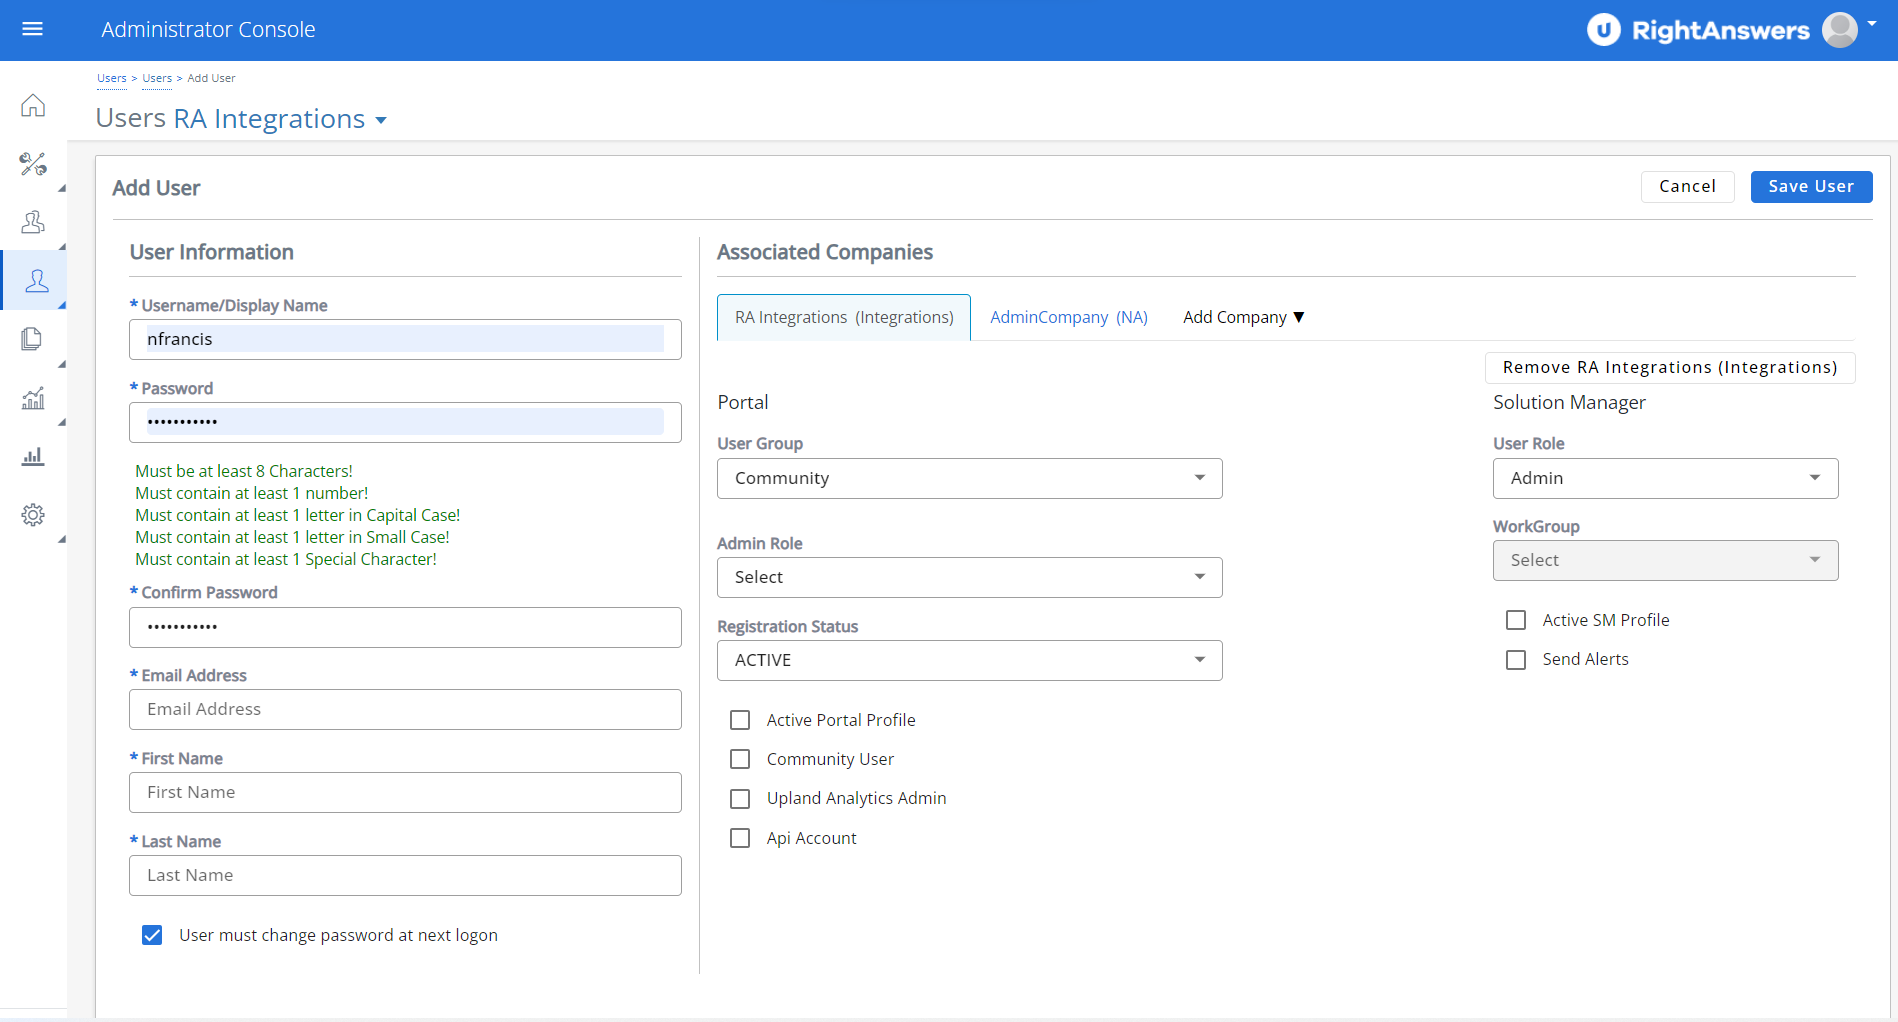
-
In the User Information section, enter the following information:
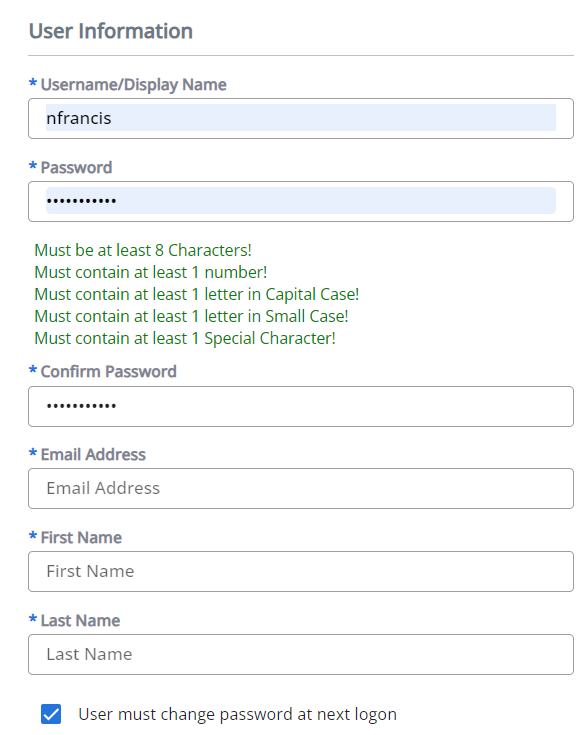
- In Username / Display Name, type the name to be used for login/display.
- In Password, type a password.
-
In Confirm Password, type the password again.
A message related to password validation will be displayed if the password does not meet the requirements and/or if the Password does not match with Confirm Password.
RightAnswers enforces usage of strong passwords with at least one upper case, 1 lower case, 1 numeric and 1 special character required. Password must be at least 8 characters long and maximum 26 characters long. - In Email Address, the user's email address.
- Type the user's First Name and Last Name.
- Select User must change password at next logon if you want to compel the user to change password.
-
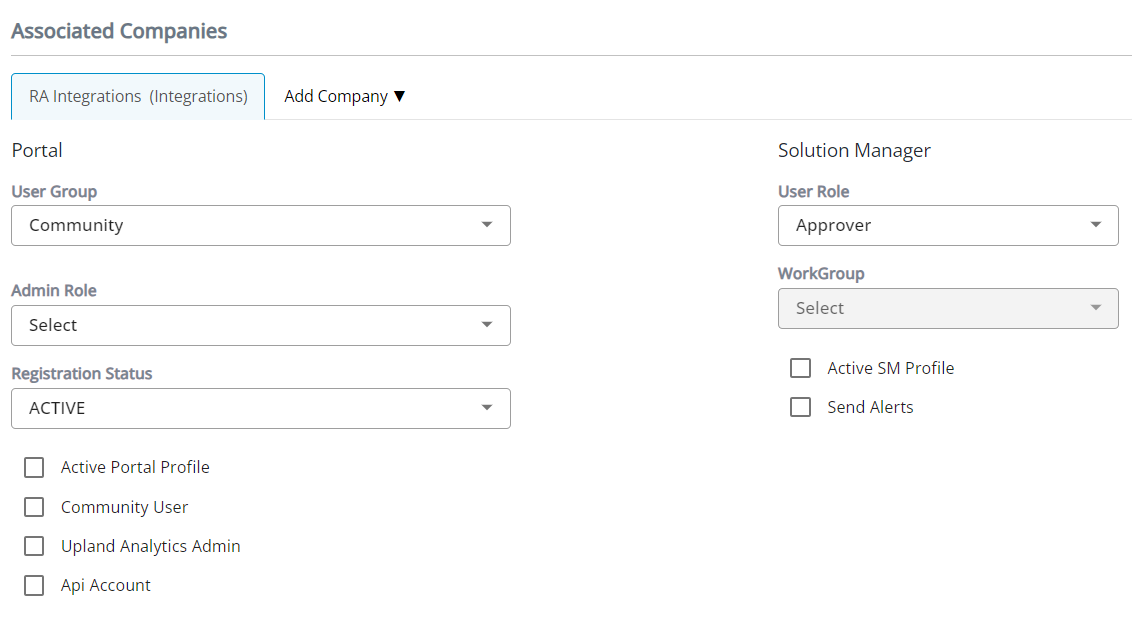
In the Associated Companies section, enter the following information:
-
From the Add Company drop down list, select the company under which you want to assign the user and enter the following details for the selected company:
-
Under Portal:
- In User Group, select a group to assign the user to a specific group.
- In Admin Role, select and assign the administrator role if the user is an administrator.
- Select the Registration Status.
- Select Active Portal Profile if you want the user to have an active account in the Support Agent portal.
- Select Community User if you want the user to have an active account in the Self Service portal.
- Select Upland Analytics Admin if you want to the user to have an administrative role in Upland Analytics.
- Select Api Account if you want to skip password expiry. This option does NOT control API access permissions.
-
Under Solution Manager:
- Select the User Role you want to assign to the user in Solution Manager.
- Select Active SM Profile if you want the user to have an active account in Solution Manager.
-
Select the WorkGroup to which you want the user to belong. This field will be enabled only if Active SM Profile is selected.
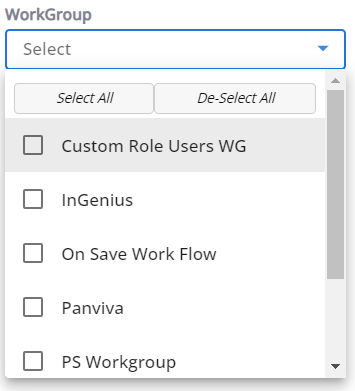
Click Select All if you want to assign the user to all the workgroups. Click De-select All if you want to clear your selections of all workgroups. - Select Send Alerts to enable the user to receive notifications.
-
Under Portal:
-
From the Add Company drop down list, select the company under which you want to assign the user and enter the following details for the selected company:
To configure the user for additional companies, select the company from the Add Company dropdown list and configure the above settings.
To delete a company configuration, click Remove <company name>.
- Click Save User to create the user. The message 'User was saved successfully' is displayed.
After saving, the following additional options will appear:
-
Select Collections – Allows you to choose the collections the user can access. The available list may vary, as each portal group has a different set of collections.
-
Generate EPA – Creates the embed code required to integrate RightAnswers with other applications.
-
Clear Log – Removes the activity records associated with this account.