Add a custom template
The Template Editor is used to create and manage custom templates. You can add templates, edit and delete existing templates.
Note: You must be logged in either as an admin user role or custom user role with Manage Templates rights in order to manage templates.
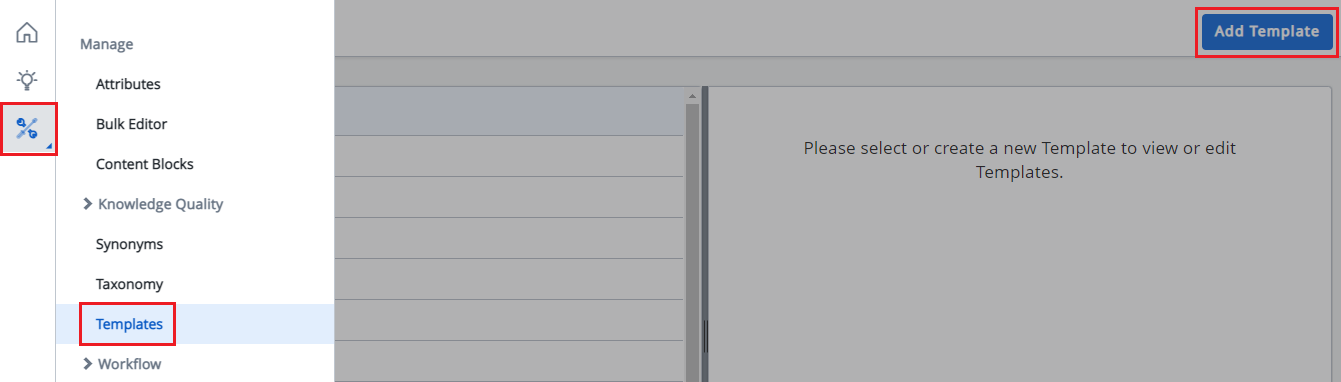
- Navigate to Manage > Templates.
- Click Add Template.
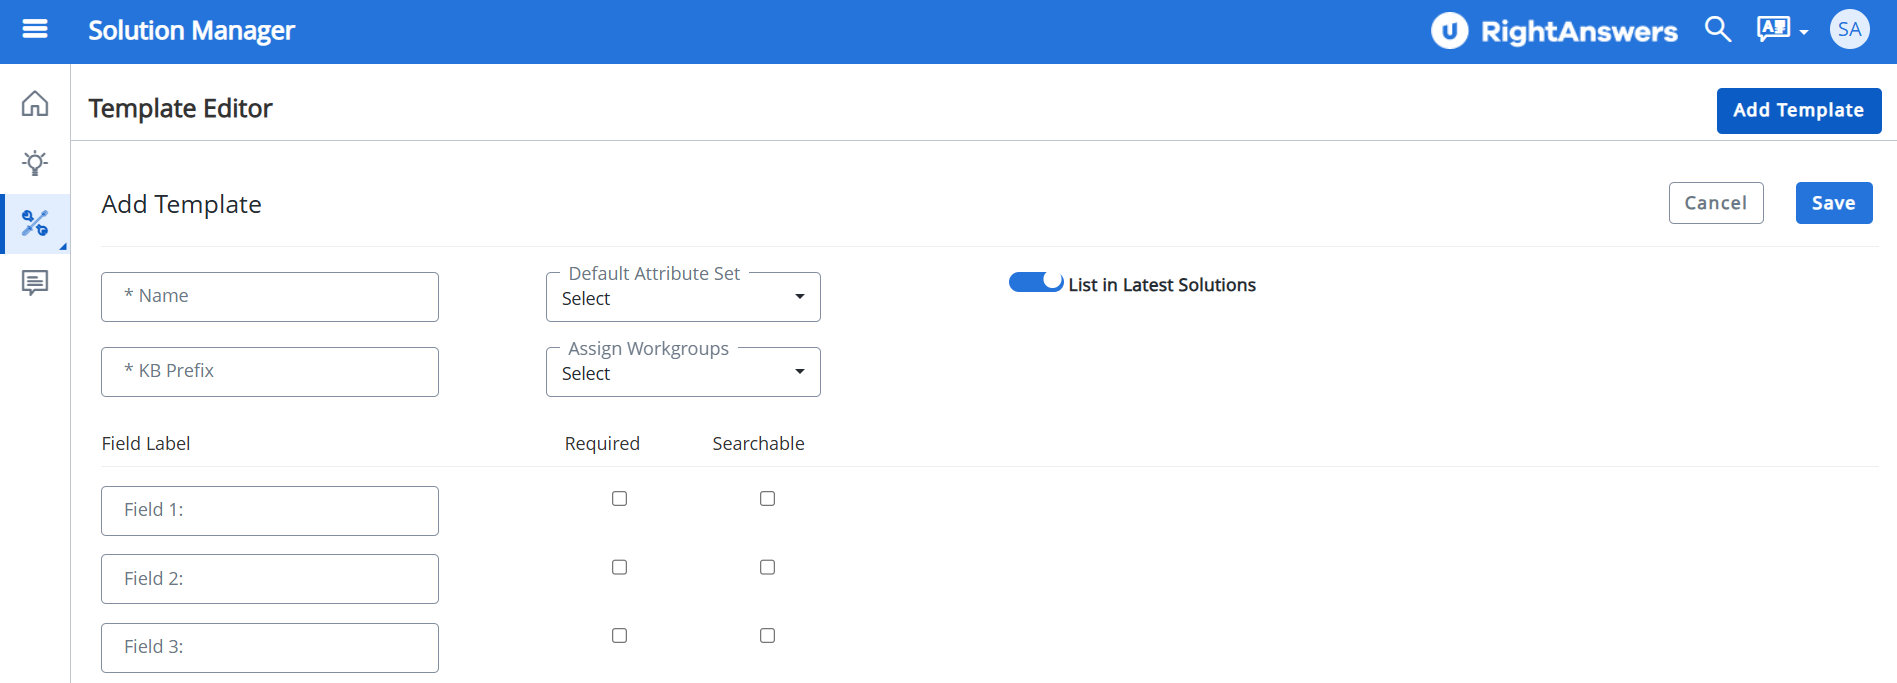
- Enter name of the template in the Name field.
The following template names are reserved case-insensitively for standard templates:- Error (RA)
- How To (RA)
- Problem (RA)
- How To Solution,
- Error Solution,
- Problem Solution
- Decision Tree
- Document
- Select the Default Attribute Set.
- Type a KB Prefix.
The KB prefixes for these above templates are reserved as well. The error message ‘The template name '<name_of_the_standard_template>' is reserved and cannot be used. Please choose a different name for your template’ will be displayed if a user attempts to create a template with the same name as the standard templates. Existing template name check has been added for the update template workflow. Spaces or special characters (' " { } < > \ ? # * ; % ,) are not permitted in the KB Prefix. - Select Assign Workgroups to determine the relevant solution template needed for your group; or hide a template which is no longer needed.
- Enter Field Label names for fields.
You may choose to enter labels for a minimum of one field or for a maximum of nine fields. - Check the Required checkbox(es) adjacent to the field(s) that is/are mandatory.
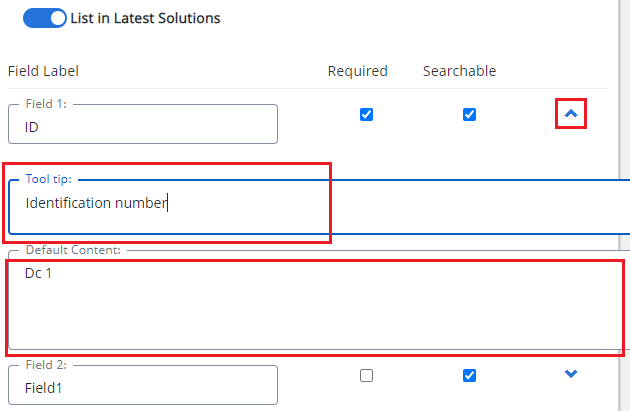
For required fields, the solution cannot be saved without an entry in the field. - Check the Searchable checkbox(es) adjacent to the field(s) that is/are mandatory.
The content entered within searchable fields will be available during searches via the Portal or Solution Manager search box. If this is not checked off, the content in these fields will not be searchable.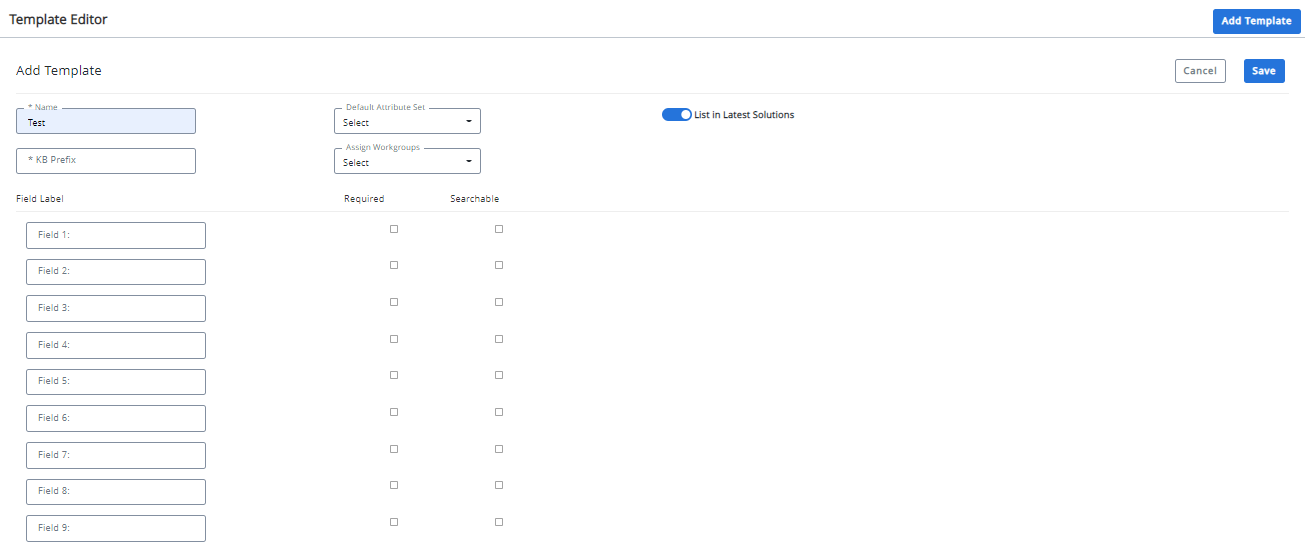
- Click the dropdown arrow next to the required field.
The Tool tip field is displayed. - Type the text showing on the hover-over tooltip.
- In the Default Content field, type the content to be displayed by default.
- Select the List in Latest Solutions radio button if required.
- Click Save.
The custom template is saved and confirmation message appears.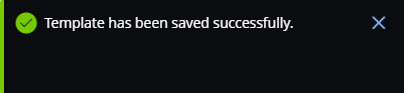
Note: If a default attribute set is selected for the template, the Attribute section will be pre-populated when using the template. Users can assign additional attributes or remove the default. If none is selected, no attributes will be assigned to the solution.
If the user tries to save the solution without filling the information in the Required (mandatory) fields, the system will display an error message.