Solution view
You can view a solution by clicking its link. The main body of the Solution includes the Title, Solution, Details and Keywords fields as shown below. The solution fields that are presented in the body of the solution are dependent upon the template type and template field visibility. The template type for a particular solution is defined in the Solution Manager while the template field visibility is defined within the Admin Portal for each portal group. Standard templates include How To, Problem, and Error templates while custom templates allow for the creation of custom defined fields. By default, the template field visibility is on for all standard and custom template fields, but if the administrator wants to limit the visibility of certain fields in the solution, they can do so in the Admin Portal.
Note: Release 2023R2 onwards, the standard templates (How to Solution, Error Solution, and Problem Solution) are replaced with custom templates (How to (RA), Error (RA), Problem (RA)).
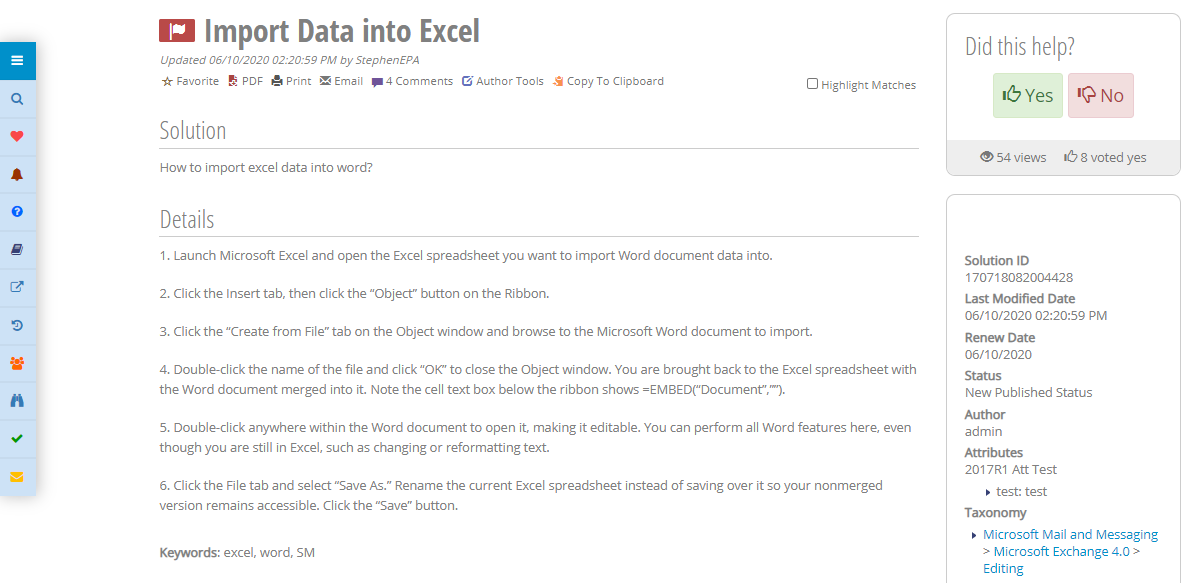
Figure: Main Body of Solution
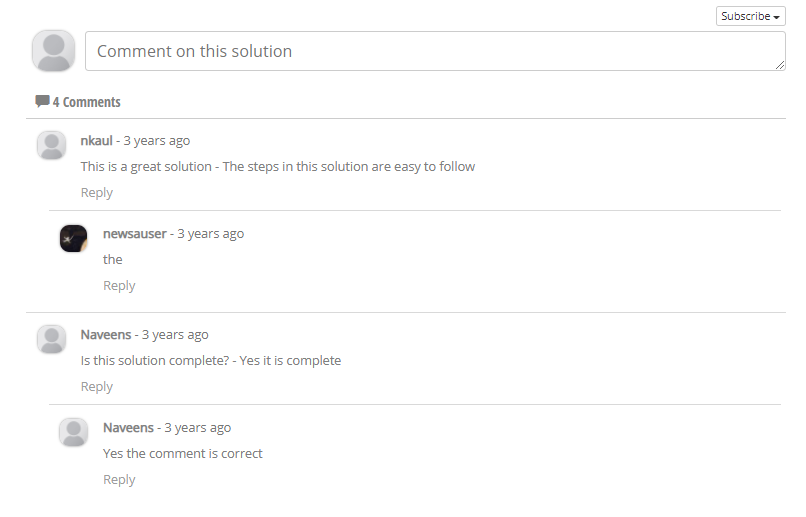
Comments: The comments section is used to comment on a solution.
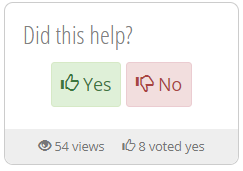
Views and Votes: The Did this help feature is used to collect feedback on solutions. The count of how many users voted “Yes” as well as the solution views are presented to provide feedback on how useful solutions have been for others.
The following options are available when you view a solution.
-
 : To save the solution to the Agent’s Favorites in the My Favorites section of the Support Agent Portal, you can click the “Favorite” icon in the Solution View.
 -
 : You can download the PDF copy of the solution by clicking the PDF icon.
 -
 : Allows you to Print the solution.
 -
 : Allows you to Email the solution.
 -
 : You can use the Comment icon to comment on a solution. When the comment is submitted, the solution is flagged to the appropriate author or approver for review and appropriate action. All solutions, including RightAnswers Knowledge-Paks can be commented on.
 -
 : Allows you to Copy the solution to Clipboard. The copied content will include the Title, Summary and the solution link on the Support Agent portal.
 -
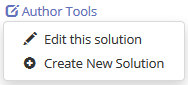
 : You can use ‘Author Tools’ icon to edit a solution or create a new solution.
 -
-
Edit this Solution: If you want to edit the current solution within the knowledgebase, you can do so by selecting the “Edit this Solution” link which presents a solution entry screen to Solution Manager. Note that when a Support Agent user is created, a matching Solution Manager user is created which allows this feature to work. If there is a problem, check to see the Agent Portal username and password matches a Solution Manager username and password – if not, you need to create it manually for this feature to work.
-
Create New Solution: If you select Create New Solution, it opens a new solution window that can be used to create a new solution. However, the new SM window will open only if the user is also a SM user.
-
Solution Properties: The Solution Properties provide additional information about the solution. The Solution IDis the unique 15-digit identifier of the solution. The Last Modified Date is the date and time the solution was updated. The Renew Date is the date when the solution is set to be reviewed to see if an update is needed. The Status describes the state of the solution. A published status allows the solution to be visible to all Portal Groups. The Taxonomy is the hierarchical grouping of solutions which defines solution’s visibility. The Author of the solution is the person who created the solution or owns the content within the solution as opposed to the approver who reviews, and updates the solution as needed.
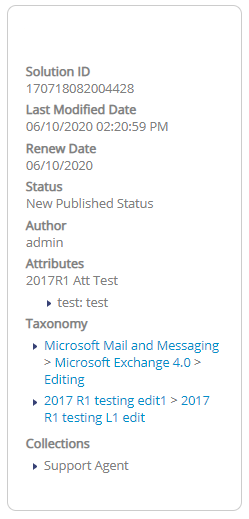
Note: In order to display the Taxonomy titles within the solution properties when viewing a solution, the "ShowSolutionRelatedArticles" setting should be set to true. Related articles are the most popular other solutions that were viewed within the same session as the current solution and within your portal user group.