Record Review
When a Sales or Portal user updates a customer record, Reference Managers must approve or deny these changes before they are enacted. Reference Managers can access these update requests using the Record Review area of the RO Platform or via the automatic email alerts containing links to the update request.
Note: Record Review is also available in RUX, allowing someone who is more familiar with an account, such as an account owner, to provide valuable insight and customer intelligence to add to the validity of customer information. Their suggested updates can either be automatically accepted or reviewed by a reference team to accept/reject. Please submit an enhancement request to enable this feature.
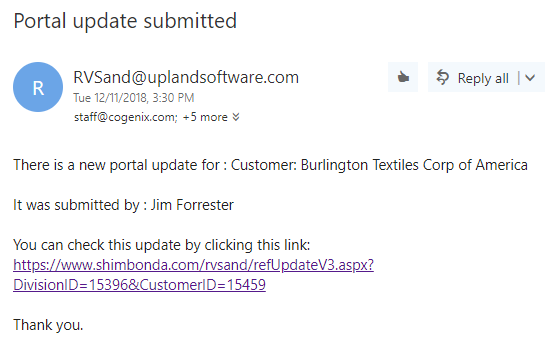
Automated request email sent when a Portal user submits changes to the customer record
- Navigate to Record Review.
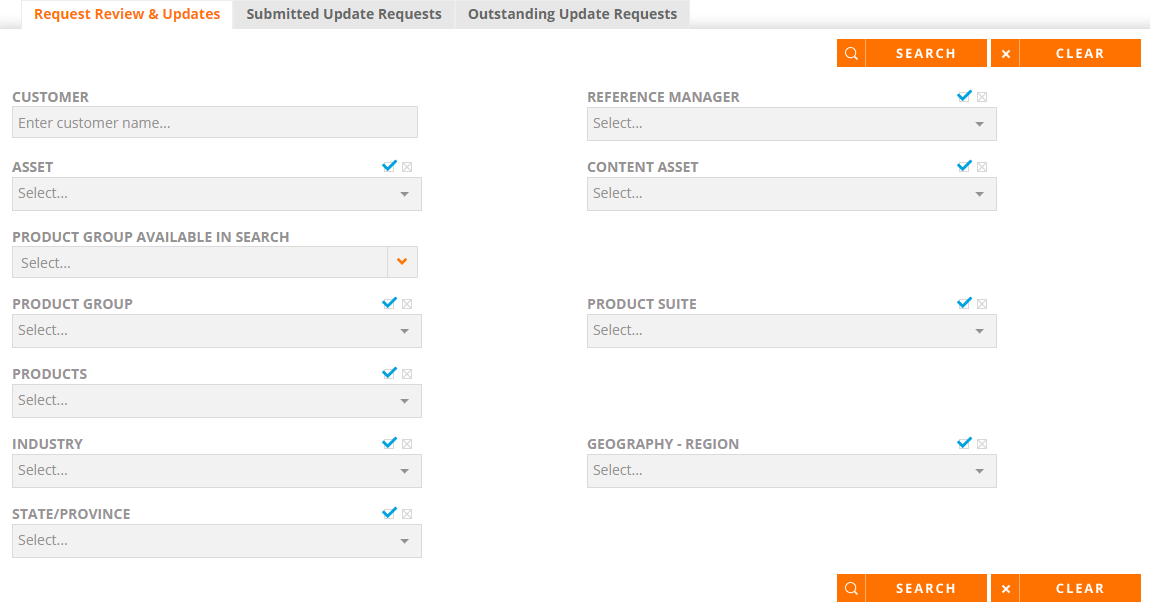
- Select the Request Review & Updates tab.
- (Optional) Enter a Customer name into the search box. For more information on exact phrase and "OR" search functionality, see Searching.
- (Optional) Select the checkbox of any relevant value. The And/Or option indicates whether you would like to include any or all the selected search criteria. When And is selected, the search will include all of the selected criteria. When Or is selected, the search will include any of the selected criteria.
- Click the Search button or Enter to view search results. You will be directed to the Search Results page.
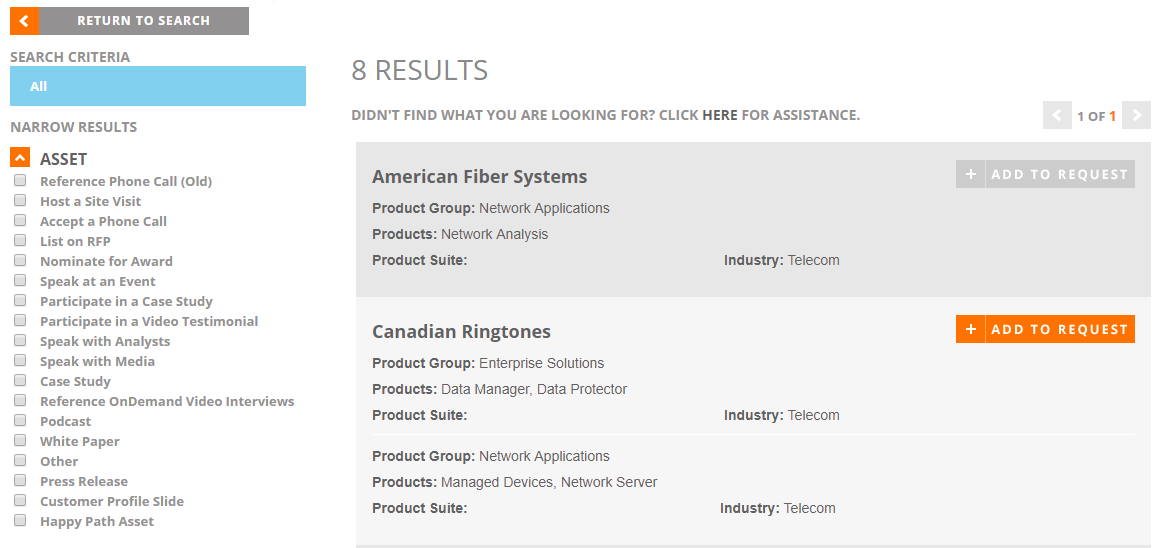
- (Optional) To narrow your search results further, select additional filters, such as Asset, Product, Company Size, etc., from the left-hand column.
- Click Add to Request to add a particular customer to your request. Click Remove to remove a customer from your request.
- Click Request Updates to review your selected customers. The Selected Customers (X) dialog will appear.
- Click Request Updates to receive updates on your selected customers. Click Cancel to cancel your request.
Note: Click the Clear button to clear all search criteria.
Note: Customer records with a grayed out Add to Request button do not have contacts enabled for Portal User updates and cannot be selected.
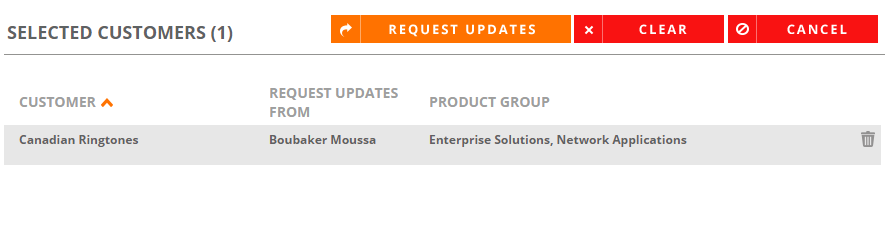
Note: Click the Trash icon to remove a particular customer from your request. Click Clear to remove all customers from your request.
- Navigate to Record Review using the navigation bar icon,
 .
. - Click Request Review & Updates button on the top-right corner of the grid. The Record Review & Updates dialog will appear.
- (Optional) Enter a Customer name into the search box. For more information on exact phrase and "OR" search functionality, see Searching.
- (Optional) Select the checkbox of any relevant value. The And/Or option indicates whether you would like to include any or all the selected search criteria. When And is selected, the search will include all of the selected criteria. When Or is selected, the search will include any of the selected criteria.
- Click the Search button or Enter to view search results. You will be directed to the Search Results page.
- (Optional) To narrow your search results further, select additional filters, such as Asset, Product, Company Size, etc., from the left-hand column.
- Click Add to Request to add a particular customer to your request. Click Remove to remove a customer from your request.
- Click Request Updates to review your selected customers. The Selected Customers (X) dialog will appear.
- Click Request Updates to receive updates on your selected customers. Click Cancel to cancel your request.

Note: Click the Clear button to clear all search criteria.
Note: Customer records with a grayed out Add to Request button do not have contacts enabled for Portal User updates and cannot be selected.
Note: Click the Trash icon to remove a particular customer from your request. Click Clear to remove all customers from your request.
This is where Reference Managers can approve or deny active requests submitted by Sales and/or Portal users.
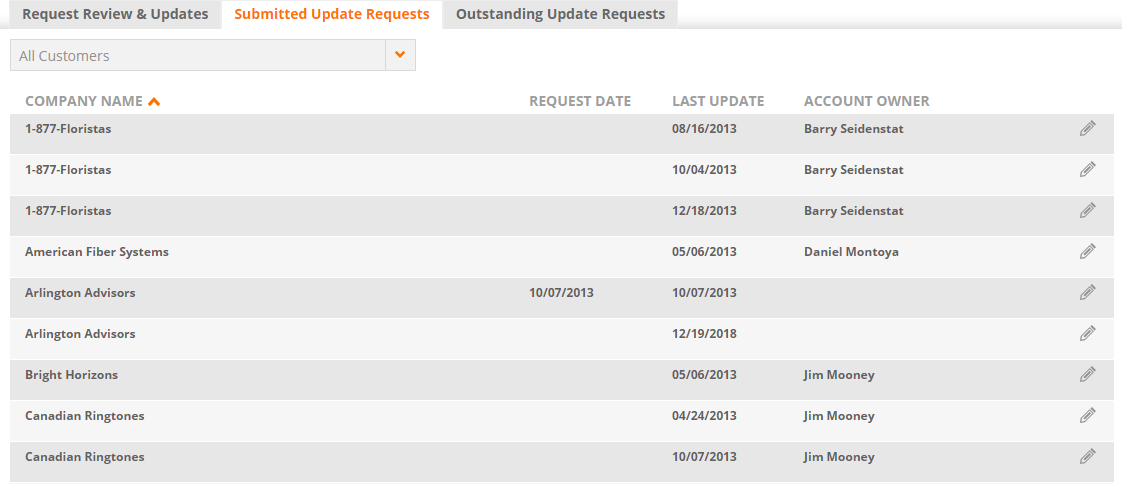
- Navigate to Record Review.
- Select one of the following views:
- My Customers: Customers to which you are the assigned Reference Manager.
- All Customers: Includes all customers.
- My Update Requests: Includes any update requests you have submitted.
- Click the Pencil icon to update the request.
Note Alternatively, locate the submitted update request by clicking the link found in the automatic email alert that is sent when a Portal user submits a change to the customer record.
Note: You will be directed to the Updates tab within a customer record. For more information on editing customer records, see Editing Customer Information.
This is where Reference Managers can approve or deny active requests submitted by Sales and/or Portal users.
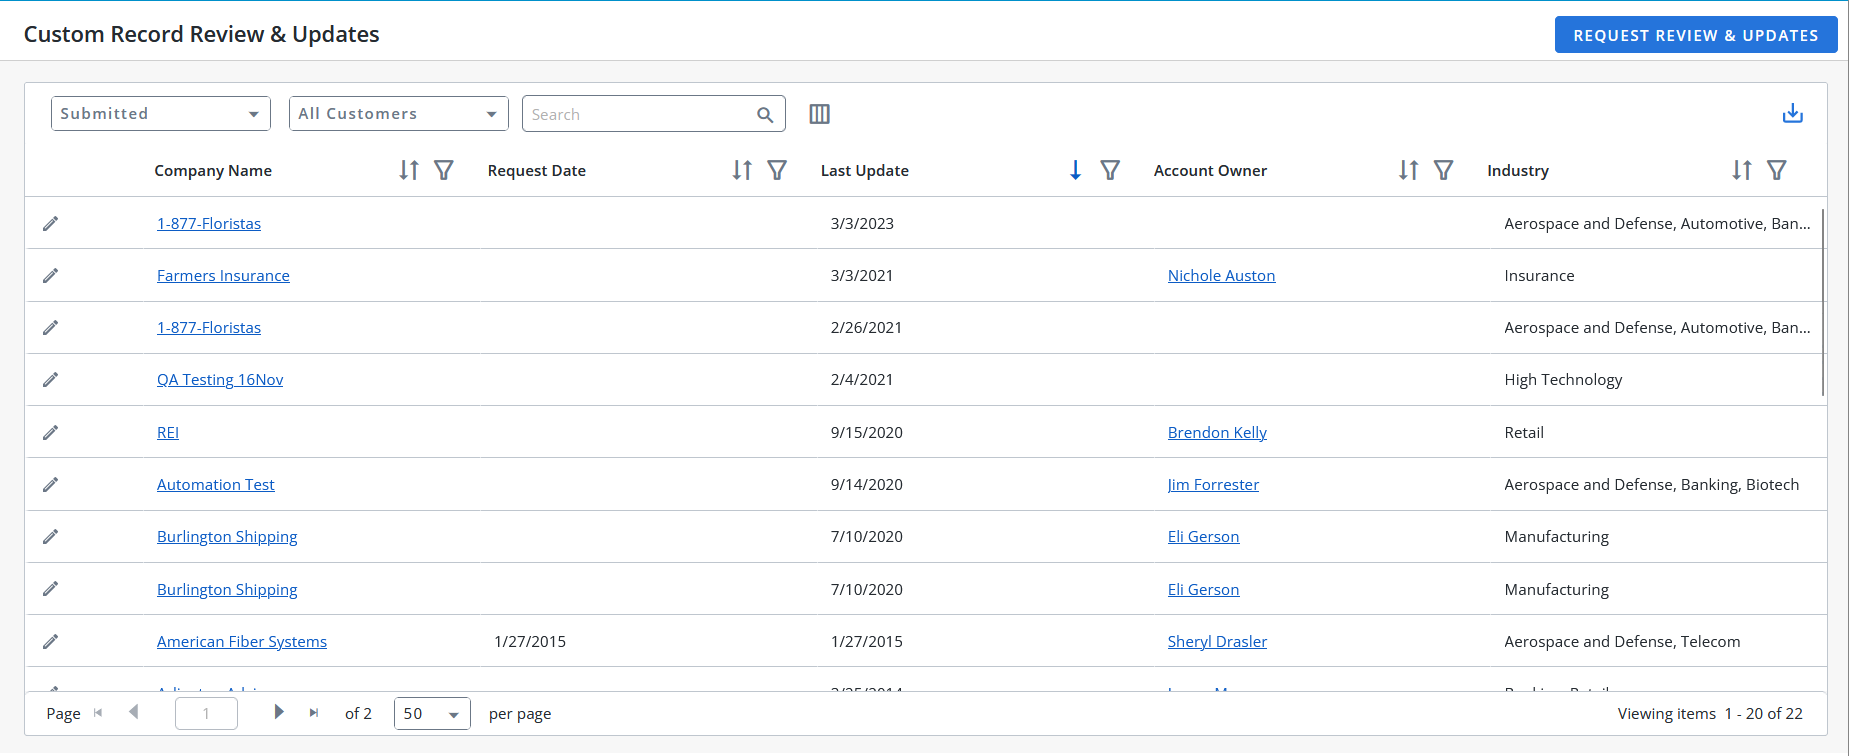
- Navigate to Record Review page using the navigation bar icon, .
- (Optional) Select a preferred View from the drop-down menu:
- Submitted: View completed record requests here.
- Outstanding: View the details of the pending record requests here.
- (Optional) Select one of the following options from the drop-down menu:
- My Customers: Customers to which you are the assigned Reference Manager.
- All Customers: Includes all customers.
- My Update Requests: Includes any update requests you have submitted.
Note: The RO Platform will remember your View and Customer selection. The next time you open the Record Review grid, your selection will be displayed as the default.
- To perform a search, enter two or more characters into the search bar and click Enter. Results begin populating below the search bar once text is entered. Click the X to clear your search bar.
- (Optional) Click the
 icon next to the column headers to sort the column from either top-to-bottom or bottom-to-top: chronologically for dates, sequentially for numbers, and alphabetically for text. Your sort selections will be remembered as your default preference. The blue arrow
  next to a column header indicates the type of sorting applied to the column.
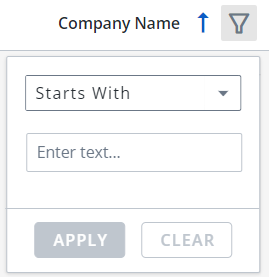
 - (Optional) Click the
 icon next to the column headers to filter what appears in the columns and click Apply. To save the filters, refer to Using the Saved Filter.
Note: The RO platform will remember your Filter selection even if you leave the Record Review page and return to it later.
- (Optional) Click the
 button to export all the records or the filtered records to excel. The exported records will follow the sorting order and the columns customized in the grid.
 - (Optional) Use the page scrolling controls at the bottom left of the grid to view Record Review on other pages. To go to a specific page, click in the field, type the page number, then press Enter. Select the number of rows you want to display in the grid by clicking the drop-down menu.
- Click the
 icon on any request in the Submitted view to Edit the record request. See, Editing Requests.
 - Click the
 icon on any request in the Outstanding view to Edit and Resend the record request. See, Editing Requests and Sending Request Reminders.
Note Alternatively, locate the submitted update request by clicking the link found in the automatic email alert that is sent when a Portal user submits a change to the customer record.
Users can filter the columns based on their requirements and save the filters for future use. This allows users to quickly access the information they need and eliminates the need to manually filter columns every time they use the grid.
To create a saved filter:
-
Filter the columns in the grid as desired. The Save Filter button is displayed next to Filters along with the number of filters applied.
- Click Save Filter and enter a filter name. This dialog displays the column names of the applied filters.
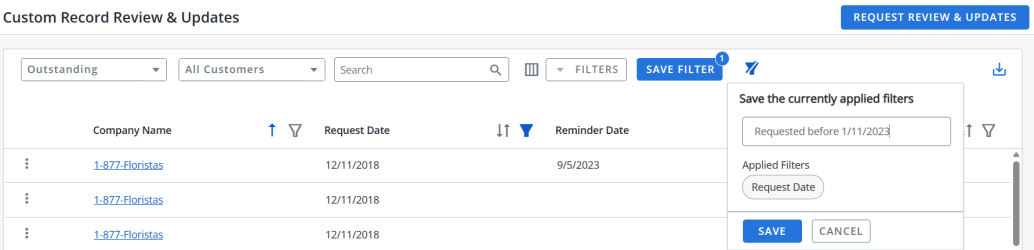
- Click Save to save the filter.
Note: The "Clear All Filters" button,
 , will display once a filter has been applied. Click the icon to clear all applied filters.
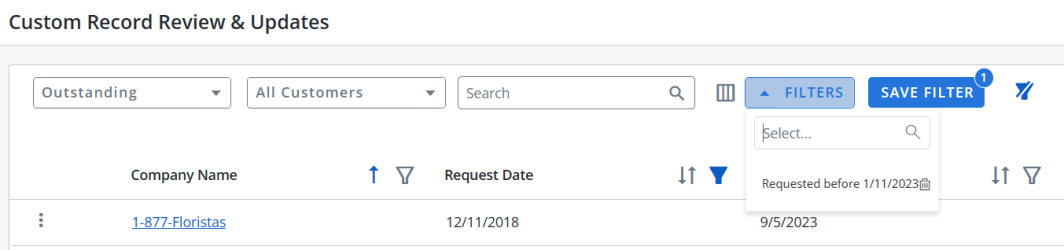
 - To find the saved filter, open the Filters drop-down menu and select the desired saved filter.
- To delete the saved filter, open the Filters drop-down menu and click
 icon.
icon.


Note:
-
It is not possible to create saved filters with the same filter name.
-
The RO platform will remember your Save Filter selection even if you leave the page and return to it later.
-
Navigate to the Record Review page.
-
Select either the Submitted or Outstanding view.
- Click the icon on any request in the Submitted view to Edit the record request.
-
Click the
icon on any request in the Outstanding view to Edit the record request. You will be directed to the Updates tab within a customer record. For more information on editing customer records, see Editing Customer Information.
-
The Reference Manager can Accept or Reject the request by editing the pending request in the Updates tab.
- Navigate to Record Review.
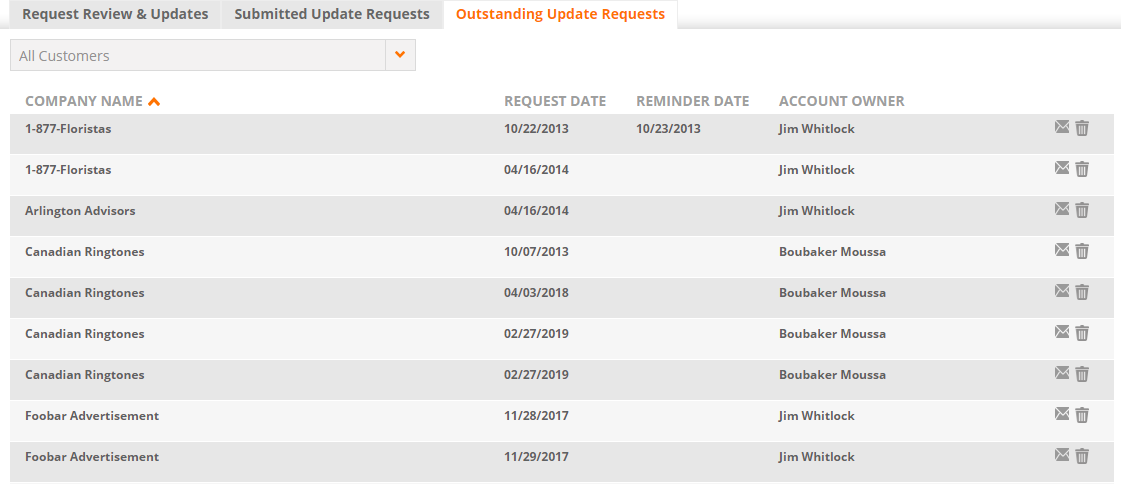
- Select the Outstanding Update Requests tab.
- Select one of the following views:
- My Customers: Customers to which you are the assigned Reference Manager.
- All Customers: Includes all customers.
- My Update Requests: Includes any update requests you have submitted.
- Click the
 icon to send a reminder email to the account owner.
 - Click the Trash icon to remove an outstanding request.
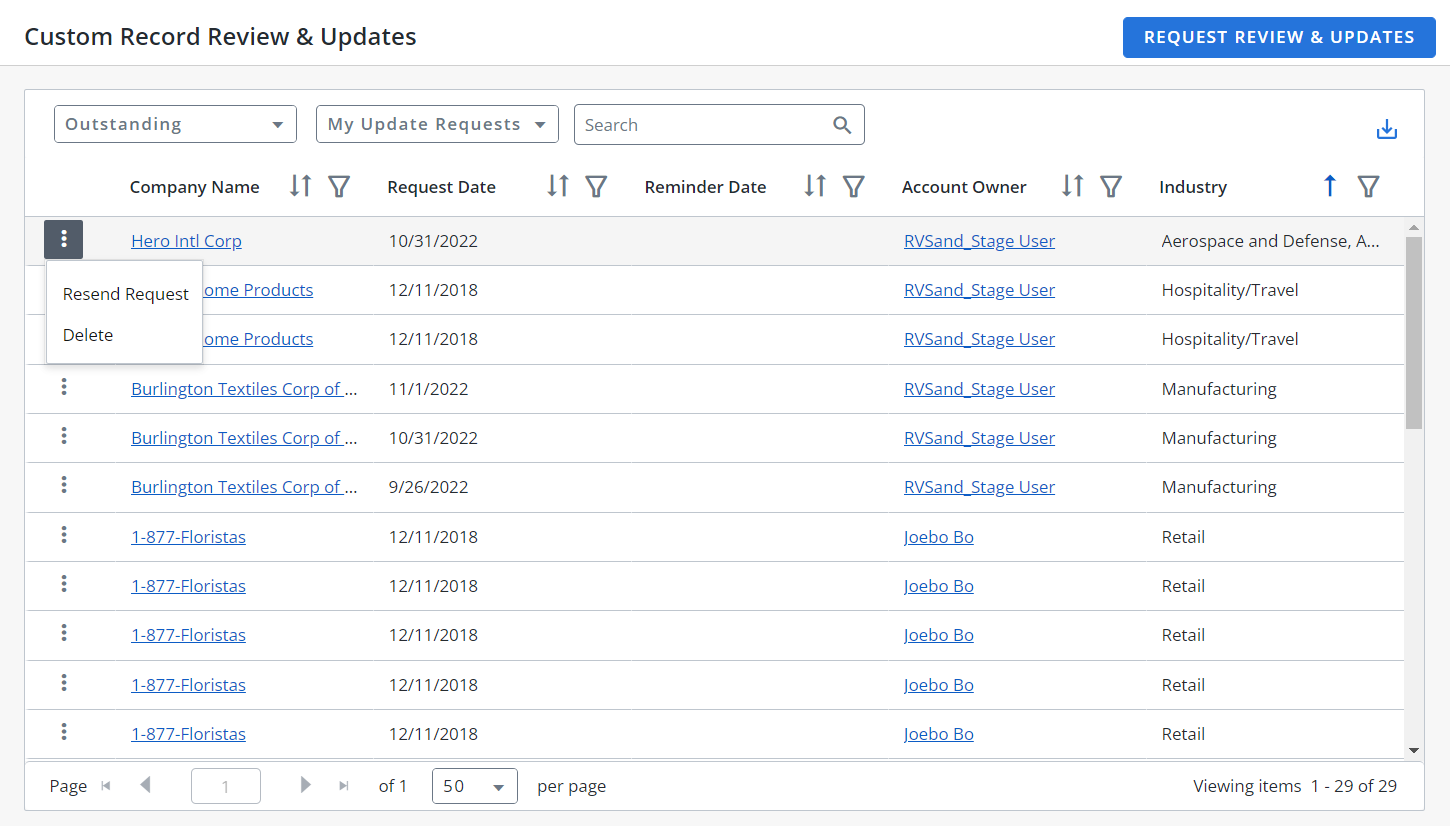
- Navigate to Record Review.
- Select the Outstanding view from the drop-down menu.
- Select one of the following options from the drop-down menu:
- My Customers: Customers to which you are the assigned Reference Manager.
- All Customers: Includes all customers.
- My Update Requests: Includes any update requests you have submitted.
- Click icon and select Resend Request to a send reminder email.
- Click icon and select Delete to remove an outstanding request.