Defining the Workflow Transitions
The Transition Edit dialog box displays the following tabs to allow users to set up, edit and format the transition properties for the Leave Request Workflows:
Version Note: Leave Request under Work Process, previously located at Setup > Work Processes > Administrative, has been removed and no longer falls under Work Processes. The Leave Requests Workflow Type is available as of Tenrox 2019 R1.
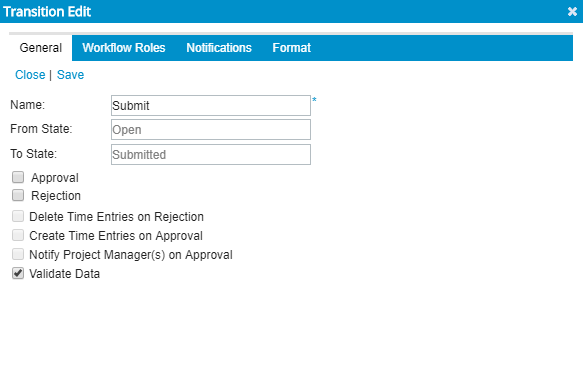
1. The General Tab
Within the Workflow Transitions General tab, you can define the names and the properties of the workflow transitions
- Name: Transition Name.
- From State: Shows the From State Name.
- To State: Shows the To State Name.
- Approval: A single Approval transition is defined for a State; the Approval transition is mutually exclusive with the Rejection, trasition. When selected, the options Create Time Entries on Approval and Notify Project Manager(s) on Approval are enabled.
- Rejection: Can be selected on an Rejection Transition. When selected, the option Delete Time Entries on Rejection is enabled.
- Delete Time Entries on Rejection: When selected, the system will delete time entries against the Leave Time upon rejection of the Leave Request.
- Create Time Entries on Approval: When selected, the system will create the appropriate Time Entries upon approval of the Leave Request. Note: The option, “Create Time Entries on Approval”, applicable only on Approval, will insert the approved Leave Time in the Time Sheet and set those dates as “Non-Working” in the Calendar.
- Notify Project Manager(s) on Approval: When selected, the system will notify Project Manager(s) upon approval of the Leave Request.
- Validate Data: When selected, the system will validate the following upon submission of a Leave Request:
- That Reason is not created against a Holiday.
- That the selected Reason exists for that user, based on the Timesheet Template settings.
Note: If an error is generated based on either of the above, the state change is halted.
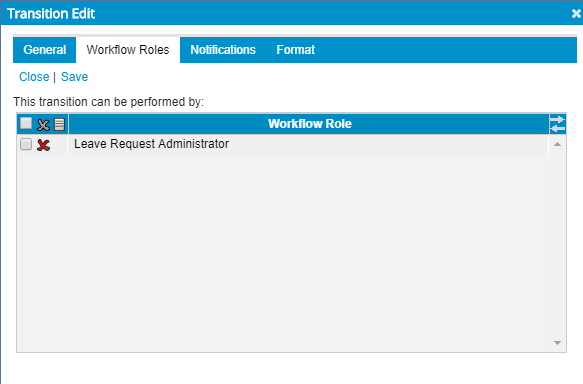
2. The Workflow Roles Tab
Within the Workflow Roles tab, you can associate a user role created in the system with the workflow transition.
- Click the Add icon to display all the user roles created in the system
- Click the user role that will be associated to the workflow transition.
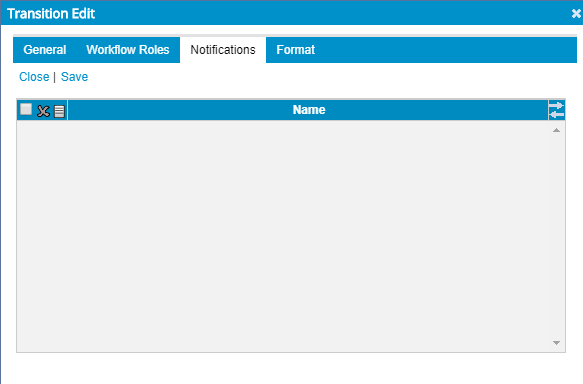
3. The Notifications Tab
Within the Notifications tab you can setup Notifications wherin,the system automatically generates and sends email messages when the specified conditions are met.
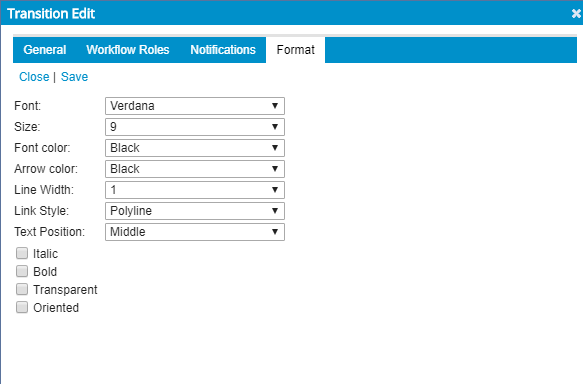
The options within the Format tab, allow users to format the formatting of the workflow transition.


