Edit the Details of a Subscription
The Subscriptions page provides detailed information about each subscription. You can edit recurring subscriptions.
1. Access Manage Subscriptions
The manage Subscriptions page can be accessed either through the:
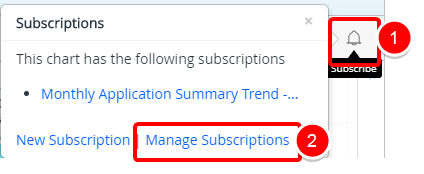
- Select the Subscribe button from a report.
- From the Subscribe context menu click Manage Subscriptions.
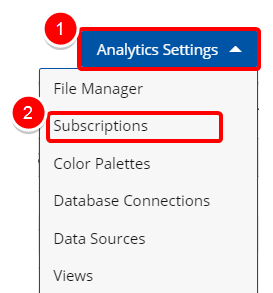
- Click the Analytics Settings button on the Main Menu Bar.
- Then select Subscriptions from the menu.
2. Select Subscription
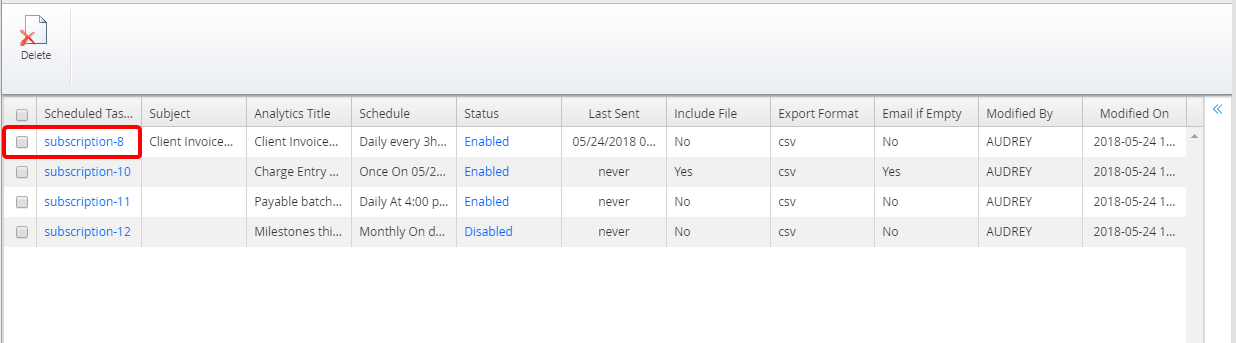
- Click the Scheduled Task Name to edit your subscription
3. Edit the details of your Subscription
Make the necessary changes by editing the following information:
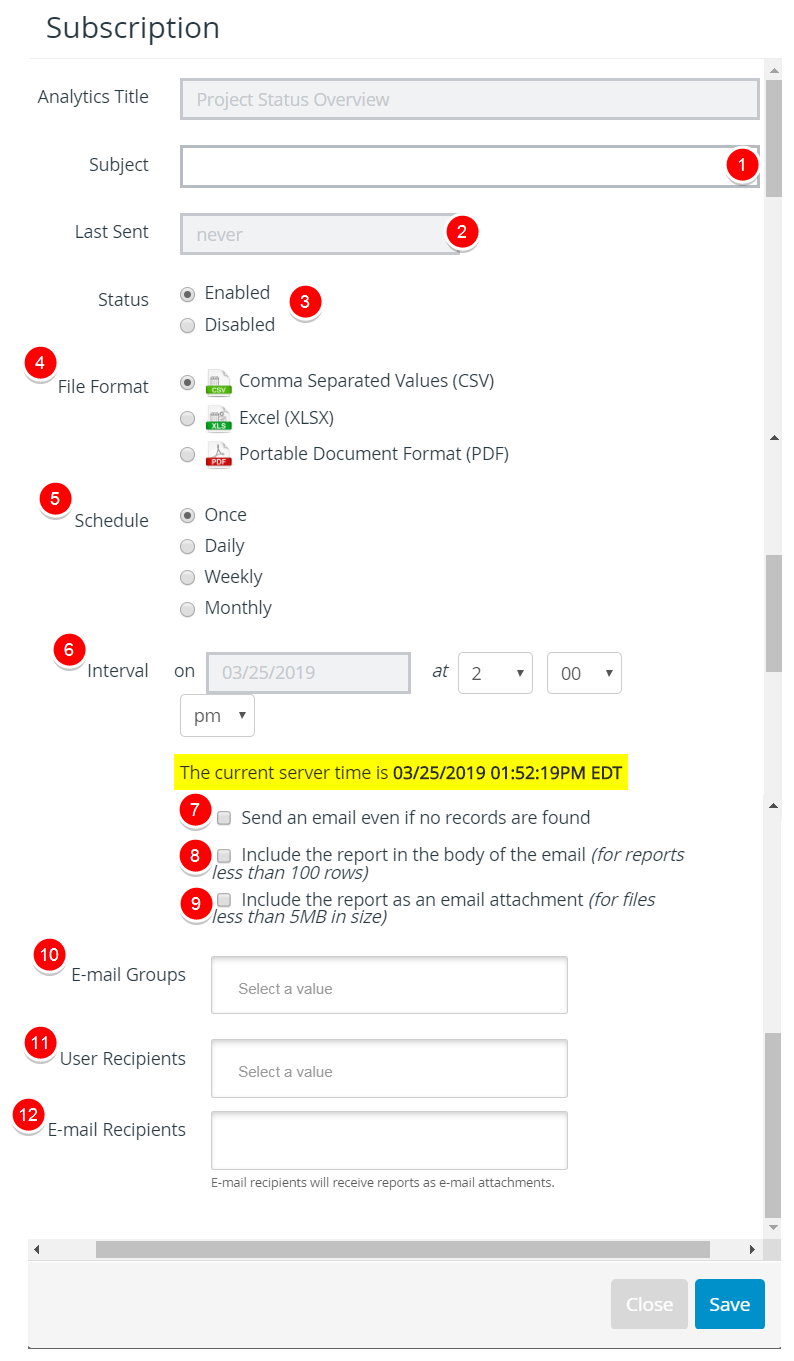
- Enter a Subject for your Subscription.
- Last Sent: Date when the Subscription was last sent.
- Select the Status of the subscription:
- Enabled
- Disabled
- Select the File Format from the available options:
- Comma Separated Values (CSV)
- Excel (XLSX)
- Portable Document Format (PDF)
Note: When a report is run, the naming convention is: report name, timestamp when the report runs, and the file type. For example: EDUFinancials– 20191106_050012.csv. - Schedule:Select when the recipients are to receive the report or graph/chart based on when the interval
selected in the Interval field:
- Once
- Daily
- Weekly
- Monthly
Note: After the report is run, the subscription will be deleted. - Interval: You can schedule the Subscription to be generated at set intervals and added to your “Subscriptions” page for download or emailed to you.
- Select Send an even if there are no records found to receive the report as an email attachment even if no records are found.
- Select Include the report in the body of the email (for reports less than 100 rows) to embed the report in an email. If the report exceeds 100 rows, the report will not be embedded. It will be sent as an email attachment.
-
Select Include the results as an email attachment (5MB max file size) to receive the report as an email attachment. This field is not available for charts.
Note: The maximum allowable file size is 5.0 MB. - E-mail Groups: Select the email group from the available list.
- User Recipients: Type and/or select the email recipient from the available list. The list contains all Upland Analytics users.
- Email Recipients: Type the email address for the email recipient(s).
- Click Save.
Menu