Add a New View to a Data Source
In order for users to be able to use a View, it must first be added to the Available Views in a Data Source.
Note: Each user's profile is uniquely configured and permissioned. Your view and options may differ slightly depending on the permissions granted.
Warning: You must have a clear understanding of the database schema to be able to manage Upland Analytics Sources and Views. Database schemas are blueprints of how the data is organized in the database. Upland Analytics allows for great flexibility in managing the Sources and Views but it is only recommended for users with knowledge and understanding of the Database schemas and its administration.
1. Access Upland Analytics Sources
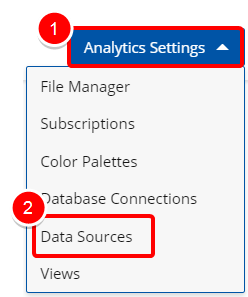
- Click the Analytic Settings button on the Main Menu Bar.
- Then select Data Sources from the menu.
2. Edit a Data Source
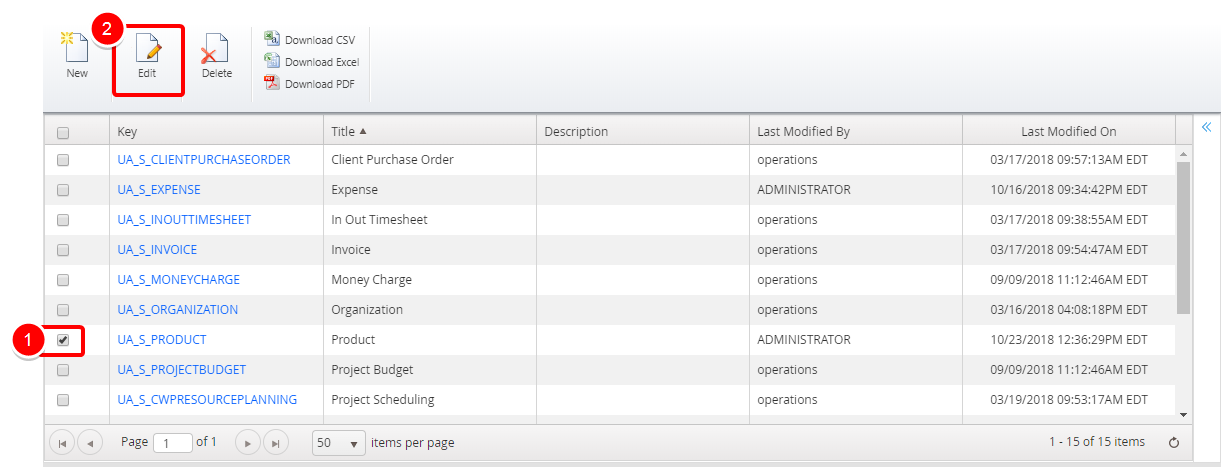
- Select the Data Source you wish to edit.
- Click Edit.
3. Select View
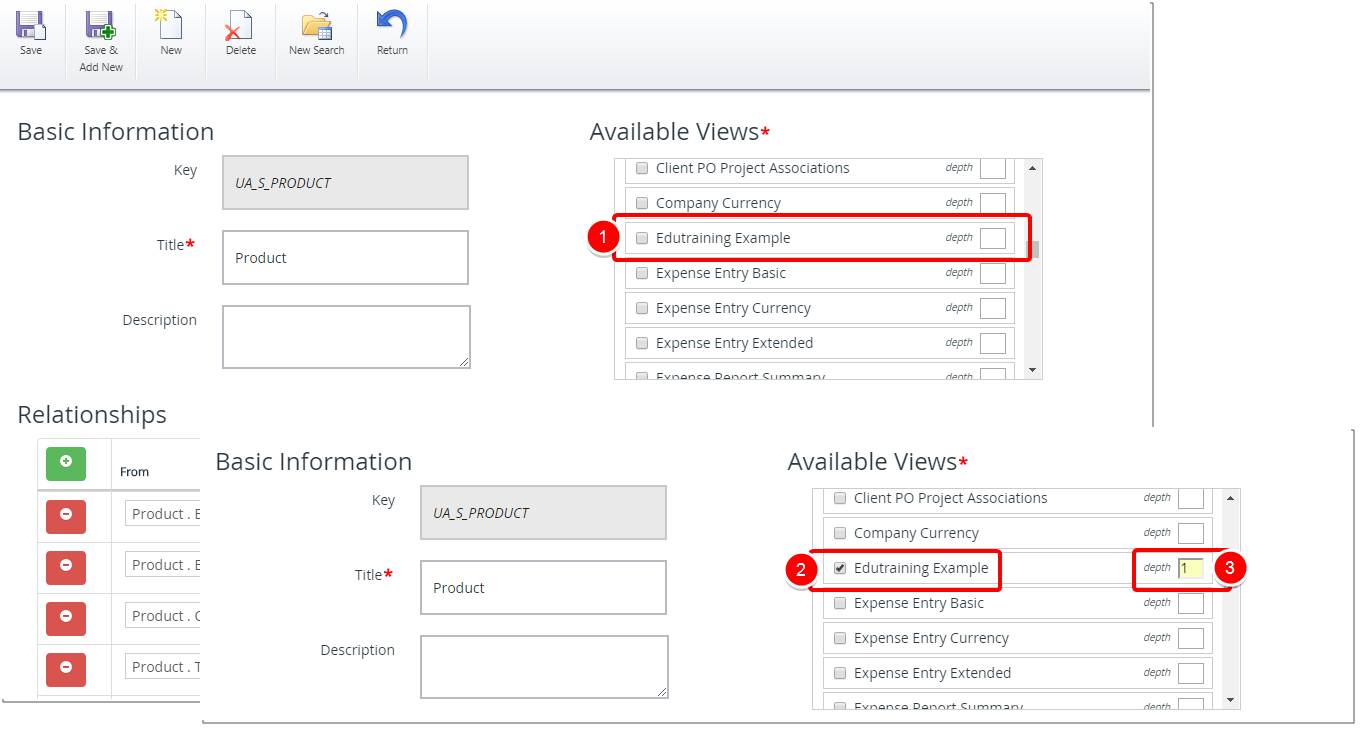
- Locate the View you wish to include in the Data Source.
- Select the View.
- Define the depth for each of the selected Views as follows:
- A depth of 0 is for the starting node. There can be only one node with a depth=0.
- Any other node that branches out of a View with a depth=0 will be depth=1.
- Any other node that branches out of a View with a depth=1 will be depth=2.
- Any other node that branches out of a View with a depth=2 will be depth=3 etc.
4. Click Save
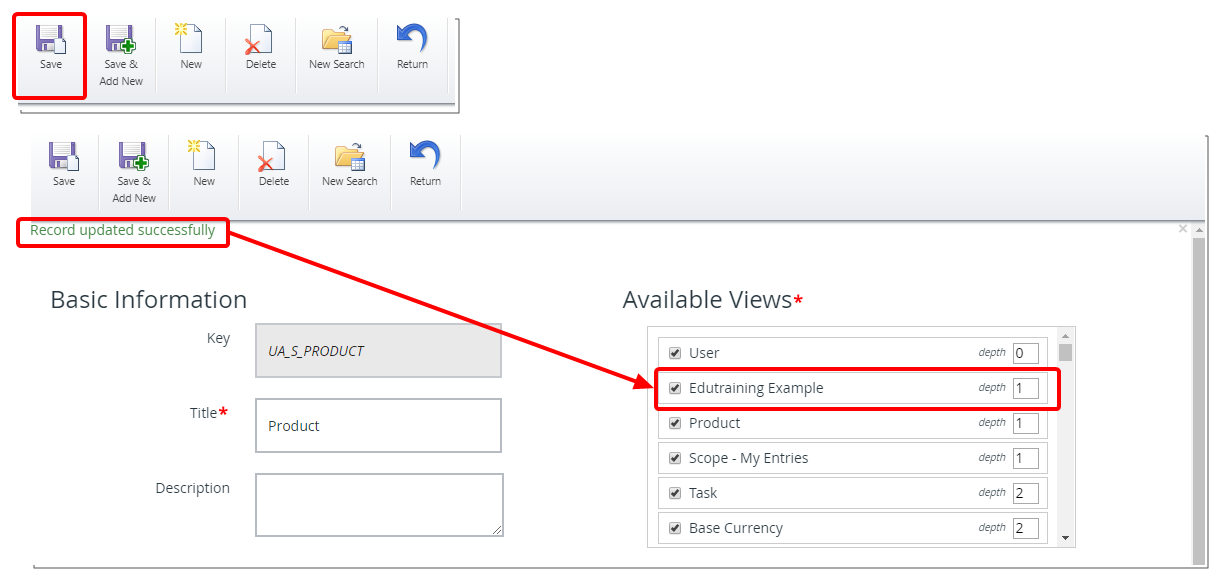
- Click Save to apply your changes.
- Note that record has been updated successfully.
5. View Your Changes
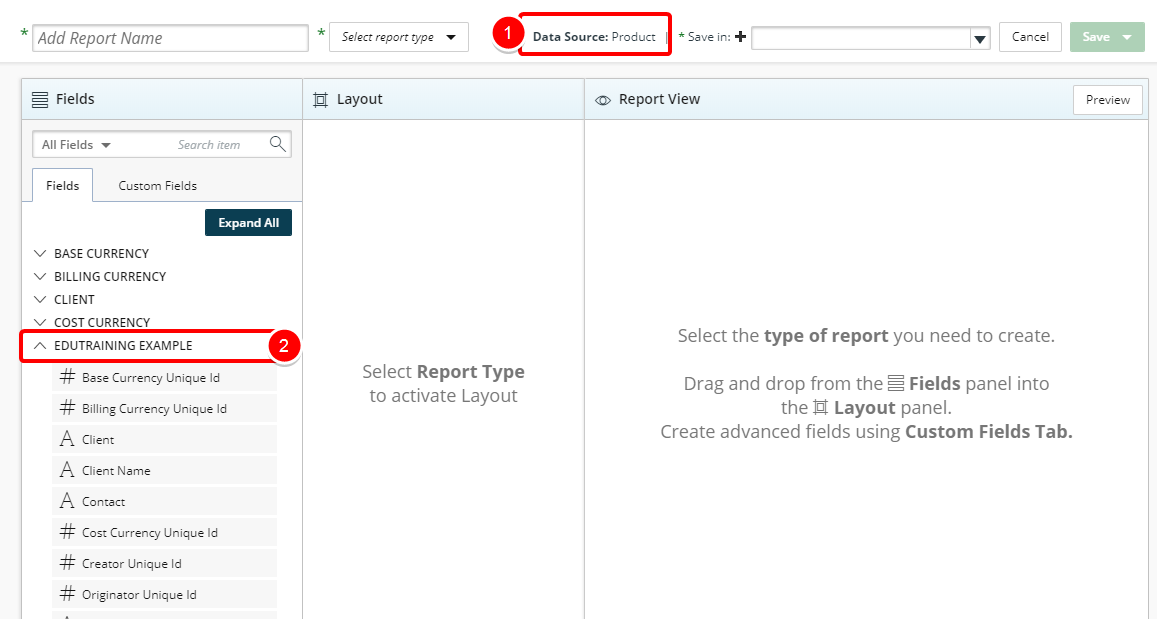
- Create a new report by selecting the Data Source you edited in step 2 above.
- Note the addition of the field in the Fields tab.
Menu