Apply an On-Page Filter
All users can apply On-Page Filters to reports, graphs/charts and dashboard when fields have been added to the filter drawer.
If you are the report creator and do see any fields, see Add a Field to an On-Page Filter.
If you are NOT the report creator and do not see any fields, you must ask the report creator to add fields for you.
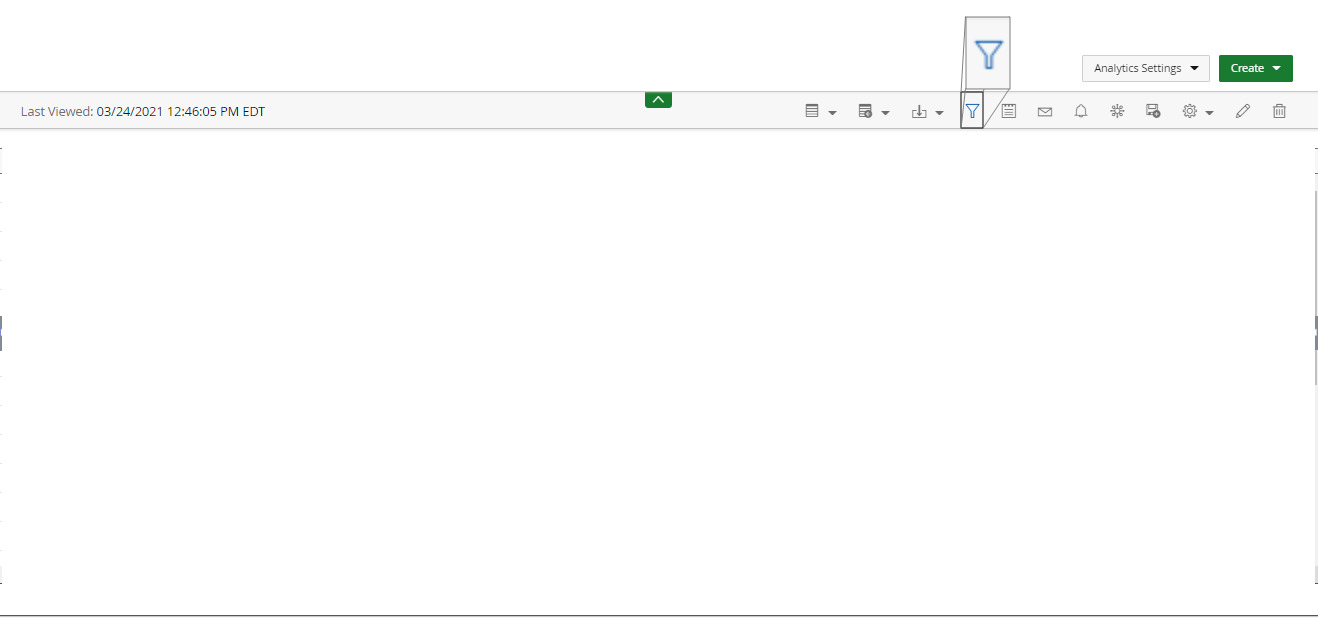
- When fields have been added to the filter drawer for reports, graphs/charts or dashboards, the filter icon displays in blue
 when the filter drawer is closed.
 - Click to open the filter drawer.
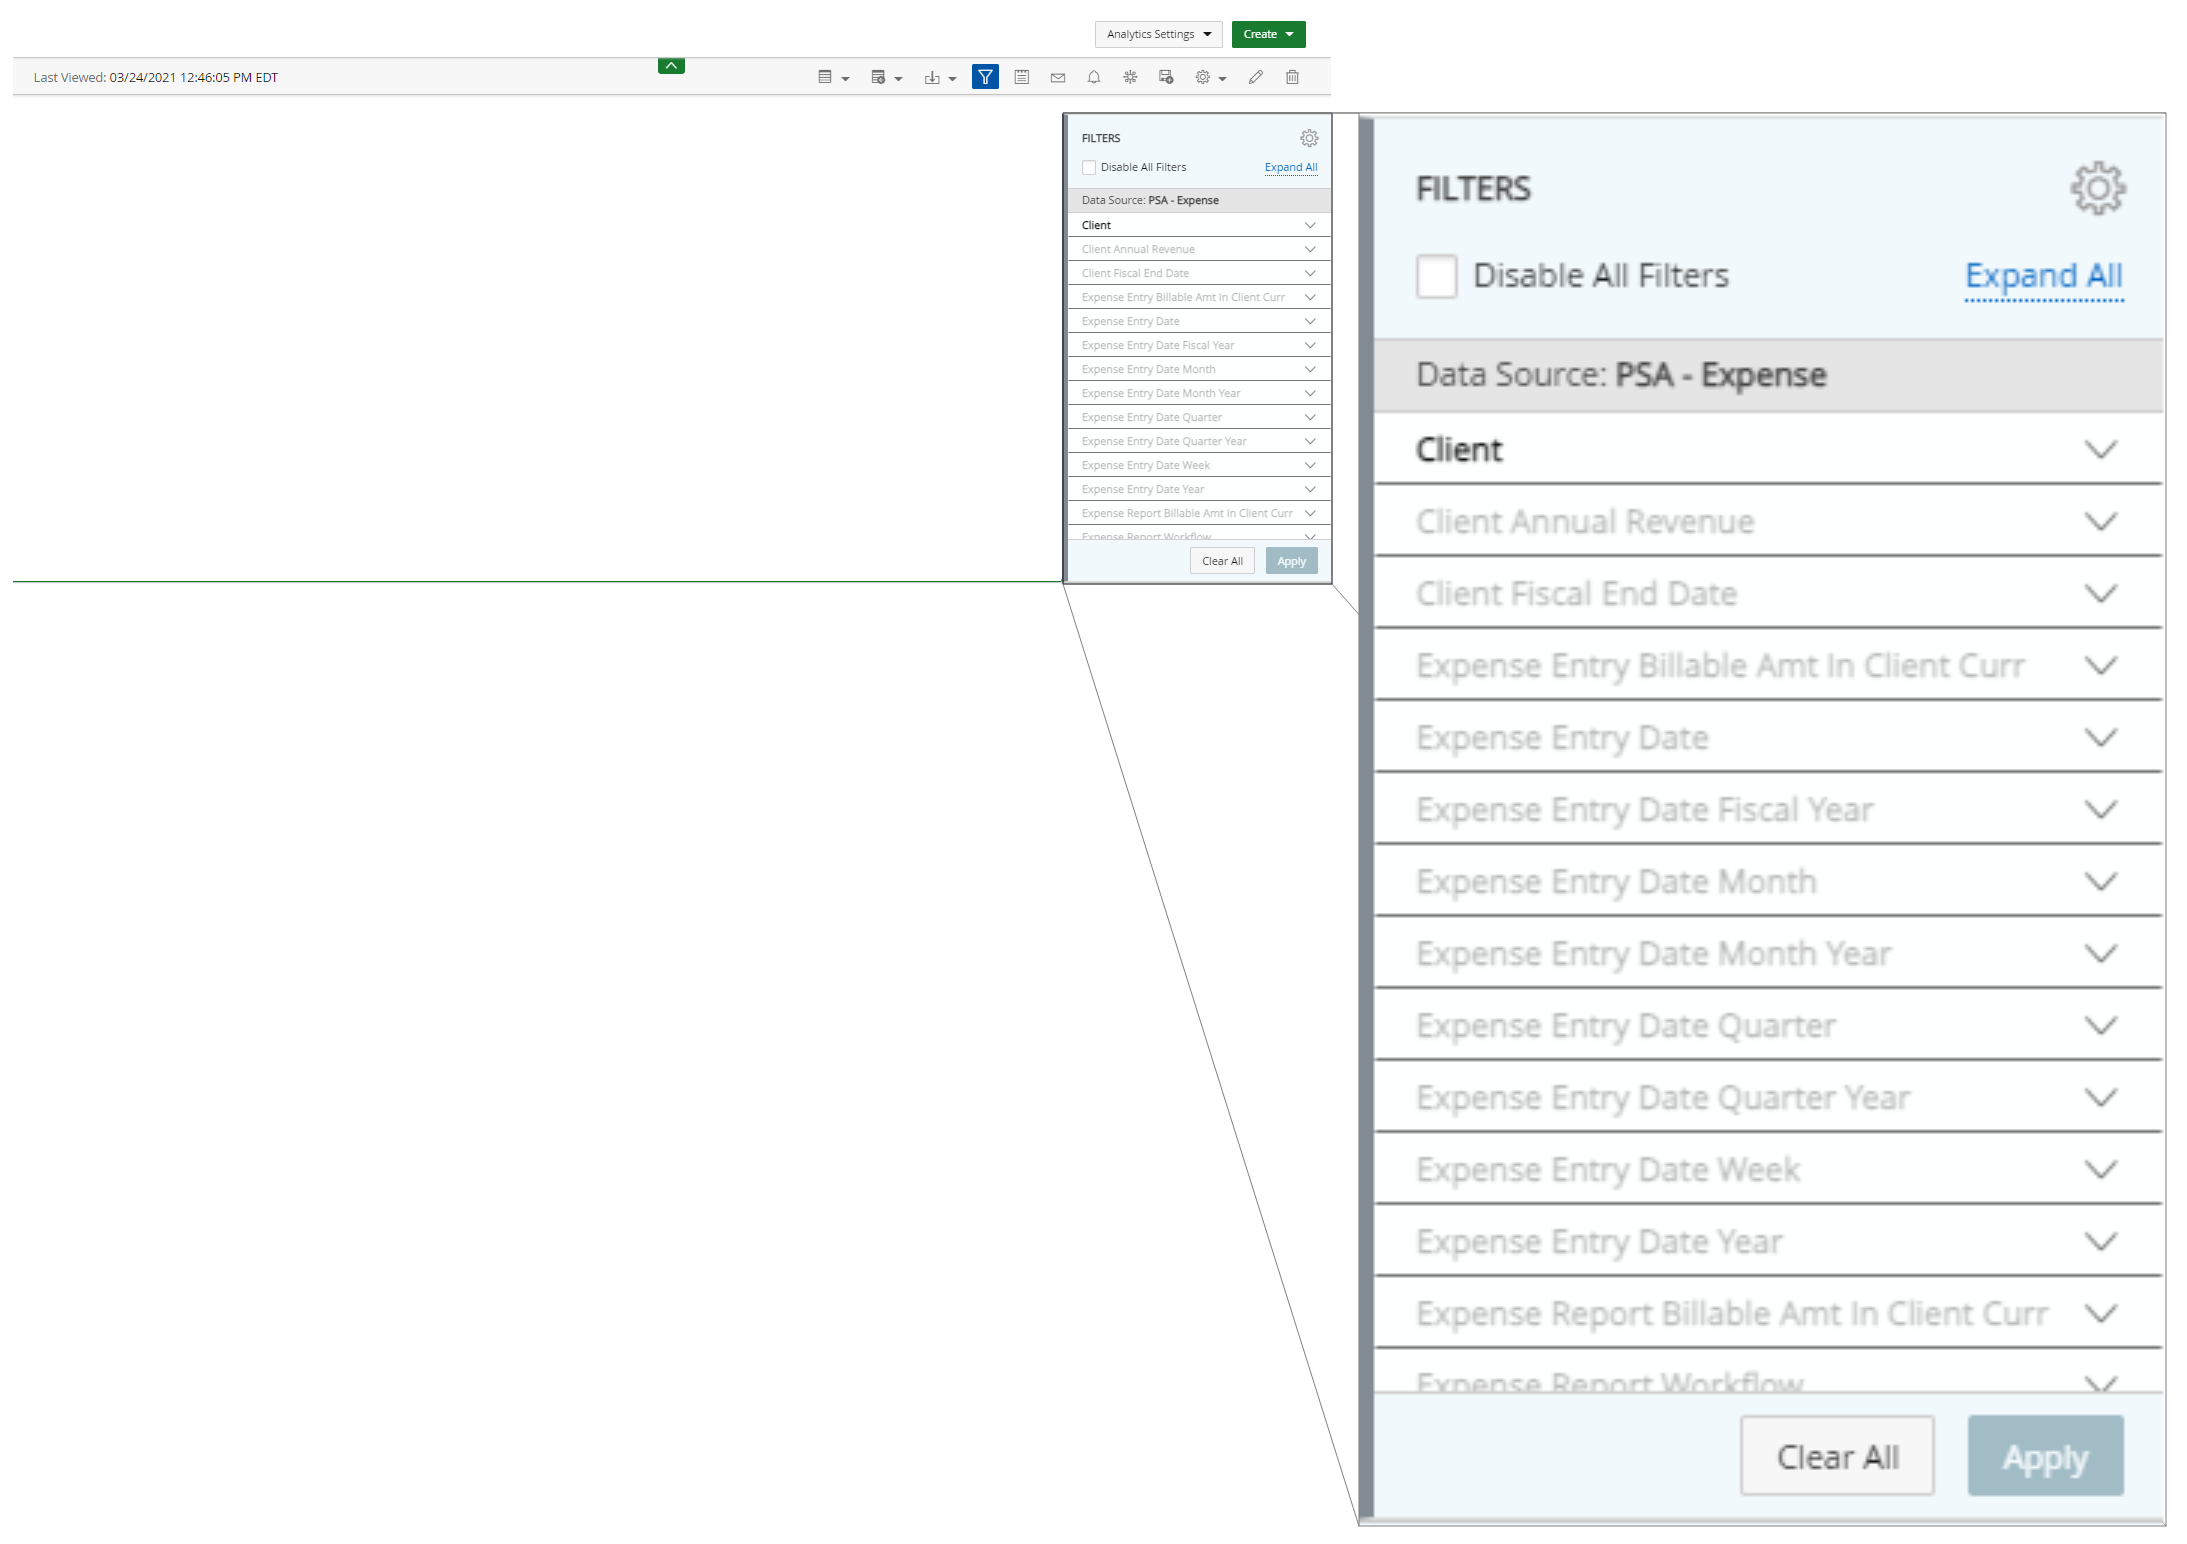
- Do one of the following to display the filter values:
- Click the drop-down arrow next to the filter you want to apply.
- Click Expand All to expand the details for all filters.
- Complete as follows (options vary by the type of data you select):
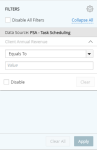
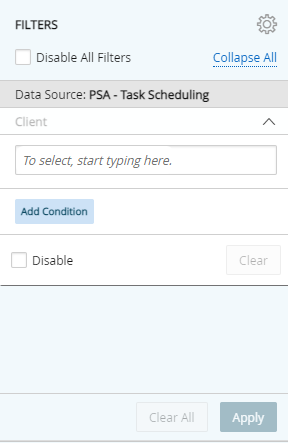
- Dimensions:
- In the To select, start typing here field type the name of the field. A drop-down menu displays all fields in the report.
- Select one or more fields to add to the filter from the list.
- Click anywhere to close the list.
- Click Add Condition.
- Select the operator from the Equals To drop-down list. The following operators are available:
- Equals To: Returns records if the field matches the target value.
- Not Equal To: Returns records where the field does not match the target value.
- Contains: Returns records if the field includes the target value.
- Starts With: Returns records if the field starts with the target value.
- Ends With: Returns records if the field ends with the target value.
- Not Contain: Returns records where the field does not contain the target value.
- Not Start With: Returns records where the field does not begin with the target value.
- Not End With: Returns records where the field does not end with the target value.
- Pattern: Returns records that match the specified set of characters in the exact order.
- Is Null: Returns all records where the field is null.
- Is Not Null: Returns all records where the field is not null.
- Measures:
- Select the operator from the Equals To drop-down list. The following operators are available:
- Equals To: Returns records if the field matches the target value.
- Not Equal To: Returns records where the field does not match the target value.
- Less Than: Returns records where the data in the column is greater than the value in the filter.
- Equal or Less Than: Returns records where the data in the column is greater than or the same as the value in the filter.
- Greater Than: Returns records where the data in the column is less than the value in the filter.
- Equal or Greater Than: Returns records where the data in the column is less than or the same as the value in the filter.
- Between: Returns records where the data in the column is between the two values in the filter.
- Not Between: Returns records where the data in the column is not between the two values in the filter.
- In the Value field, type the value to filter on.
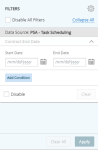
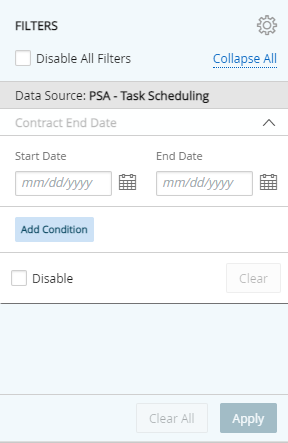
- Dates:
- Do one of the following:
- Select the date range in the Start Date and End Date fields.
- Click Add Condition and select the operator from the Equals To drop-down list. The following operators are available:
- Current Day: Returns records for the current day.
- Next Day: Returns records for the next day in the specified day, month, or year.
- Previous Day: Returns records for the previous day in the specified day, month, or year.

- Click Apply. Note that the contents of the filters are not saved.

Note: Click Clear All to delete the contents of the filter.