Document Profiling also known as Document Tagging is a feature that helps users access and retrieve documents stored in a document management system (DMS). A document profile specifies the DMS location, format, and metadata for delivery, identification, and searching purposes. You can create DMS profile records when creating distributions and using My Files.
Before you begin
The Desktop Client must be installed on your desktop. You must configure the DMS by using the Desktop Client before creating distributions and using My Files.
Configuring the DMS
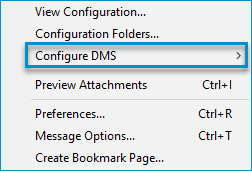
You can configure the DMS by using the Desktop Client > Tools > Configure DMS option.
To configure the DMS
- Start the Desktop Client.
- Select Tools > Configure DMS and the appropriate DMS from the shortcut menu.
- Specify the DMS Configuration parameters.
- Click Next.
- Click Finish.
Note: Contact your Administrator for DMS configuration details, if necessary.
See the Desktop Client > Tools > Configure DMS menu and DMS Configuration dialog box examples below.
|

|
Creating a distribution
A Distribution is a defined group of one or more recipients and associated routing rules. The DMS in this scenario is the recipient and it will contain information about the DMS server/folder location, document format, and metadata, if configured.
To create a distribution for DMS document profiling
- Start
Note: Contact your Administrator for the
- Select Create Distribution on the Home page. The Create Distribution dialog box appears.
- Select the Plus (+) icon next to the Destination box.
See the Create Distribution dialog box example below.
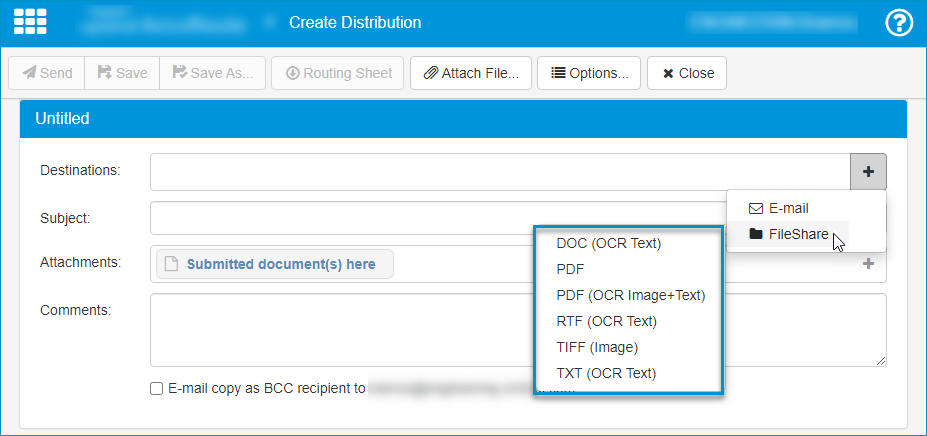
Note: The FileShare DMS is being used as an example for illustrative purposes only and may not reflect your company’s unique DMS configuration.
- Select the DMS and appropriate format from the shortcut menu. The Profiling message appears.
Note: The Desktop Client/DMS dialog box should automatically appear. Minimize your browser window, if necessary. It may have opened behind your browser window. If not, check the Desktop Client/DMS icon in the system tray.
- Specify the appropriate parameters in the Desktop Client/DMS dialog box.
See the Desktop Client > DMS FileShare Folder example below.

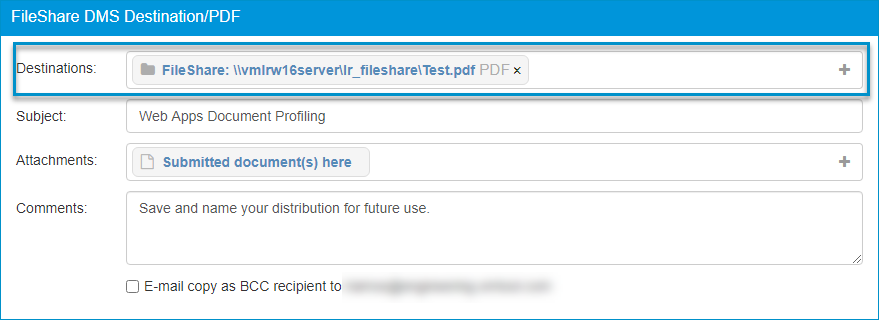
- Click Save. The Destination box shows the destination and format information.
See the DMS Destination dialog box example below.
- Specify additional parameters, if necessary.
- Save and name the distribution for future use.
See About Distributions and Creating Personal Distributions for more information.
Using My Files
To use My Files for DMS document profiling
- Start
Note: Contact your Administrator for the
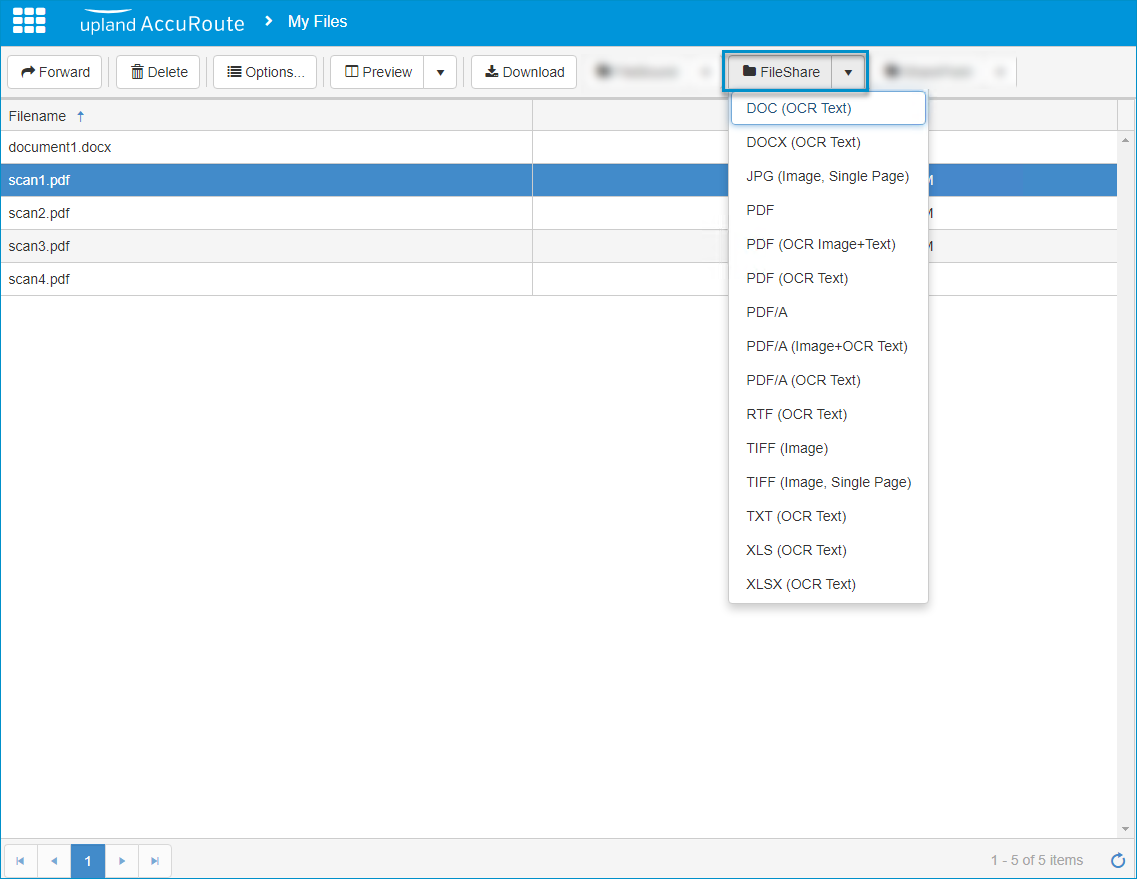
- Select My Files on the Home page. The My Files dialog box appears.
- Select a document on the list to create a DMS document profile record.
- Select the appropriate DMS button on the toolbar. The Format shortcut menu appears.
- Select a format; for example, PDF. The Profiling message appears.
Note: The Desktop Client/DMS dialog box should automatically appear. Minimize your browser window, if necessary. It may have opened behind your browser window. If not, check the Desktop Client/DMS icon in the system tray.
- Specify the appropriate parameters in the Desktop Client/DMS dialog box.
- Click Save. The DMS document profile record and attachment is automatically delivered to the DMS. A Documents Submitted message appears.
See the My Files > DMS document format menu example below.
Note: Documents submitted remain in the My Files list until you delete them.
See About My Files for more information.