You can create bookmark pages to separate multiple scanned documents that may be; for example, from a single binder of documents. Bookmark pages are reusable and generated in a PDF format.
Note: Bookmark pages are used for scanning hard copy documents. PDF bookmarks are generated when you place one or more of these bookmark pages in a document.
You can create bookmark pages by using Preferences.
To create a bookmark
-
Open
-
Select Preferences. The Preferences page appears.
-
Select Create Bookmark Page. The Create Bookmark Page appears.
-
Type a bookmark heading in the Bookmark Text box.
-
Select a template or use the default on the Template drop-down list.
-
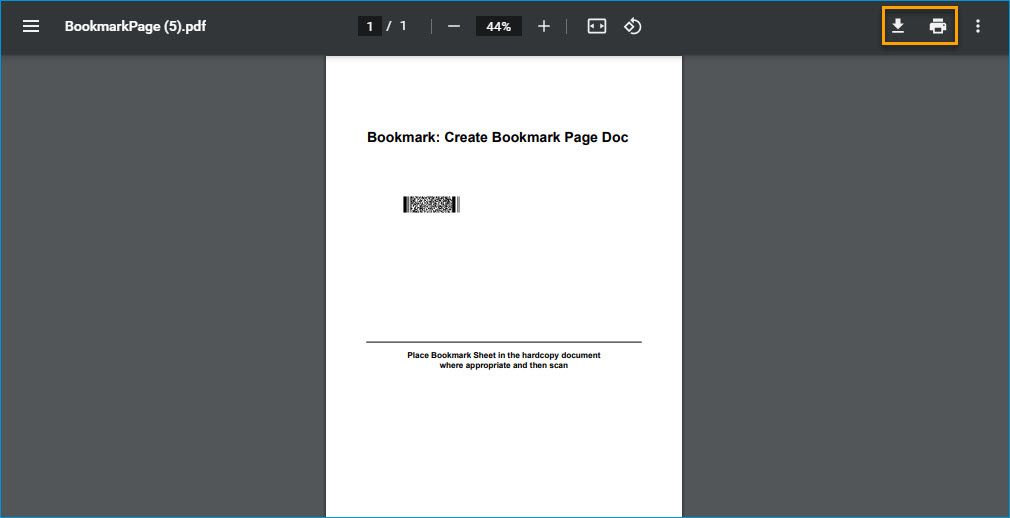
Select the Create Bookmark Page button. A PDF is generated and downloaded for printing.
See the bookmark example below.
-
Print the bookmark page.
-
Select Close.
-
Place the bookmark page(s) in your document and scan.
Note: You can have multiple bookmarks in a document. Create additional bookmarks for your document as needed by repeating the steps above.
Saving a bookmark
You can save a bookmark for reuse by using the Download arrow in the PDF window. Save the bookmark after the download has been completed to your preferred location.