You can manage the following folder-related tasks as a member of a designated My Files group.
-
Access and view My Files group folders
-
Create folders and sub-folders
-
Rename folders
-
Move files
-
Delete folders
-
Delete files
My Files Group Folders at a Glance
|
My Files Group Folder Legend |
Description |
|---|---|
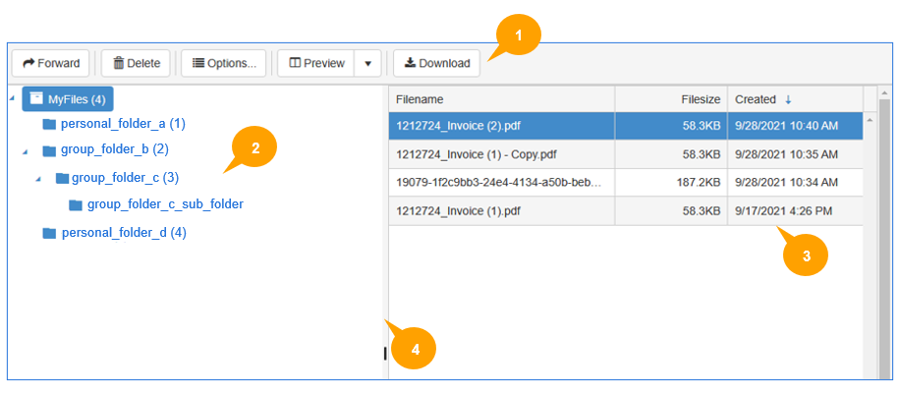
| 1. Toolbar | Use the Toolbar to manage the folders and files in the My Files view. See About |
| 2. Folder pane |
Shows the personal and shared group folders with a file count; for example, (1). Use the arrows to expand and collapse the folders, if necessary. Files are shown in the File pane when folders are selected. In the example above, My Files has (4) files that are shown in the File pane. |
| 3. File pane |
Shows files in the selected folder. The filename, file size and date/time stamp are displayed. Use the Column bars to increase or decrease the column width. Use the Column arrow to sort the column data in ascending or descending order. |
| 4. Split pane bar | Use the Split pane bar to increase or decrease the pane width, if necessary. |
Note: The Preview pane and Navigation bar not shown above are part of the My Files view. The Preview pane shows the actual document when selected in the File pane. You can use the Navigation bar to go to the first, next, previous, or last page of the files that may appear in the File pane.
Accessing My Files
You can access My Files by selecting the My Files tile on the

Note: Contact your Administrator if you do not know the
Creating folders and sub-folders
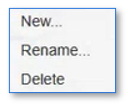
Use the My Files shortcut menu that appears when you select a folder to create folders and sub-folders.
To create folders and sub-folders
-
Right-click any folder in the Folder pane. A shortcut menu appears.
-
Select New. The Folder name dialog box appears.
-
Type a folder name in the Name box.
-
Select OK.
Renaming folders
Use the My Files shortcut menu that appears when you select a folder to rename folders.
To rename a folder
-
Right-click any folder in the Folder pane. A shortcut menu appears.
-
Select Rename. The Folder name dialog box appears.
-
Type a folder name in the Name box.
-
Select OK.
Moving files
Use the drag and drop method to move files one at a time to different folders.
To move a file
-
Select any folder in the Folder pane.
-
Select the appropriate file in the File pane.
-
Drag and drop the file to a different folder.
-
Repeat Steps 1 through 3 until you are done.
Deleting folders and files
Use the My Files shortcut menu that appears when you select a folder or file to delete folders and/or files.
To delete a folder and content
-
Right-click any folder in the Folder pane. A shortcut menu appears.
-
Select Delete. The Delete the selected items(s)? dialog box appears.
-
Select OK.
To delete a file
-
Right-click any folder in the Folder pane. The files appear in the File pane.
-
Right-click the appropriate file in the File pane. A shortcut menu appears.

-
Select Delete. The Delete the selected items(s)? dialog box appears.
-
Select OK.