Using the Scan to Folder option, the server sends the document to a folder predetermined by your Administrator. These folders can be cloud storage (such as Dropbox), Network Folder Share (NFS) or File Transfer Protocol (FTP) destinations.
Authorizing cloud storage folders
If you have cloud storage (Dropbox) defined as your folder destination, you must set up authorization allowing the system to access the cloud storage folder.
To set up cloud storage authorizations
-
In
-
In the Authorizations section, select the cloud storage folder; for example, Dropbox and click the Properties button.
-
Provide your sign-in credentials and allow Cloud Storage access to all files and folders in your cloud storage of choice.
-
The settings are now applied to your Preferences.
Using the Scan to Folder option on the device
You can authenticate and authorize access to your cloud
storage folders by using
Note: The login and authorizing access to cloud storage screens on the device will appear if reauthentication and reauthorization is required. This process applies to all sever supported MFP devices and cloud storage services.
See the OneDrive Authorization Access screen example below.
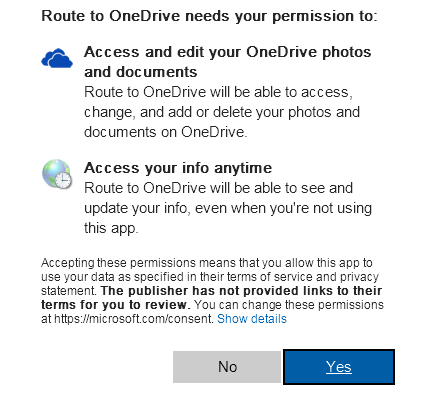
Note: Authorization Access screens are based on the cloud storage service you are using and will appear differently.
To use the Scan to Folder option on the device
-
Assemble your document and go to the device.
-
Load the document into the document feeder or place it on the exposure glass. (Use the exposure glass only if scanning a single page.)
-
Press Scan to Folder. (If this option is not visible, find it using the scroll bar.) Your Folder(s) appear on the device panel.
-
Select the Folder to which you want to send your document or select Create to create a new Folder destination.
-
If one touch scan is enabled, document scanning begins. Go to Step 7.
-
If one touch scan is NOT enabled (by default), the device shows the Ready to Scan message. Continue with the next step.
-
-
Optionally, press More Options to change scan settings (such as parameters for control over document routing and formatting).
-
Press Start to begin scanning. A progress indicator appears.
-
Wait for the job to finish. (Alternatively, press Cancel Job to stop scanning.)
When the transfer is complete, a message indicates the job status.
-
To scan another document to the same network folder, press Scan More.
To end the session and return to the main menu, press Home, the Red X (Pro devices) or the Done button.
See also