Adding Contacts to a Relationship Map
Learning Objectives
After completing this unit, you'll be able to:
- Identify contacts who should be on the map
- Add contacts from the relevant account and from other accounts
- Add new contacts to the map
- Assign relationship owners
- Use personas as placeholders
Add Contacts to the Relationship Map
When you're ready to start capturing relationship knowledge on the relationship map, the first thing to do is to add the contacts you know about.
Let's go back to Lynn Benford, the account executive who's doing discovery on a new account called MyHealth.
She has a promising opportunity with health-care provider MyHealth. She knows her company, Retail POS, can offer MyHealth outstanding value by helping them to scale their business and upgrade their point-of-sale (POS) technology.
Lynn and her colleagues on the revenue team have already connected with some of the contacts at MyHealth who really matter to this particular buying decision.
The decision makers are:
- Don Kellett, the digital procurement manager
- Sophie Cooke, the digital operations manager
The approvers are:
- Susan Linton, the COO
- Sonia West, the CFO
There are also several evaluators who will affect the buying decision:
- Terry Whelks, the purchasing coordinator
- Dave Clifton, a consultant from an external agency
- Tony Hayers, the vice president of procurement
Adding Suggested Contacts
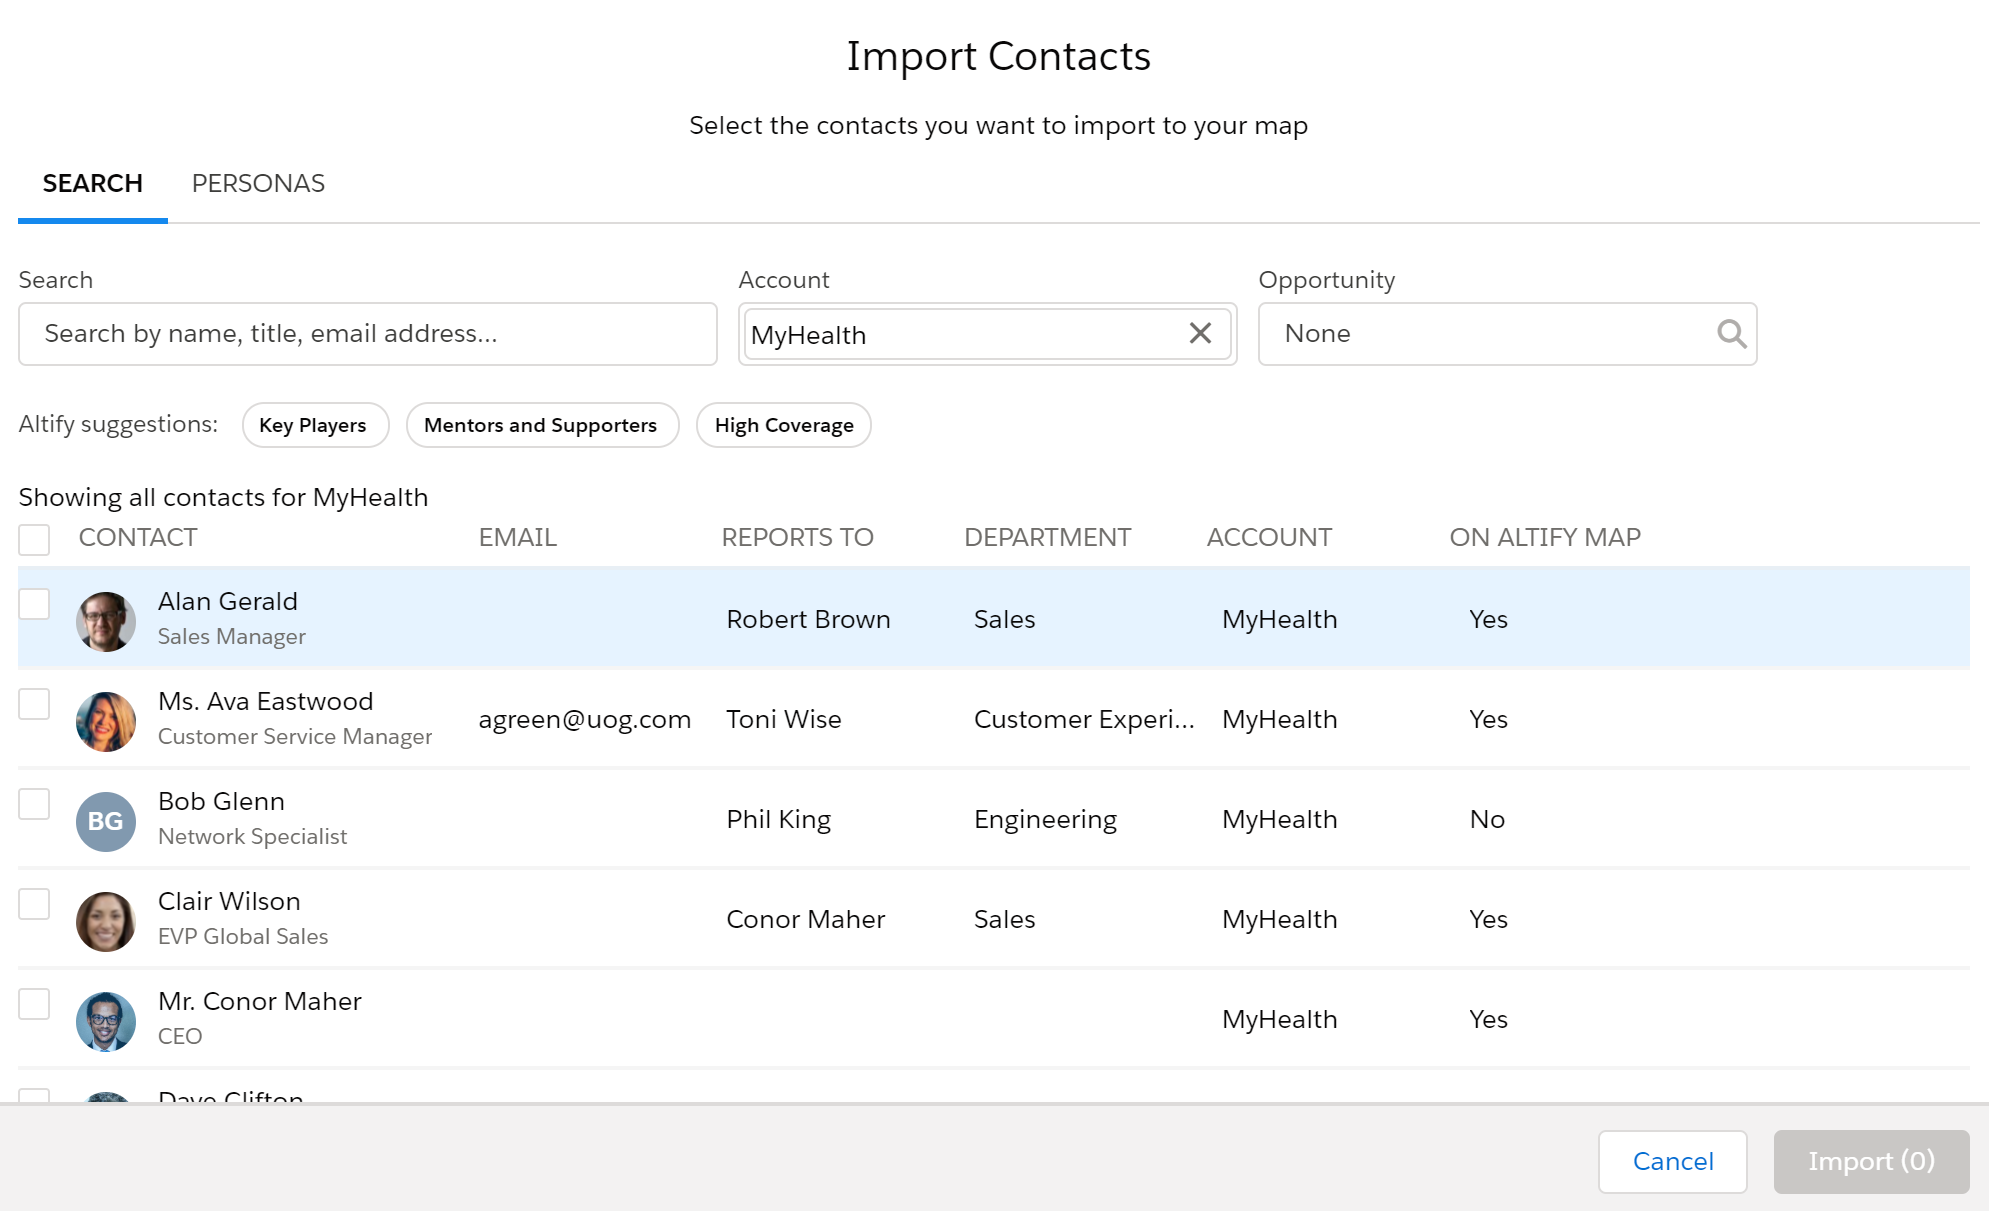
If Lynn is not sure exactly which contacts she should add to the map, the Import Contacts dialog will help her.
To open the dialog, she selects Add Contacts > Import Contacts in the top right.

The dialog automatically lists contacts associated with the MyHealth account.
It would also list any non-MyHealth contacts on the account's relationship map if that was already set up. (An account relationship map is used to represent the strategic relationships a seller has with a particular customer. )
Lynn can select anyone in the list she wants to add to the opportunity's relationship map.
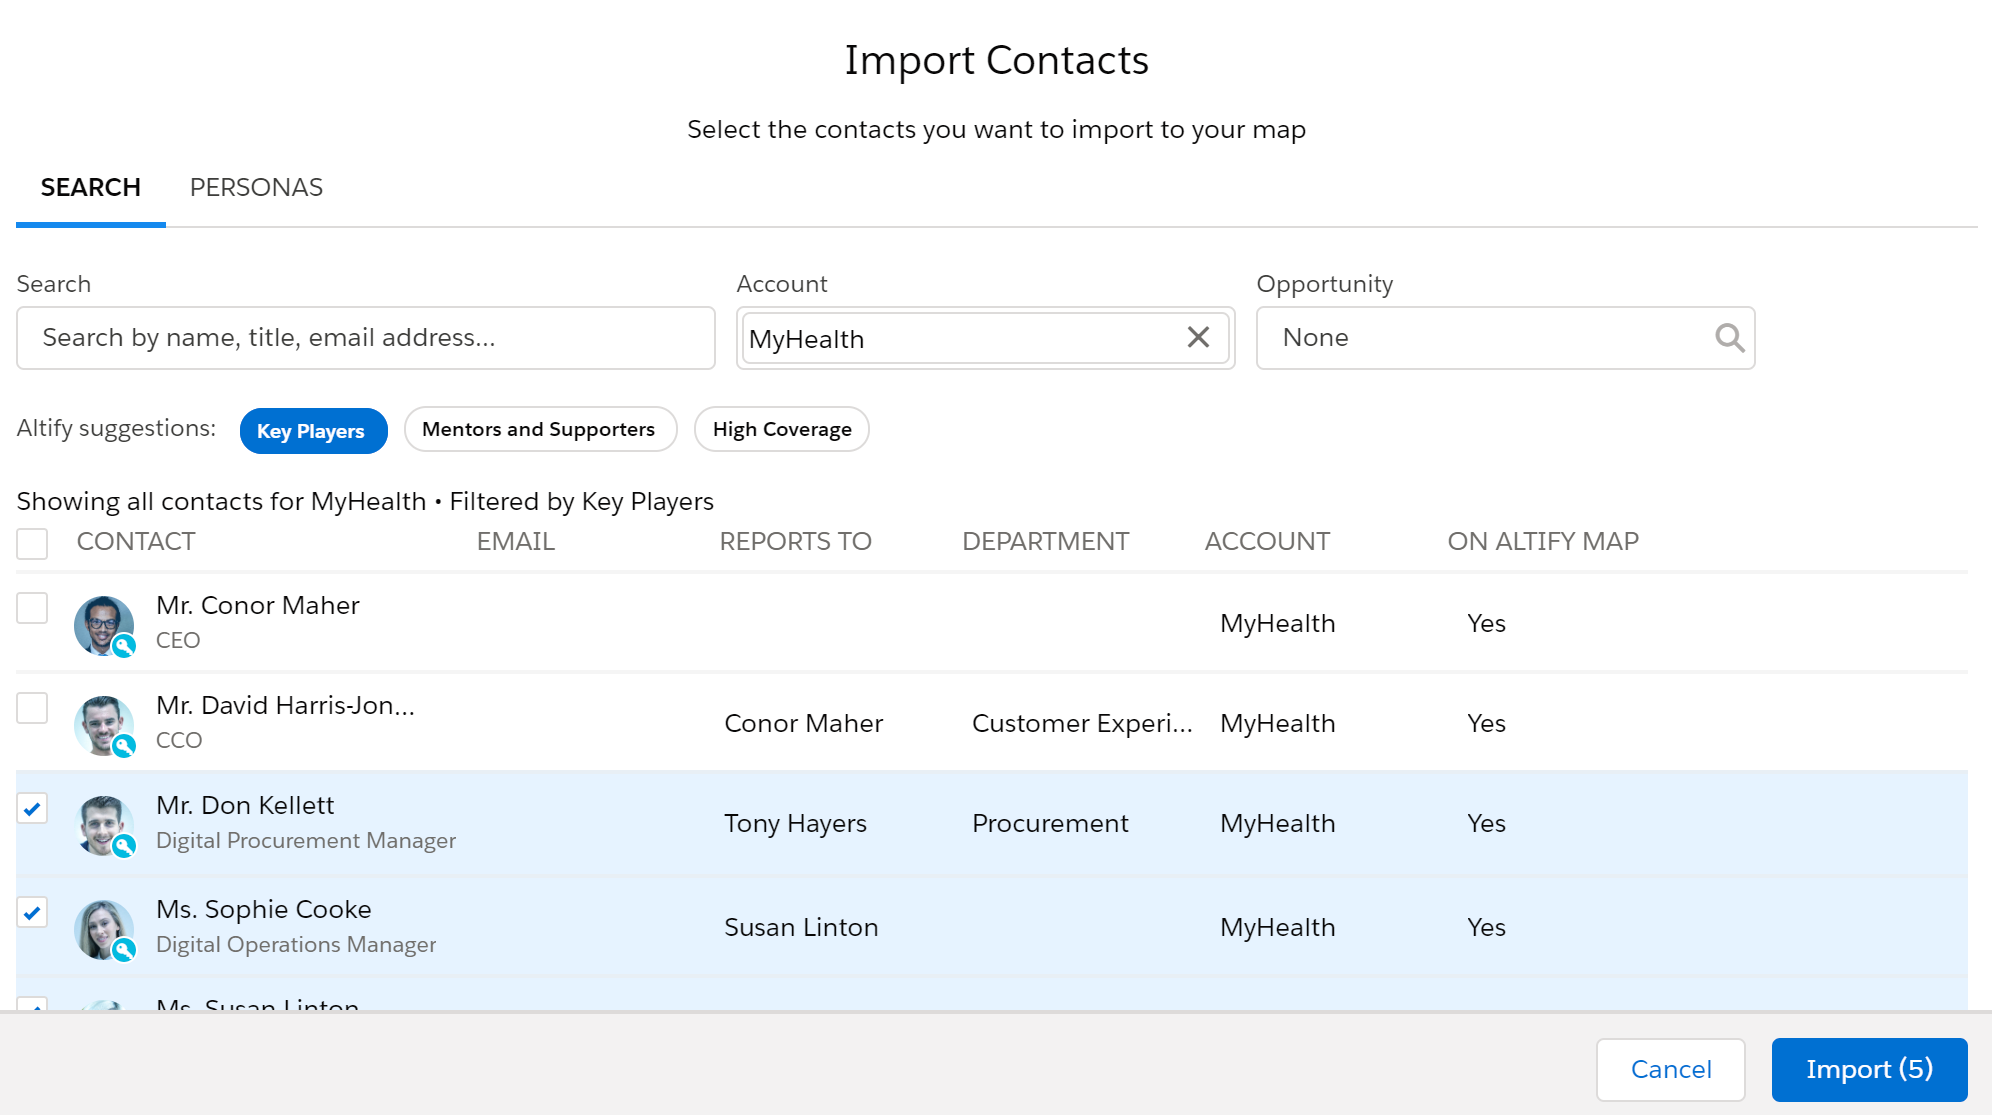
The filter options give Lynn a way to narrow down the list of contacts.

Clicking Key Players filters the list to show contacts who are key players
Lynn sees some contacts she needs to add, so she selects them.
Similarly, clicking Mentors and Supporters filters the list to show contacts set as a mentors or supporters on
And clicking High Coverage filters the list to show contacts with high coverage (level of contact with Retail POS) on
Add Contacts for the Recommended Personas
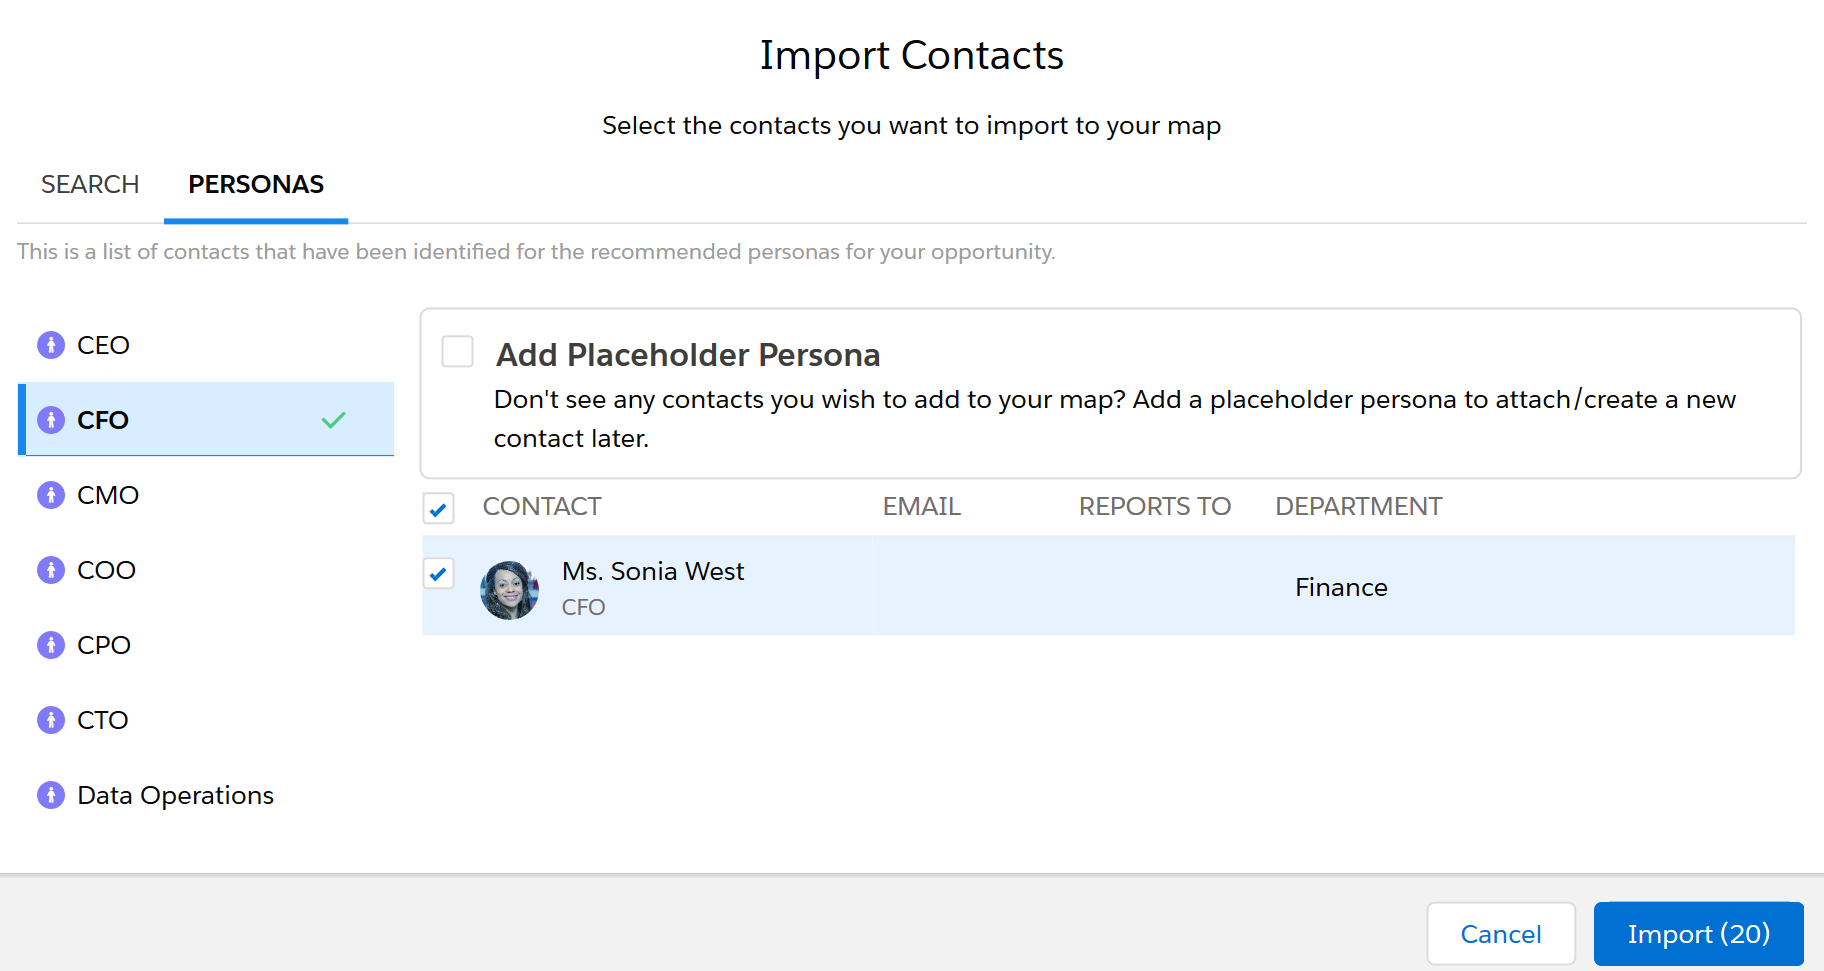
Lynn turns her attention to the Personas tab.
Here she can check whether there are any known contacts associated with the recommended personas she needs to capture on the map.
She realizes that she hasn't yet selected the contact who is MyHealth's CFO. So she clicks the CFO persona. She sees Sonia West is suggested for this persona. Lynn selects Sonia.
Select a Placeholder Persona
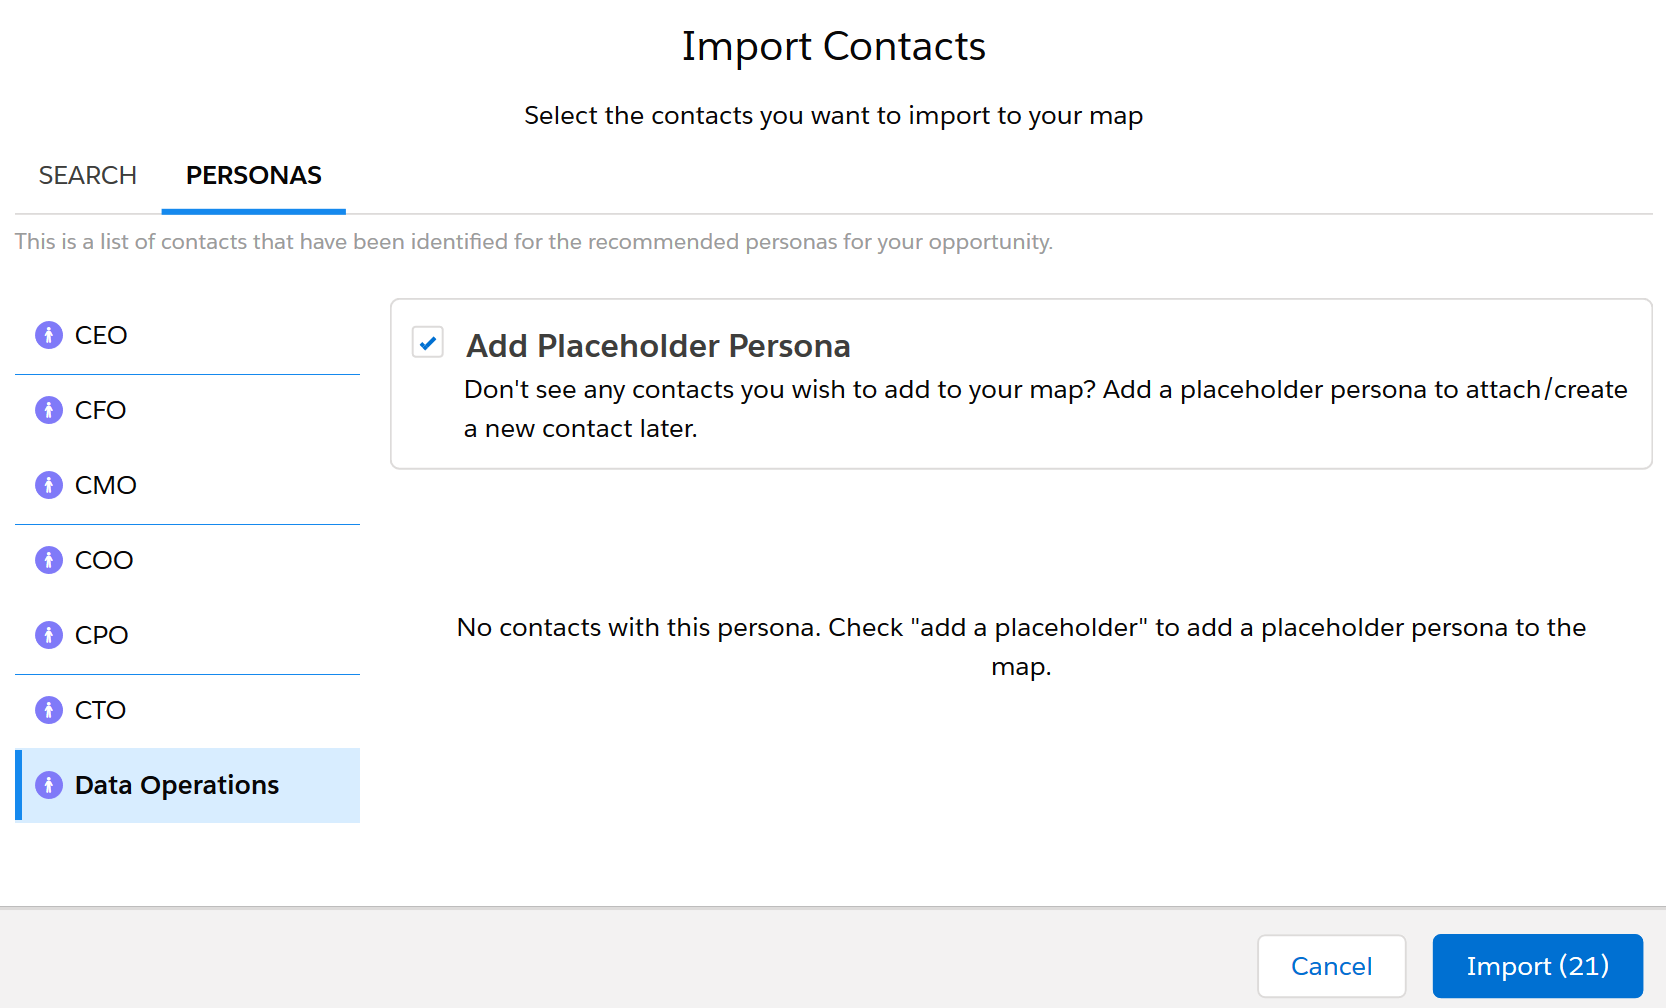
Lynn remembers that she needs to find out who fills the data-operations role. She knows that Retail POS deals tend to close successfully when a relationship is built with the data-operations person at an early stage. So she needs to find out who fills this role.
To make sure she doesn’t forget, she wants to represent it on the map as a placeholder persona. She can change the placeholder to a contact later when she finds out who fills the role.
So Lynn selects the Data Operations persona. Then she selects Add Placeholder Persona.
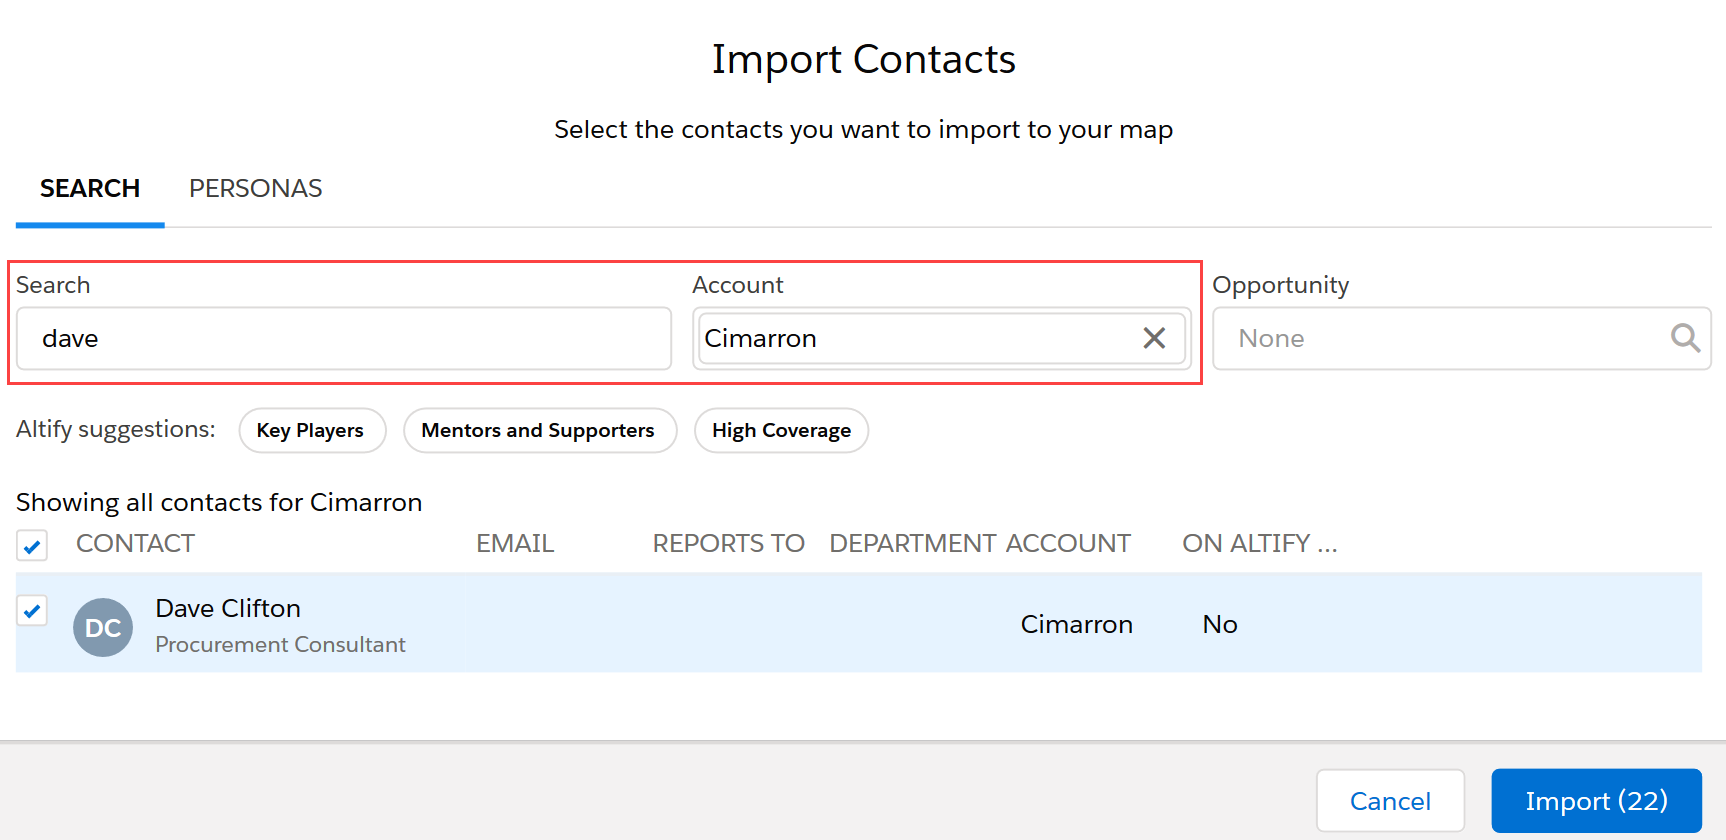
Search for Contacts to Add
As well as contacts associated with the MyHealth account, Lynn also wants to add Dave Clifton, an external consultant who belongs to the Cimarron account.
She clicks Search and searches for him. When she sees Dave's name, she selects it.
See the Imported Contacts on the Map
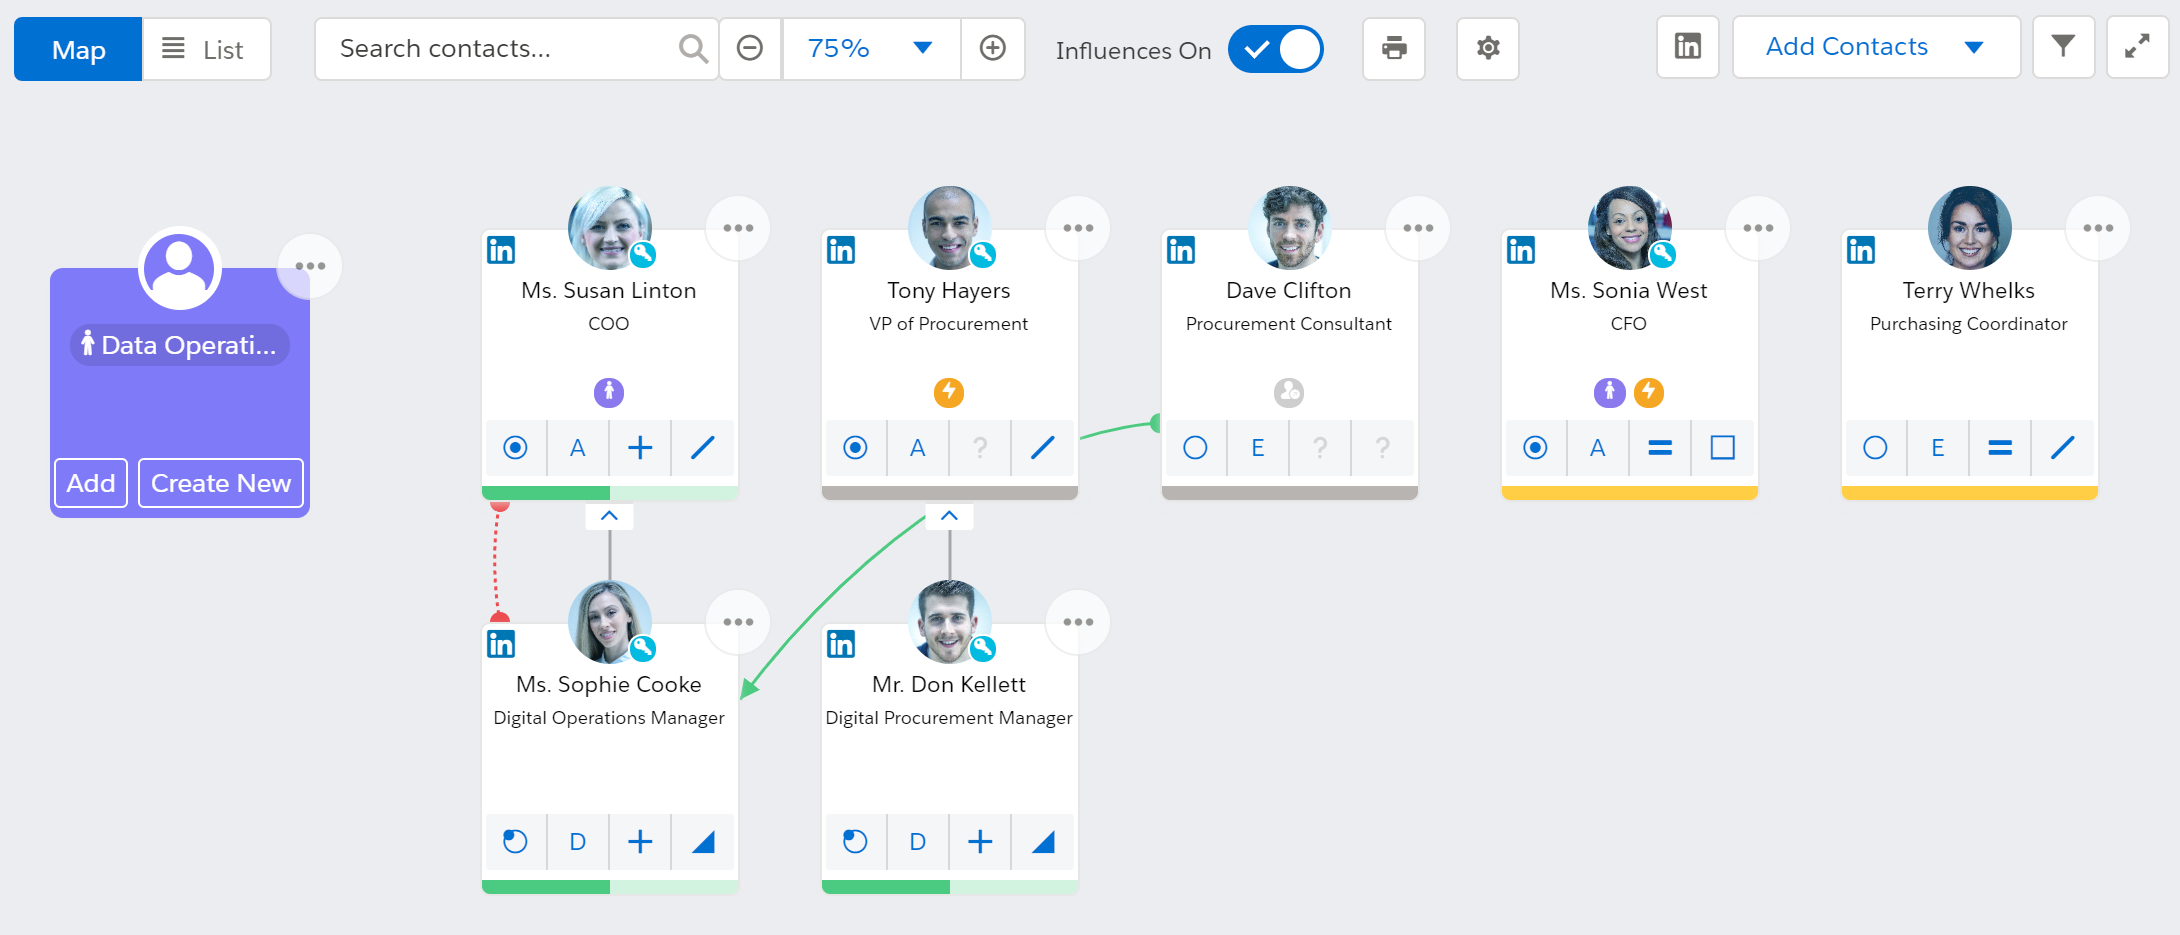
When Lynn clicks Import, the contacts and placeholder she selected are added to the map.
The reporting relationships that have been set for these contacts are already reflected on the map.
Notice how the purple card on the left represents the vacant data-operations position. This is the placeholder persona.
Notice also now Dave Clifton's card has a gray icon. This tells you that he's "external" – he's associated with a different account.
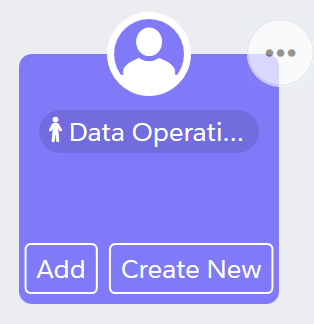
Convert a Placeholder Persona to a Contact
When Lynn finds out who the data-operations person is, she'll be able to replace the placeholder on the map.
To do this, she can either:
- Click Add to select an existing contact.
- Click Create New on the placeholder card to create a new contact.
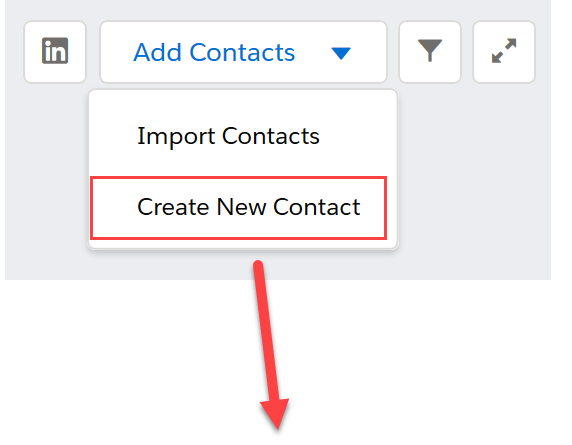
Create and Add a New Contact
Subsequently, Lynn has found out that MyHealth has a new hire – Pete Morant – and he hasn't been added as a contact in Salesforce yet.
So she selects the Add Contacts > Create New Contact option and adds Pete's basic details.
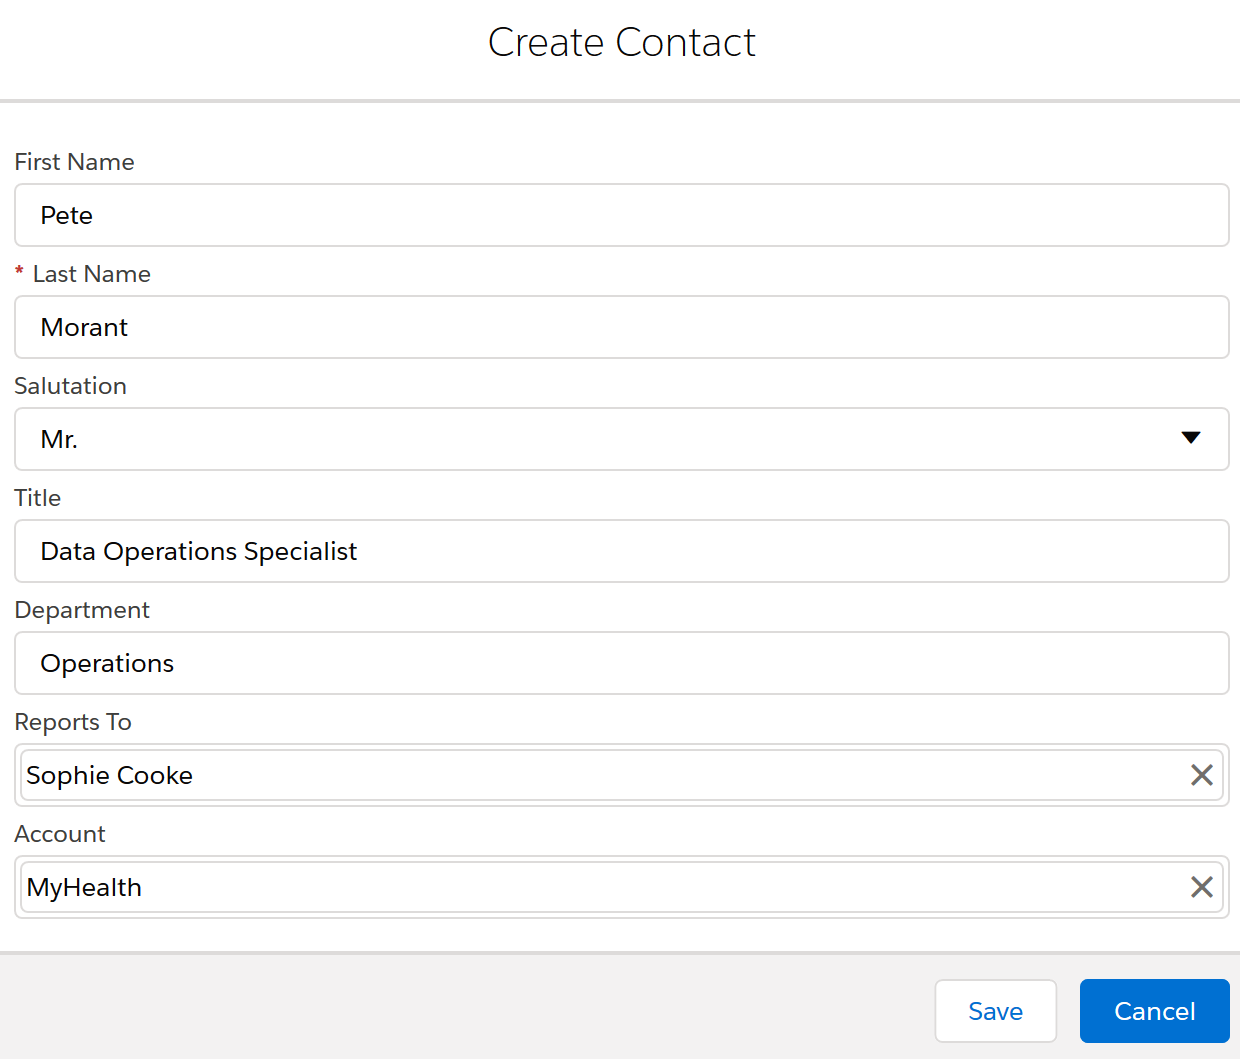
When she saves, Pete is added to Salesforce as a contact, and he's also added to the map under Sophie, the manager he reports to.
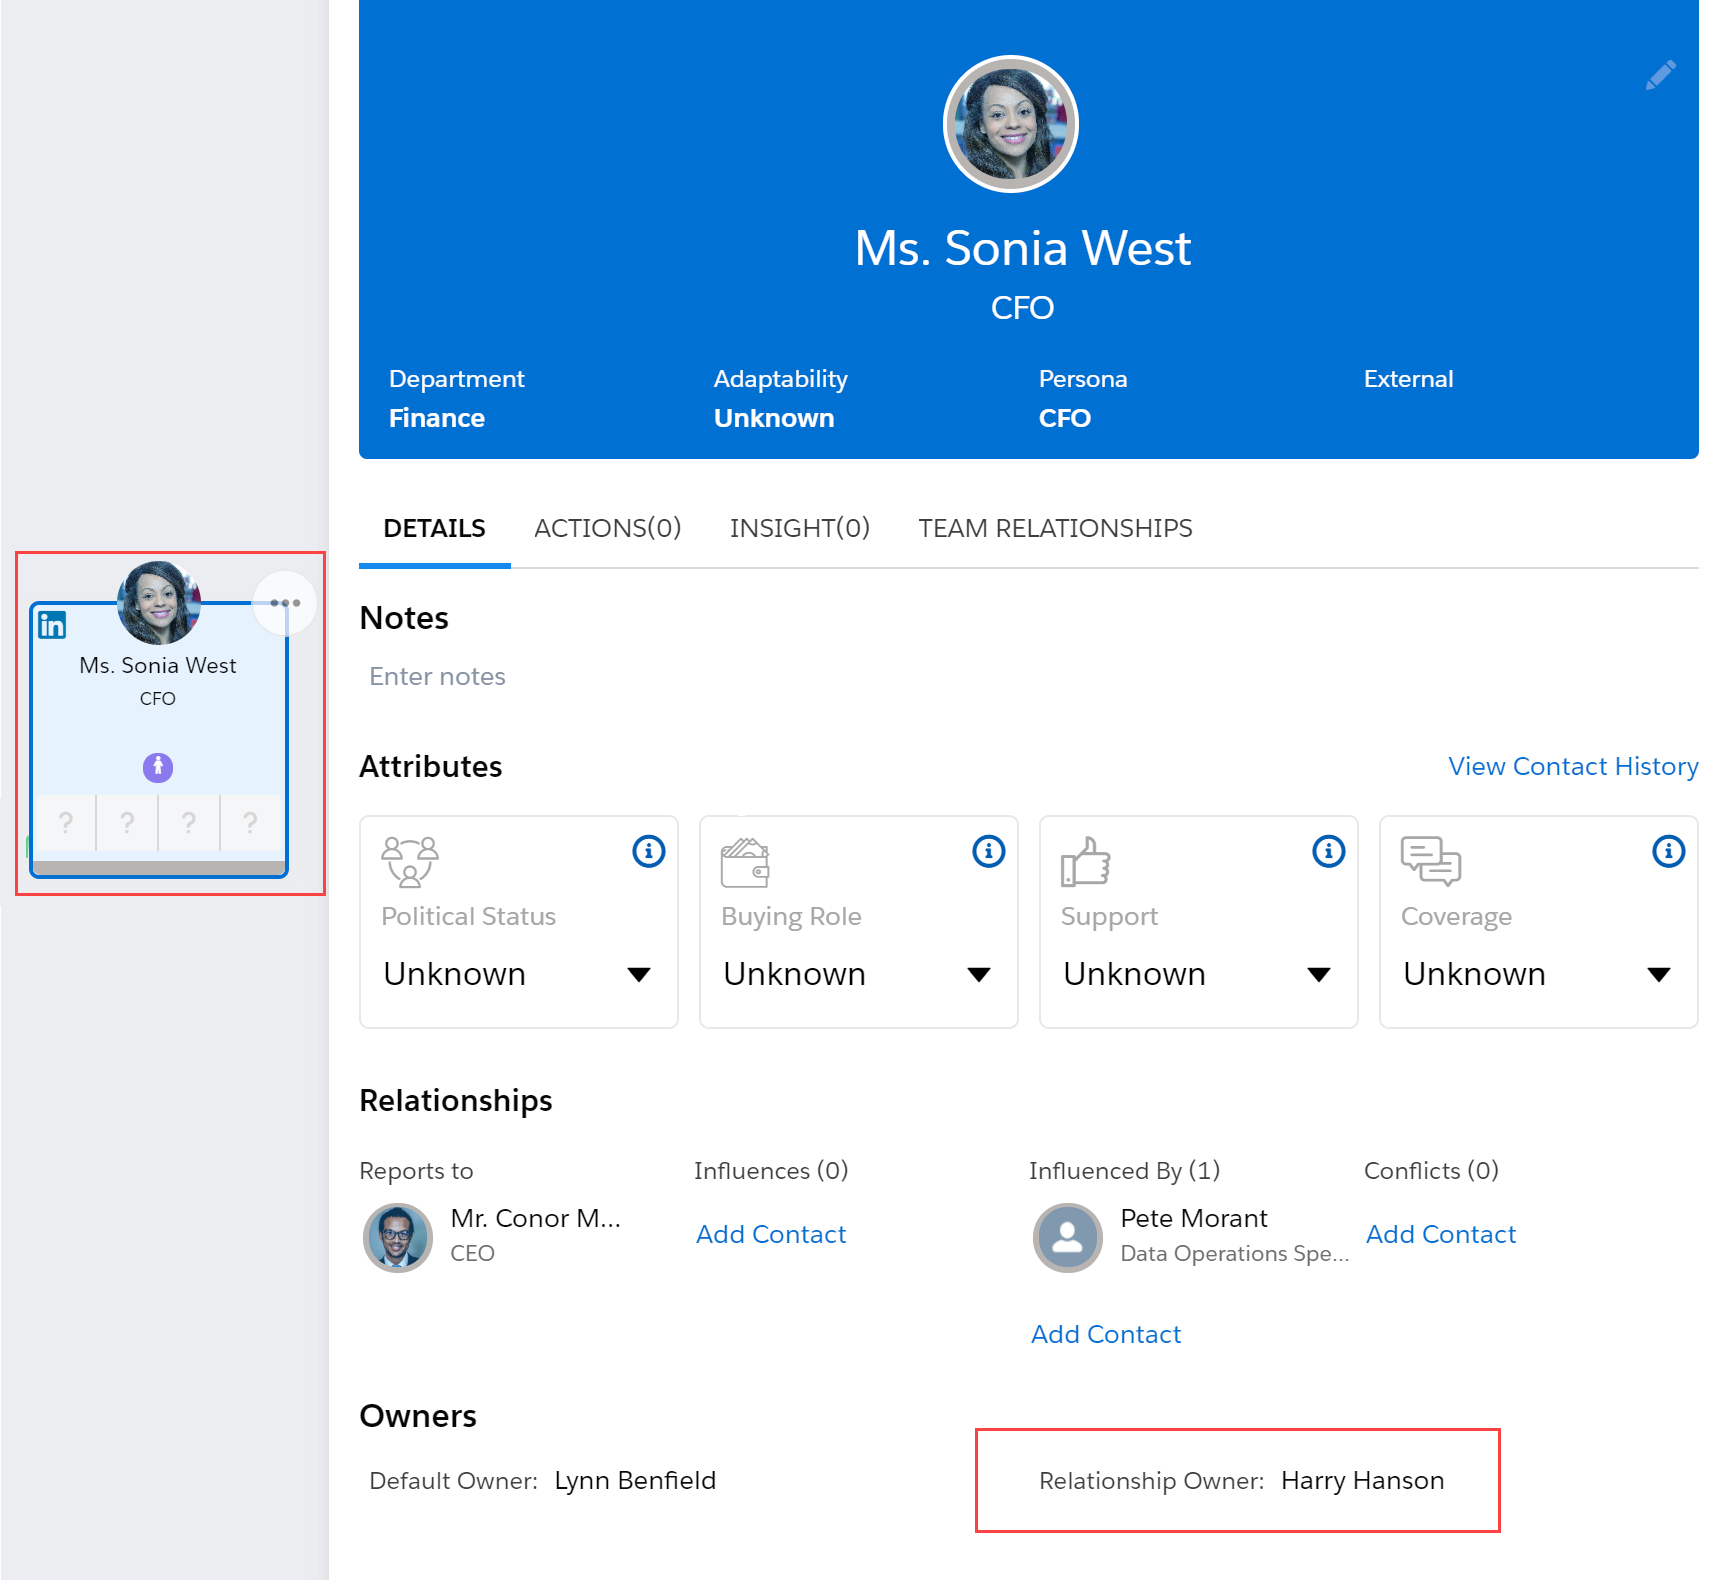
Set Relationship Owners
To specify who owns the Retail POS's relationship with a particular contact at MyHealth, Lynn clicks the contact.
Then, in the details panel on the right, she specifies the team member who is the relationship owner.
Try It Yourself
You've seen how to add contacts to your
Why not open one of your own
- Add Salesforce contacts
- Add contacts with personas
- Add a placeholder persona
- Add a new contact
- Add contacts suggested by Altify