How to Configure Your Solr Cloud Target
The following topics describe how to create a Solr Cloud target in Connectivity Hub.
Tip: For more information about Targets, see What is a Target?
How to Create a New Target
To add the Solr Cloud integration target, follow these steps:
- Go to the Connectivity Hub Target page.
- Select New Target.
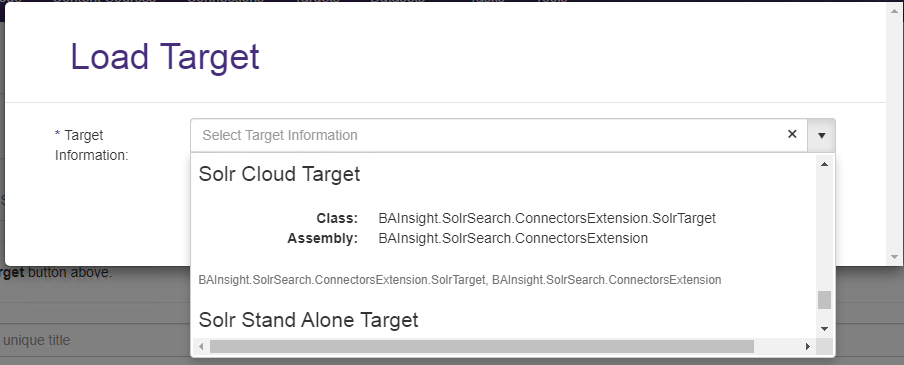
- The Load Target dialog appears.
- Select Solr as the target from the drop-down menu. Scroll down if you do not see your target.

- Enter a Target Title on the Target info tab.
- Select your desired options on the General Settings tab.
- Allow items with no extension.
- Not selected by default.
- If selected, will allow items with no (null) value in the file extension property to be indexed.
- File Types to include.
- Empty by default, which will include all file types.
- You can provide a list of file extensions that should be included.
- Use a comma separated list.
- Do not include the period ('.') as part of the file extension.
- Example: doc,docx,ppt,pptx,xls,xlsx
- Allows MS Word, PowerPoint, and Excel files with the above extensions.
- File Types to exclude.
- Empty by default, which allows all file types.
- You can provide a list of file extensions to not crawl:
- Use a comma separated list
- Do not include the period ('.') as part of the file extension.
- Example: css,js,xml
- This example blocks style sheets, JavaScript, and EXML files (with the extensions shown) from being crawled.
- Number of Sync Threads.
- This value is the number of threads per Connectivity Hub scheduler to be allocated to any crawl that uses this Target.
- This value is the number of threads per Connectivity Hub scheduler to be allocated to any crawl that uses this Target.
- Allow items with no extension.
- Click the "Custom Settings" tab.
Complete the Solr settings:- Login.
- If Solr is secured with basic security, provide the username here.
- (Leave empty if no security.)
- Password.
- If Solr is secured with basic security, provide the password here.
- (Leave empty if no security.)
- Solr Address.
- The base address to your Solr instance.
- Example: If your Solr admin can be reached at: http://solrsearch.company.local:8983/solr/#/ then your base address is:
http://solrsearch.company.local:8983/
- Custom Configuration Name (optional).
- Specify a Solr configuration name to be used.
- Connection Timeout
- Default value (if nothing is entered in this field) is 30 seconds.
- Use this setting to extend the length of time Connectivity Hub will wait for a response when attempting to connect to Solr.
- Login.
- Click Save.