Create and Configure the Azure Application
Create New Application Registration
- Go to https://portal.azure.com/ and login with Azure Global Admin user credentials.
- Click Azure Active Directory An identity and access management solution from Microsoft that helps organizations secure and manage identities for hybrid and multicloud environments. and click on the desired directory.
- From the menu select App Registrations.
- Click New registration to register a new app.
- Name: Enter a name for your app.
- Application type: Select Web/API app from the drop-down menu.
- Redirect URI: Enter a URL of your choosing. (The URL is not used in the SharePoint Online Authorization mechanism)
- Click Register at the bottom of the page.
Configure Application Permissions
- Within the app, go to Manage.
- Under API Permissions, click Add a permission > Microsoft Graph.
- Select the following permissions for the app:
APPLICATION PERMISSIONS > Select the following permissions:
- ChannelMessage.Read.All
- Directory.Read.All
- Group.Read.All
- Member.Read.Hidden
- User.Read.All
- Click Grant consent to grant the selected permissions.
- Verify that the list of the application permissions contains the permissions you specified above.
Configure the Azure App to Use Certificate Authentication
Export the Certificate
There are multiple methods that can be used to create a certificate.
-
BA Insight recommends the following instructions to create a certificate: Create and Configure Certificate.
-
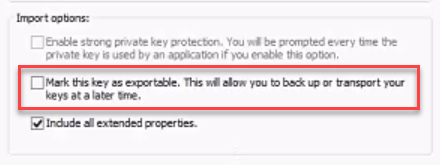
If you use another program, such as IIS, when you export the certificate, ensure you do not mark the key as exportable:

-
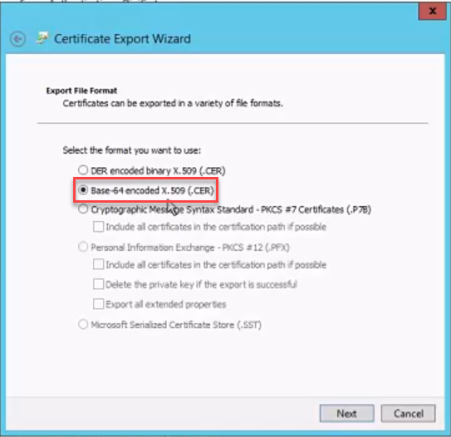
Also, when exporting your certificate using IIS, note that it MUST BE Base-64 encoded:

Upload the Certificate to Azure App
- Open the Azure app you created in the previous steps and click Certificates and secrets.
- Click Upload Certificate to upload your newly created certificate.