How to Customize Your SmartHub User Interface
About the Files that Control the SmartHub User Interface
SmartHub Web Pages: Defaults
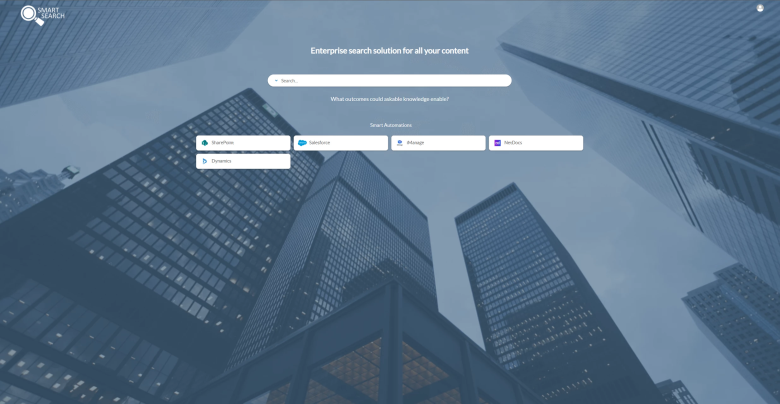
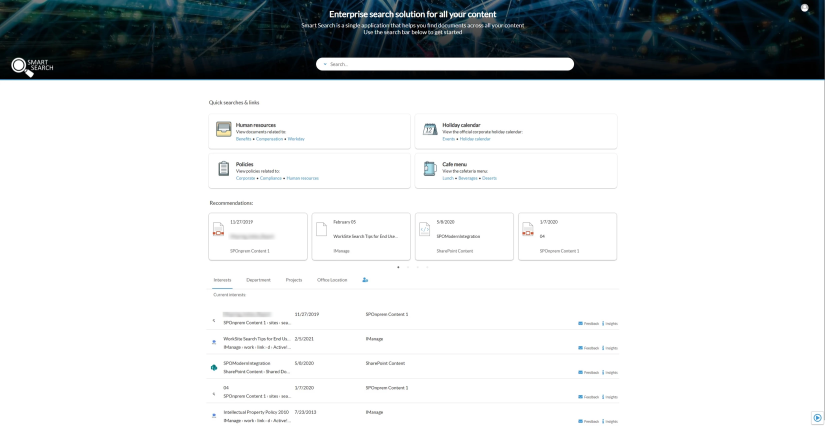
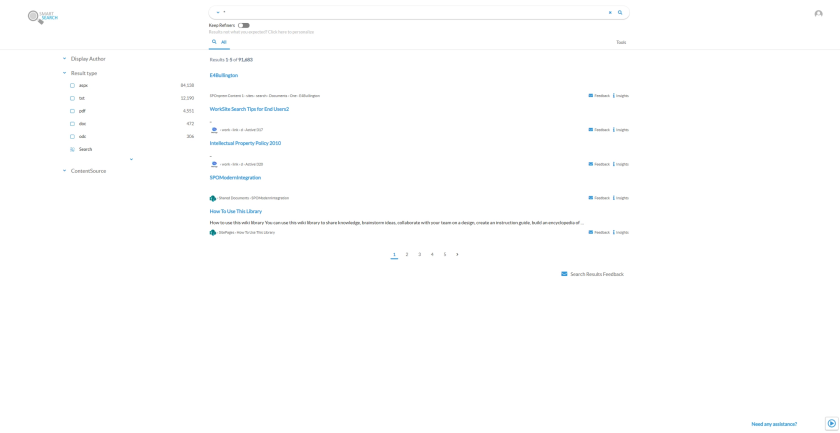
The files described in the table below contain the code responsible for your SmartHub Index (or landing page), and Results pages.
- If you wish to modify the appearance of SmartHub, DO NOT change these files.
- All out-of-the-box HTML pages are overwritten when you upgrade SmartHub.
| SmartHub Page | Page Details | Location |
|---|---|---|
|
|
Landing.html
|
Example:
|
|
|
Index.html
|
Example:
|
|
|
Results.html
|
Example:
|
|
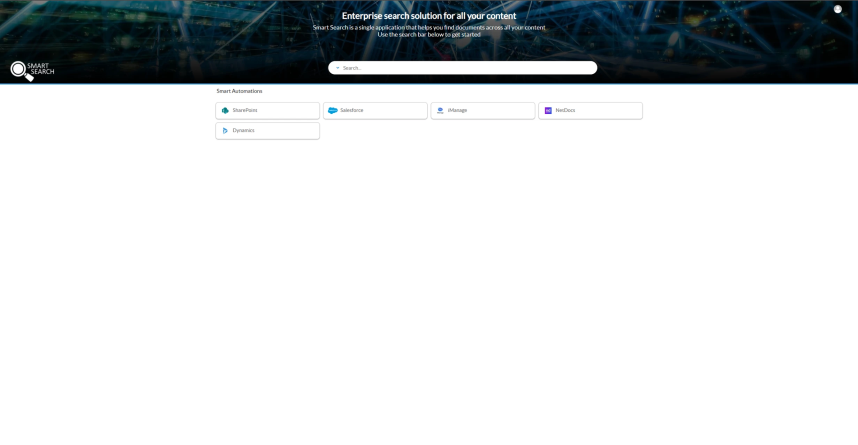
SmartAutomations.html
|
Example: (On the machine SmartHub is installed on): C:\Program Files\BAInsight\SmartHub\SmartHub-6\SmartAutomations.html |
How to Modify Your SmartHub User Interface
-
Customizing a SmartHub page is done via the UI Builder.
All the available module settings can be seen in the file DefaultModuleSettings.js at <SmartHub root>\modules\SmartHubResourceLoader\DefaultModuleSettings.js.
Do not modify this file
How to Set SmartHub to Use a Custom Index or Landing Page
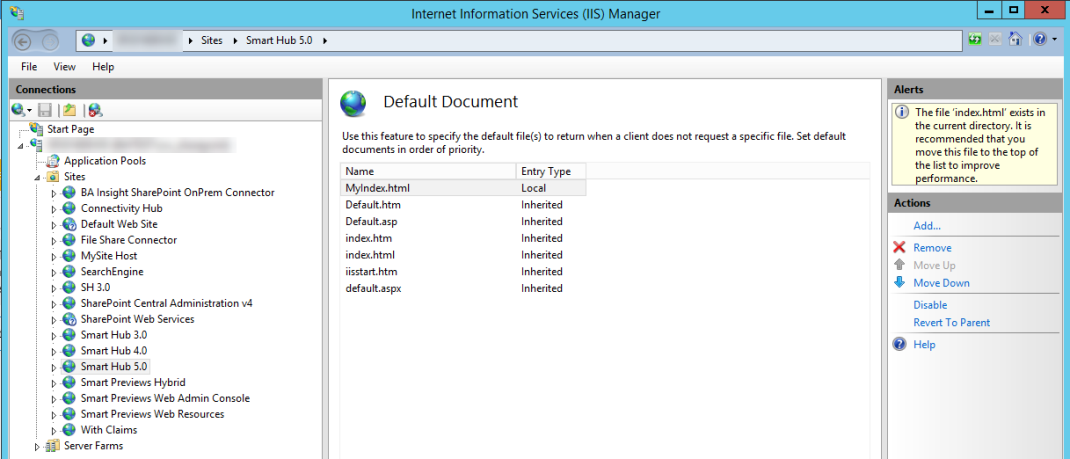
Follow the steps below to direct SmartHub to load your custom Index.html file ("MyIndex.html" in the example below):
Note: In the case of an upgrade, the setting of the "Default Document" from IIS is deleted.
-
Follow these steps to reset the IIS "Default Document" for your SmartHub site.
- Locate your custom Index page file (by default, IndexCopy.html).
- Open Internet Information Services (IIS), and select your SmartHub site.
- Click "Default Document".
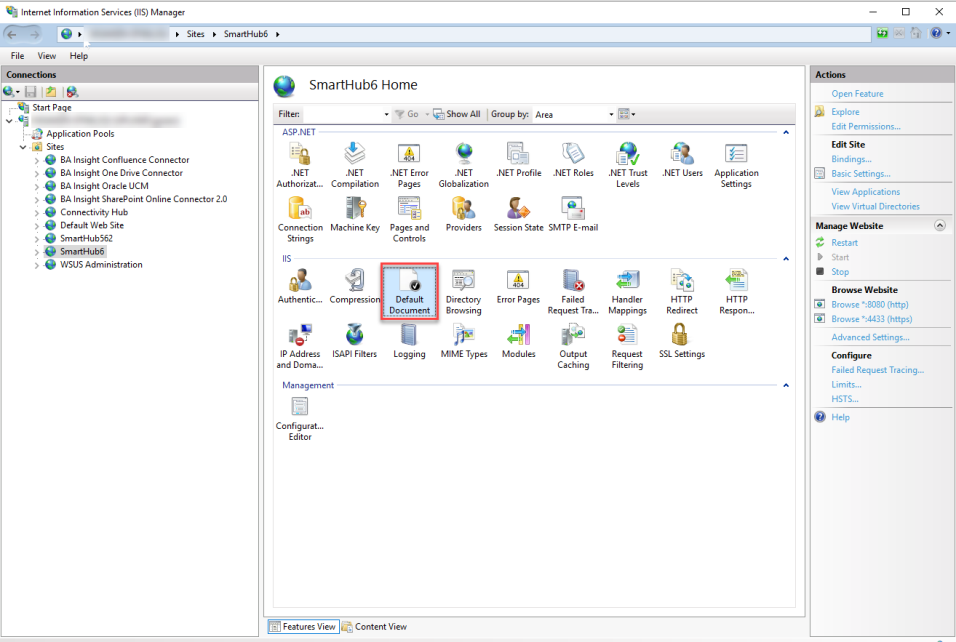
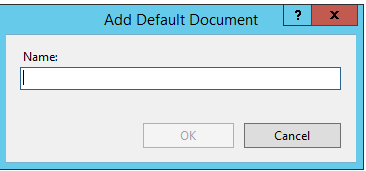
- Click the "Add" link under the Actions menu on the right side and enter the name of your custom Index file ("IndexCopy.html" or "MyIndex.html", for example) to add your index page as the default root page.
- Your custom Index file appears as the new default root page:
SmartHub Components
You must migrate to the ContentContainers component.
- Each SmartHub component is found in its own directory, under \modules, as shown in the graphic below.
- Each SmartHub component stores its settings in the same file: <SmartHub root>\modules\SmartHubResourceLoader\DefaultModuleSettings.js.
- Component settings are used to change the behavior and/or appearance of the component.
- To alter a component's settings, the settings are copied into the appropriate section of your custom settings file, and modified from there.
- The custom setting file can be accessed from the UIBuilder in Advanced Mode via the Advanced Settings edit tab
Direct SmartHub to Use Your Custom Results HTML File
Your custom settings file overrides all other settings
- SmartHub, by default, loads the file Results.html.
- Once you have made a custom Results HTML file, you must direct SmartHub - specifically your Index HTML file - to load the file instead of the native Results.html file.
- To do this, you need to copy (and modify) a setting from your default Index Page settings file into your custom Index settings file.
-
Open the Index page via the UIBuilder in Advanced Mode and go to the Advanced settings edit.
-
Copy the following code:
-
Code to modify for redirectCopy
   "/modules/Authentication/OAuth.js": {
           "params": {
               "id": "OAuth",
               "data-redirect-uri": SH.RootLevelURL + "/Results.html"
           }
} -
Open your custom Index page via the UIBuilder in Advanced Mode and go to Advanced settings edit.
-
Paste the copied code in the SH.Loader.FilesToLoad section.
-
Modify the value "data-redirect-uri" to point to your custom Results HTML file.
-
For example, "data-redirect-uri": SH.RootLevelURL + "CustomResults.html".
-
-
When SmartHub loads, your Index Page loads its custom setting file which now includes the redirect to your new Custom Results HTML page.
-
In turn, whatever values your Custom Results HTML file contains are also used.
-
Your Custom Results HTML file pulls its settings from its settings file, ResultsPageSetting.js, or else from a custom results settings file, if you have created one.
Note: When you want to add/remove components (or change their parameters) from a page, do not change the DefaultModuleSettings.js file directly, as it is subject to change in future SmartHub versions.
Instead, make modifications by opening the page in UIBuilder Advanced mode and going to the Advanced settings edit tab. See "SmartHub Custom Settings Files," above.
Adding a Custom Version to a Specific File
-
In order for browsers to cache the SmartHub files for a better performance, we append the SmartHub version to all the files.
-
In case that, you want to use a custom file, and you don't want that file to be cached by browsers or you want to have a specific version, CSS/JS files supports 'version' parameter.
Example:
SH.Loader.FilesToLoad = {

    //adding files
        '/modules/my-css.css': {
        'version':'1.0.1'
    },
        '/modules/my-js.js': {
        'version':'1.0.1'
    },
};
Example: Exclude the SavedQueries Module
Some users prefer not to load certain modules for various reasons, such as eliminating unwanted visual objects in the user interface.
- To exclude a module from loading, locate the module - found within <SmartHubInstallation>/modules/<ModuleName>.
In the following example the SavedQueries module is excluded.
- The SavedQueries.js file is shown in the /modules/SavedQueries.js.
- The path to the Saved Queries module is inserted within brackets [ ] under the "
SH.LoaderPathsToExclude =" section.
SH.Loader.PathsToExclude = [
   ["/modules/SavedQueries/SavedQueries.js"]
]; - This excludes the SavedQueries module from loading.
