Create a Project Policy Template
Project Policies determine how users are allowed to interact with specific Eclipse PPM Projects. They are often used to give Project teams and Resources access to specific Project components so they can carry out and record their work. Members of these policies are given permissions to interact with a specific Project; these policies cannot be used to provide users with any permissions outside of the Project.
Project Policy Templates are created by administrators the exact same way Project Policies are created on individual Projects; permissions are selected and users are added as members. Once a Project Policy Template is complete, it can be applied to multiple Projects as a Project Policy in order prevent users from having to create the same Project Policy over and over for each Project.
To create a Project Policy Template:
Before You Start: Users require the "User Administration" permission from an Application Policy to create Project Policy Templates.
Additionally, it would be wise to create some User Groups of users who should share similar permissions. This way, the User Group as a whole can be added to your Project Policy Template while adding members, saving you from having to constantly add members one-by-one.
-
Select the Administration icon from the Icon Bar.

-
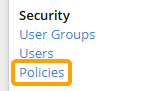
Select Policies from the "Security" menu.
-
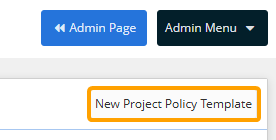
Select the New Project Policy Template button in the top right-hand corner of the page.
-
Enter a unique name for your new Project Policy Template.
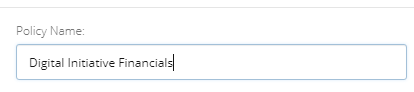
Note: This will also be the name of the Project Policy once it is added to Projects.
Tip: Do your best to relate the name to the type of responsibilities that will be given to the policy's members. This will make it easier to add members to the policy in the future.
-
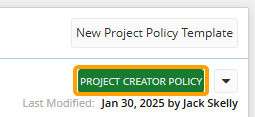
(Optional) Select the "Project Creator Policy" checkbox if the Project Policy Template should be applied to Project Creators once added to a Project.
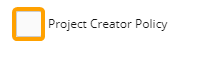
Note: Once selected, this checkbox cannot be unselected. You will need to cancel the Project Policy Template and start again.
Note: The Project Creator Policy is automatically applied to every new Project upon creation. It determines the permissions that the user who created the Project will receive right away. The Project Creator Policy will always be listed at the top of the "Project Policy Templates" list and it will display a green label on the Policies page.
Only one Project Policy Template can be the Project Creator Policy. If you select this checkbox, the existing Project Creator Policy will simply become a regular Project Policy Template. However, the new Project Creator Policy will not replace the former Project Creator Policy on any existing Projects; it will only be applied to new ones. -
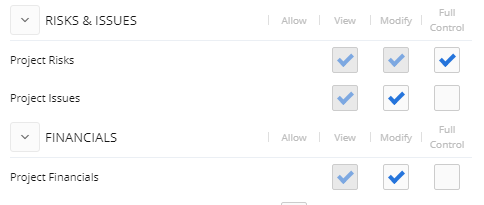
Select the checkboxes of the permissions you would like to distribute to the policy's members.
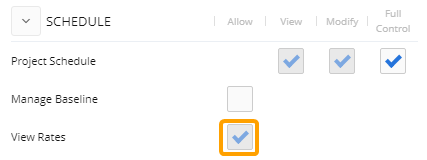
Note: If certain checkboxes are checked and grayed out, it means the permission is already covered by another selected checkbox. For example, selecting the "Project Schedule - Full Control" permission will automatically select the "View Rates - Allow" permission. This is because the "Project Schedule - Full Control" permission allows users to view Rates, so the "View Rates - Allow" permission is already covered.
Tip: Click directly on any permission to see a quick description of its benefits:
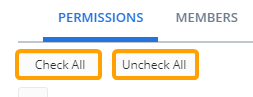
Tip: Use the Check All and Uncheck All buttons to speed up the process.
-
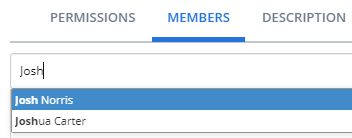
Select the "Members" tab.

-
Type the name of a user or User Group into the text box and select it from the suggestion list to add it to the policy. Repeat this until all of your desired users and User Groups have been added.
Note: When a User Group is added, every member of the group will receive the Project Policy's selected permissions. If new members are added to a User Group later on, those members will automatically inherit the permissions of any policies that the User Group belongs to.
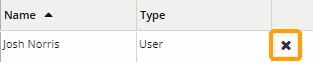
Note: Users and User Groups can be removed by selecting the X icon next to their names.
-
Select the "Description" tab.

-
Enter a description of the policy's objective.

Tip: Try to make the description as informative as possible to help other administrators determine which users and User Groups should be included or excluded.
-
Select the Save button.
After selecting Save, the Project Policy Template will be saved to the Policy page. From here, it can be applied to a specific set of Projects. It can also be edited or deleted at any time.