Create a New Dashboard
Eclipse PPM users can create multiple dashboards to retrieve and display data to suit their business needs.
To create a new Dashboard:
-
Select the Dashboards icon from the Navigation Menu:

-
Select the New button in the top right-hand corner of the Dashboards page to open up the "New Dashboard" window:

-
Enter a name for your new Dashboard:

-
(Optional) Enter a description for your new Dashboard:

-
Select the Share tab.
-
Determine how your Dashboard will be shared with other Eclipse PPM users:
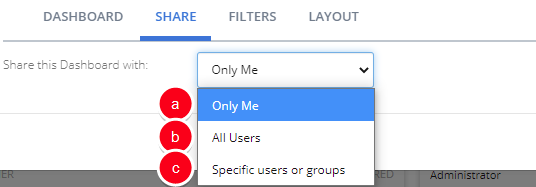
- Only Me: The Dashboard will only be visible to the creator.
Note: If this is selected, the Dashboard will behave the same way it would if the previous "Share this Dashboard" checkbox was not selected.
-
All Users: The Dashboard will be visible to all Eclipse PPM users.
Note: If this is selected, the Dashboard will behave the same way it would if the previous "Share this Dashboard" checkbox was selected.
-
Specific users or groups: A table will appear allowing the creator to select which Users or Groups should be given access to the Dashboard:
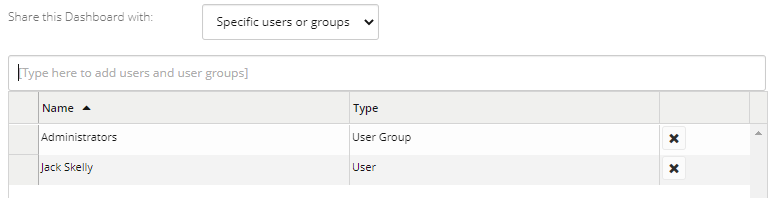
When creators enter the name of a User or User Group into the textbox, a drop-down menu will appear with suggestions that match what was entered.
- Only Me: The Dashboard will only be visible to the creator.
-
Select the Filters tab.
-
(Optional) Select the checkbox if you would like to use a single Project filter for all of the panels in your Dashboard.
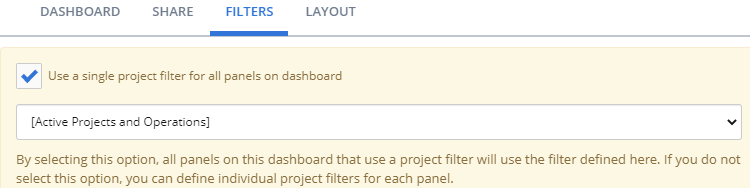
Note: If you do not select this checkbox, you will be able to define different Project filters for each Dashboard panel.
-
(Optional) If you selected the checkbox, use the drop-down menu to select which Project filter will be used to define every panel in the Dashboard.
-
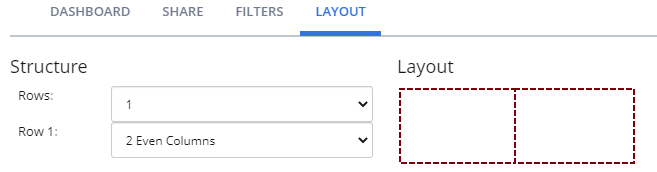
Select the Layout tab to determine how the panels will be organized on your Dashboard:
-
Choose the number of rows for your Dashboard using the "Rows" drop-down menu.
-
Choose the number of columns each Dashboard row will contain using the additional "Row" drop-down menus ("Row 1", "Row 2", etc.).
Note: Additional "Row" drop-down menus will appear based on the rows defined in Step 11.
Note: Each cell in the layout represents a place where multiple panels can be listed. For example, if you choose to format your Dashboard with 2 rows, one with 2 columns and another with 3 columns, the preview will look like this:

This layout will allow you to add panels in each of the defined grids:
-
Click the Save button.
After clicking Save, your Dashboard will be published to Eclipse PPM. You can decide which panels to add to it as you manage the Dashboard's panels.
Note: Directly after you click Save, you will be prompted to add panels to your new Dashboard: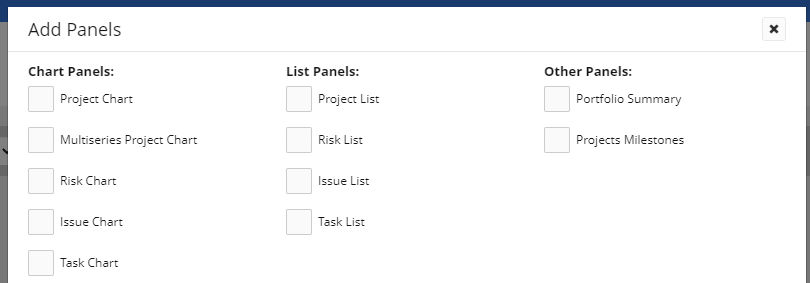
You can decide to add these panels to either the top row or the bottom row of the layout using the "Insert new panel(s)" drop-down menu: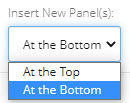
If you would prefer to add panels into layout grids of your own choosing, simply click Cancel.