Project Security Extract Report
The Project Security Extract report displays the permissions that users have on specific Projects. This report will be exported in a Microsoft Excel spreadsheet.
The exported Excel file will contain a worksheet for each Project included in the report:

Each Project Permission will be listed in the "Permission" column, ordered exactly as they appear when a Project Policy is opened. Each user included in the report will appear as a column to the right of the "Permissions" column. The Policies that the user belongs to will be displayed directly under the user's name:
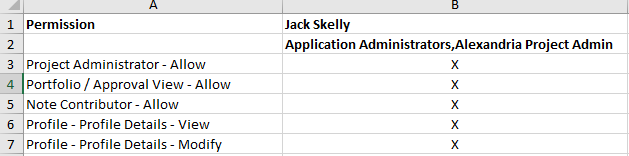
The letter "X" will be displayed in the user's column if that user has the corresponding permission on the Project.
Users can run the Project Security Extract report from the Reports page.
Tip: Users can also run the "Project Security Extract" report from a Project's Home page by selecting the Reports button in the upper right-hand corner:
If the report is run from here, it will only include the current Project. Users will not be able to add any other Projects to the report.
To run the Project Security Extract report:
Before You Start: Projects will only be included in the report if the user running the report has the "Profile Details - View" permission on at least one of the Project's Policies. Additionally, the user will need the "Manage Project Policies - Allow" permission on at least one of the Project's Policies in order for data to actually appear on the report. Consider this before tasking an Eclipse PPM user with running this report.
-
Select the Reports icon
 from the Navigation Menu.
-
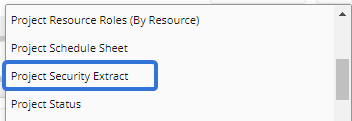
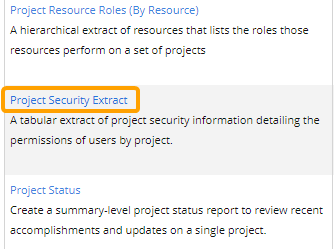
Select Project Security Extract from the list of Eclipse Reports.
-
Use the "Project Resource Roles (By Resource)" window to customize your Project Resource Roles (By Resource) report.
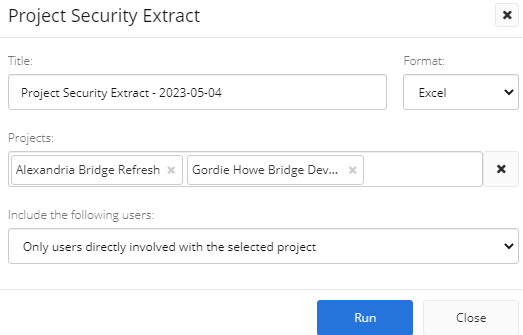
- Title: Enter a custom name for your Project Security Extract report. This name will be displayed at the top of the report.
-
Format: Ignore this field for this report; the only available export option is a Microsoft Excel file.
-
Projects: Select which Projects will be included in the report by typing in the name of a Project or Project filter and selecting it from the drop-down menu. Repeat this until all of your desired Projects and filters have been added.
Note: These are the same Project filters that can be found on the Project Search page. From here, users can create their own custom Project filters that can be used in the report.
Note: A message will appear if the selected filter(s) will result in no Projects being included in the report.
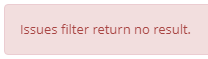
This could be the result of selecting a filter (or multiple) that does not include any Projects. It could also occur if the user running the report does not have permission to view any of them. -
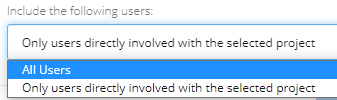
Include the following users: Determine which Eclipse PPM users will be listed on the report:
-
All Users: Every Eclipse PPM user in the environment will be included on every Project tab in the report.
-
Only users directly involved with the selected project: Only users who have a specified Resource Role on the Project will be included on the Project tab.
Tip: If a Resource has a Role on the Project but still does not appear on the report, make sure the Resource is also an Eclipse PPM user.
-
-
Select the Run button.
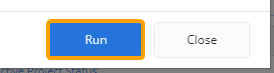
After selecting Run, the report will automatically download onto your device in a Microsoft Excel spreadsheet.