Risk Detail Report
The Risk Detail report provides information on a collection of Eclipse PPM Risks. This report can be exported as a PDF file, a Microsoft Excel spreadsheet, or a Microsoft Word document.
The report will display all of the current details for each Risk selected by the user running the report. Users can directly add Risks or they can add Risk filters to include multiple Risks at once.
Note: These are the same Risk filters that can be found on the Risk Search page. From here, users can create their own custom Risk filters that can be used in the Risk Detail report.
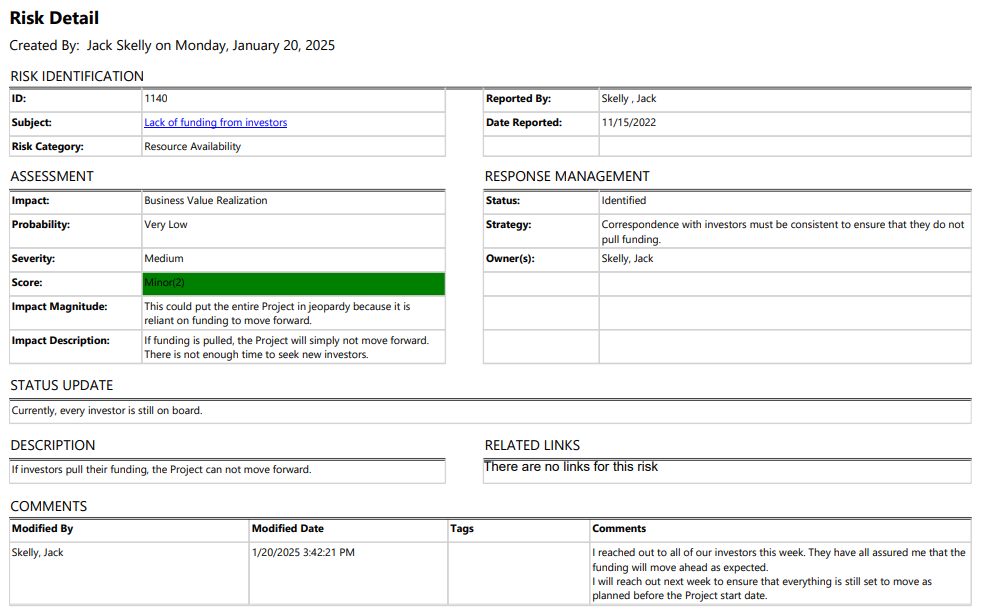
Tip: The report reader can select the subject of any Risk in the report to navigate to it in Eclipse PPM.
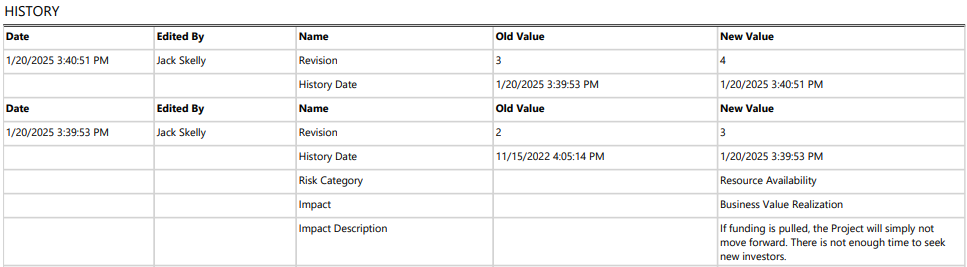
Additionally, the report can include a history log of changes that have occurred to each Risk, as well as the user who made each change.
Eclipse PPM users can run the Risk Detail report from the Reports page.
To run the Risk Detail report:
Before You Start: Eclipse PPM users can only run the report with Risks they have permission to view. For example, a user with the "Non-Project Risks - View" permission from an Application Policy will most likely be able to run a report that includes many more Risks than a user without the permission running the exact same report. Consider this before tasking an Eclipse PPM user with running this report.
-
Select the Reports icon
 from the Navigation Menu.
-
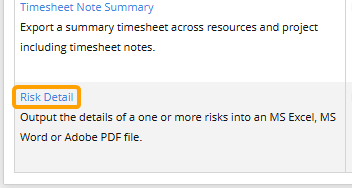
Select Risk Detail from the list of Eclipse Reports.
-
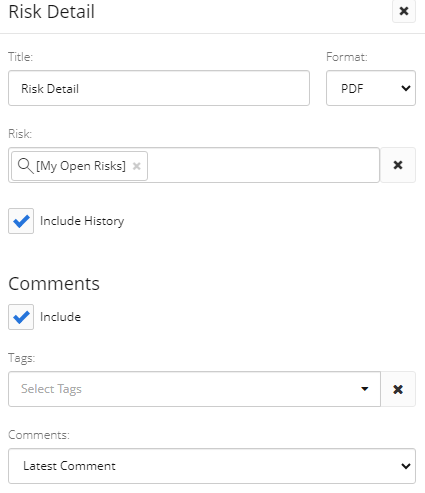
Use the "Risk Detail" window to customize your Risk Detail report.
-
Title: Enter a custom name for your Risk Detail report. This title will appear at the top of the report.
-
Format: Determine whether to export your Risk Detail report as a PDF file, a Microsoft Excel file, or a Microsoft Word file.
Tip: Excel and Word files are much easier to edit. Users can make adjustments and leave notes on these files before saving them and sending them to others.
-
Risk: Select which Risks will be included in the report by typing in the name of an Risk or Risk filter and selecting it from the drop-down menu. Repeat this until all of your desired Risks and filters have been added.
Note: These are the same Risk filters that can be found on the Risk Search page. From here, users can create their own custom Risk filters that can be used in the Risk Detail report.
Note: A message will appear if the selected filter(s) will result in no Risks being included in the report.
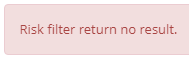
This could be the result of selecting a filter (or multiple) that does not include any Risks. It could also occur if the user running the report does not have permission to view any of them. -
Include History: Select this checkbox to include a history log of changes that have occurred to each Risk.
-
Include (under the "Comments" header): Select this checkbox to include Risk Comments in the report.
Note: If this checkbox is deselected, the other "Comments" fields ("Tags" and "Comments") will be deactivated.
-
Tags: Select which Tags will be used to filter Risk Comments. Only Comments that are tagged with the selected Tags will be included in the report. If no Tags are selected, none of the Comments will be filtered by their Tags.
-
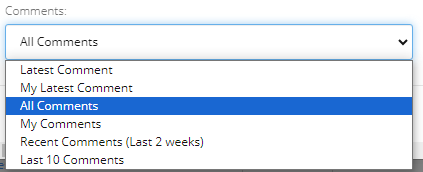
Comments: Use the drop-down menu to determine which Issue Comments will be included in the report.
-
Latest Comment: Only the most recent Comment will be displayed for each Risk.
-
My Latest Comment: Only the most recent Comment added by the user running the report will be displayed for each Risk.
-
All Comments: Every Comment will be displayed for each Risk.
-
My Comments: Only the Comments added by the user running the report will be displayed for each Risk.
-
Recent Comments (Last 2 Weeks): Only Comments added in the last 14 days will be displayed for each Risk.
-
Last 10 Comments: Only the most recent 10 Comments will be displayed for each Risk.
-
-
-
Select the Run button.
After selecting Run, the report will automatically download onto your device in your selected format.