A workflow task button provides the user with the ability to perform many different actions. The available actions that can be configured are:
- Print the document
- Initiate
- Reassign to a different user
A workflow process step can contain one or more tasks. You can have an unlimited number of tasks for a process step; however, tasks are not mandatory for a workflow process.
Topics include:
Reorder the list of step tasks
Add a task to a step
-
To access step properties, in the Diagram pane of the Workflow Designer, perform one of the following:
- Double-click a step.
- Right-click a step and select Properties.
- Select a step and press the F4 keyboard shortcut.
-
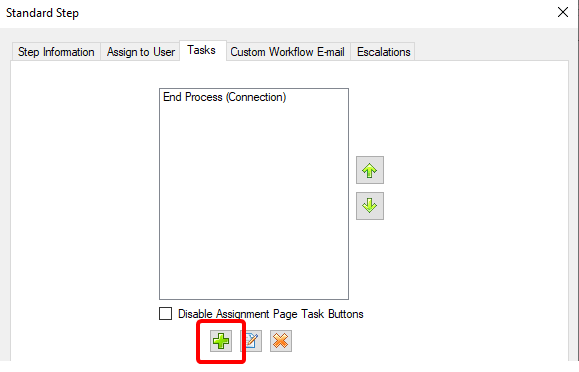
Click the Tasks tab.
-
Click Add.
-
Configure the task using the options on the following tabs, then click OK.
-
Select the Disable Assignment Page Task Buttons option to force users to open a document in a viewer to see workflow task buttons. When this option is selected, the task buttons will not appear on the Assignments page.
Task Information Tab
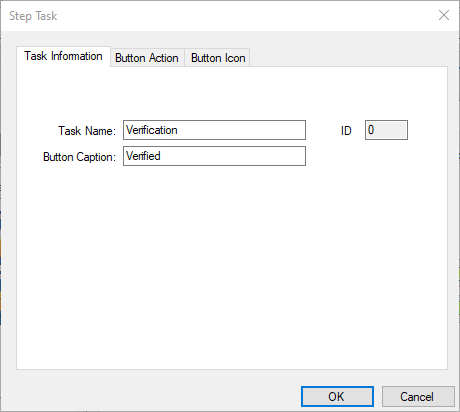
Task Name: A name for the task.
ID: FileBound assigns an identification number to the task.
Button Caption: A caption for the task button.
Button Action Tab
-
Select the button action for the task. The following button actions are available:
- No Action: Displays the name of the task, no action required from the user.
- Print: Opens the document in the Viewer where the user can print the document.
- Plug-in: Opens the plug-in selected from the list.
- Reassign to Different User: Allows the user to reassign the document to a different user.
- Assign to Me: For Multi-All steps only, allows the user to assign the document to themselves and remove it from the Assignments page of other users.

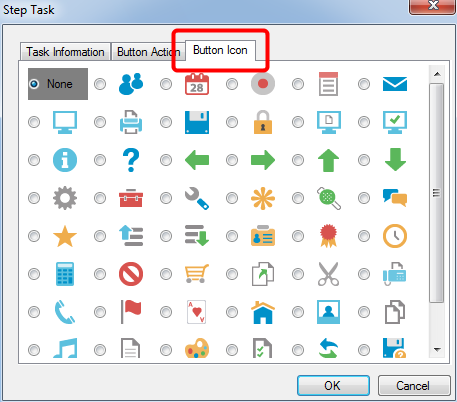
Button Icon Tab
When a task is created to perform a particular action, a button needs to be associated with it. When a document is opened in the Viewer, this button is displayed in the Workflow Tasks dialog box. The user can click the task button to perform the action associated with that task button.
-
Select a suitable icon option for the task button from the list of icons. You can select the 'None' option to display the task button without an icon.
Edit a task
-
To access step properties, in the Diagram pane of the Workflow Designer, perform one of the following:
- Double-click a step.
- Right-click a step and select Properties.
- Select a step and press the F4 keyboard shortcut.
-
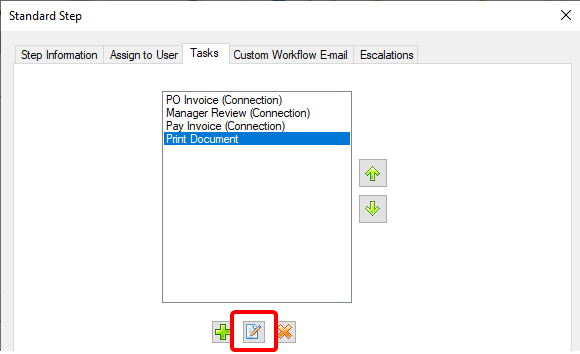
Click the Tasks tab.
-
Select a task you want to edit from the list of tasks.
-
Click Edit.
-
In the Step Task dialog box, edit the task as needed. See Add a task to a step for more information about the different tabs.
-
Click OK.
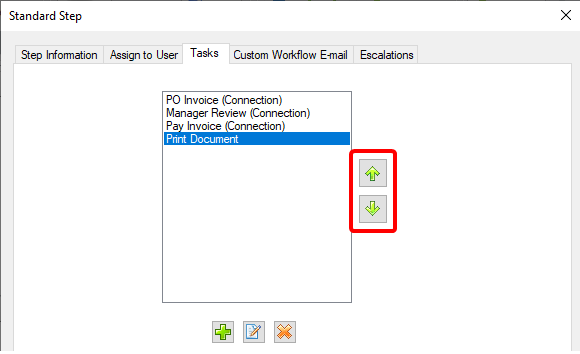
Reorder the list of step tasks
-
To access step properties, in the Diagram pane of the Workflow Designer, perform one of the following:
- Double-click a step.
- Right-click a step and select Properties.
- Select a step and press the F4 keyboard shortcut.
-
Click the Tasks tab.
-
Select a task from the list.
-
Use the up and down arrow buttons to reorder the tasks.
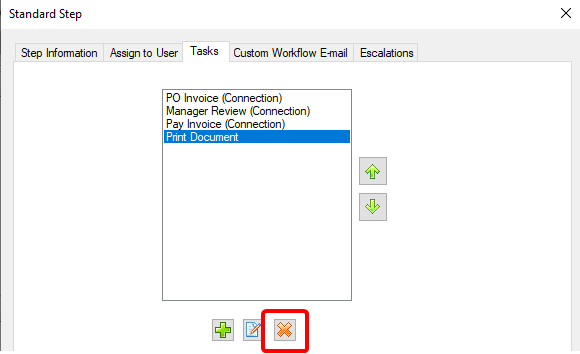
Delete a task
-
To access step properties, in the Diagram pane of the Workflow Designer, perform one of the following:
- Double-click a step.
- Right-click a step and select Properties.
- Select a step and press the F4 keyboard shortcut.
-
Click the Tasks tab.
-
Select a task you want to delete from the list of tasks.
-
Click Delete.
-
Click Yes to confirm the deletion.