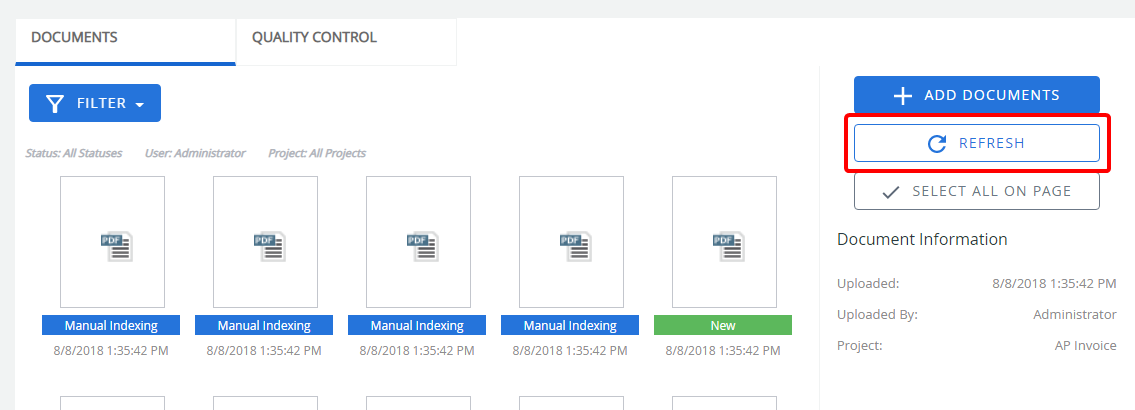
The Indexing Queue provides an area for documents that have not been indexed or associated with an existing file to be temporarily stored until indexing is completed. This is useful when multi-function copiers and other similar scanning devices are used to digitize the document because they do not have any method to index the document.
There are two different types of situations that occur when documents are added to the indexing queue. The first situation is that you know the project that the documents will be added to and the project is assigned during scanning or importing. These documents are associated with a project when they are added to the Indexing Queue. In the other situation, you don't know which project the documents will be associated with, you just know that you are adding them to FileBound.
When working within FileBound users are not readily aware that they are working with items that are placed in two different types of statuses. The items are added and displayed together in the Indexing Queue.
Documents uploaded by all users are visible to you if the Global Indexing User is not configured. If the Global Indexing User has been configured by a System Administrator, you can only view documents that you have uploaded and documents uploaded by the Global Indexing User.
The Quality Control tab of the Indexing Queue gives System Administrators a place to review index field values that were either manually entered or applied during an Auto-Index automation process. See Quality Control for more information.
To access and work within the Indexing Queue, users need to belong to a group that has the Manage Indexing Queue Documents right.
Topics include:
Add documents to the Indexing Queue
Filter the list of Indexing Queue documents
Select all documents in the Indexing Queue
Move a page from one document to another
Split a page from a document to a new file
Add a document to an existing file
Change the status of a document
Delete a document from the Indexing Queue
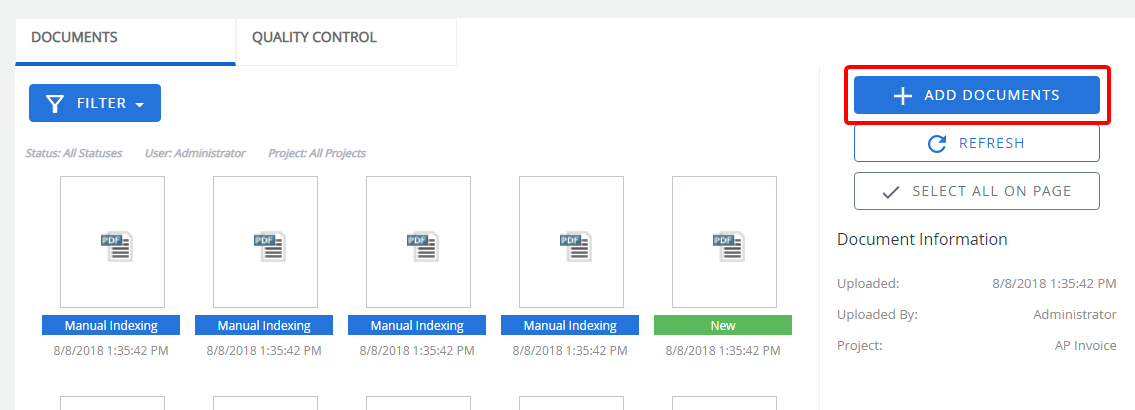
Add documents to the Indexing Queue
- On the Navigation menu, click Indexing Queue.
-
Click Add Documents.
-
In the Add Documents dialog box, do one of the following:
- Add documents using a drag-and-drop operation.
- Click Browse. In the Open dialog box, select the documents you want to add, then click Open.
- Click Scan to add documents to the Indexing Queue using a scanning device
- Modify the Original Date if necessary.
- Click Save.
Filter the list of Indexing Queue documents
When you are viewing documents in the Indexing Queue, it is sometimes necessary to filter the documents list to only display certain documents. Documents in the Indexing Queue can be filtered by status, user, or project.
-
On the Navigation menu, click Indexing Queue.
-
Click Filter.
-
Select a document filter.

You can filter the list of documents based on the document status. The following options are available:
All Statuses: Documents with any status.
New: Documents that are uploaded or scanned into the Indexing Queue.
Queued: Documents that have been queued for an operation by an automation process.
Processing: Documents that are being processed by an automation process.
Queued Error: Documents that could not be properly processed by an automation process. These documents need to be indexed manually.
OCR Error: Documents that could not be properly OCR'd during an automation process. These documents need to be indexed manually.
Template Match Error: Documents that could not be matched to a template during an automation process . These documents need to be indexed manually.
Manual Indexing: Documents that have been opened in the Indexing Queue indexing window are displayed. Documents opened in the Indexing Queue indexing window for manual indexing will not be queued to be handled by an automation process.
Note: Next to each status, the number of documents with that status is displayed in parenthesis.
You can filter the list of documents based on the user that uploaded the document. The following options are available:
All Users: Documents uploaded by any user.
User Name: Documents uploaded by the selected user. This list displays names of all FileBound users with access to the Indexing Queue.
Note: Next to each user name, the number of documents that are uploaded by that user is displayed in parenthesis.
You can filter the list of documents based on the project the document is associated with. The following options are available:
All Projects: Documents associated with all projects.
Global: Documents that are not associated with any project. Documents most commonly fall into this category when they are imported using an automation process or importer or when multi-function copiers are used for scanning.
Project Name: Documents associated with the selected project.
Note: Next to each project, the number of documents associated with the project is displayed within parenthesis.
Select all documents in the Indexing Queue
- On the Navigation menu, click Indexing Queue.
-
Click Select All On Page.
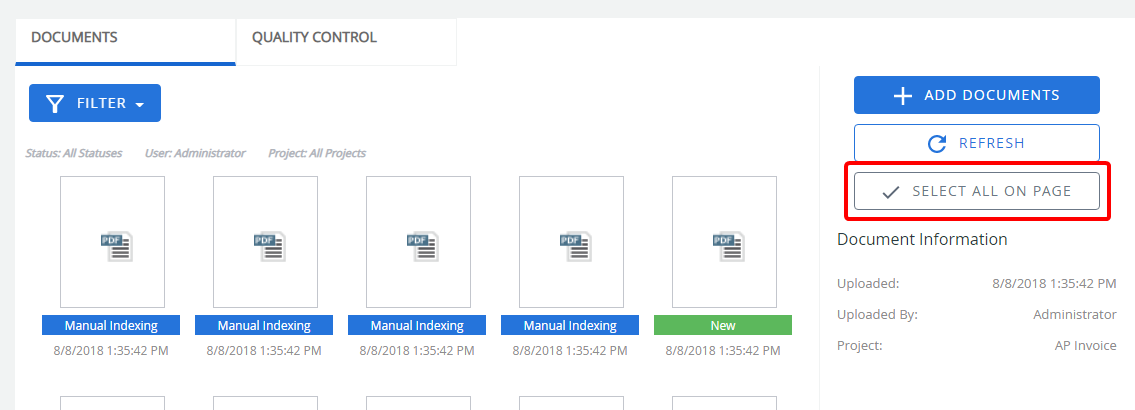
Once you click Select All on Page, the option will change to Deselect All on Page allowing you to easily deselect all of the documents.
Combine documents
-
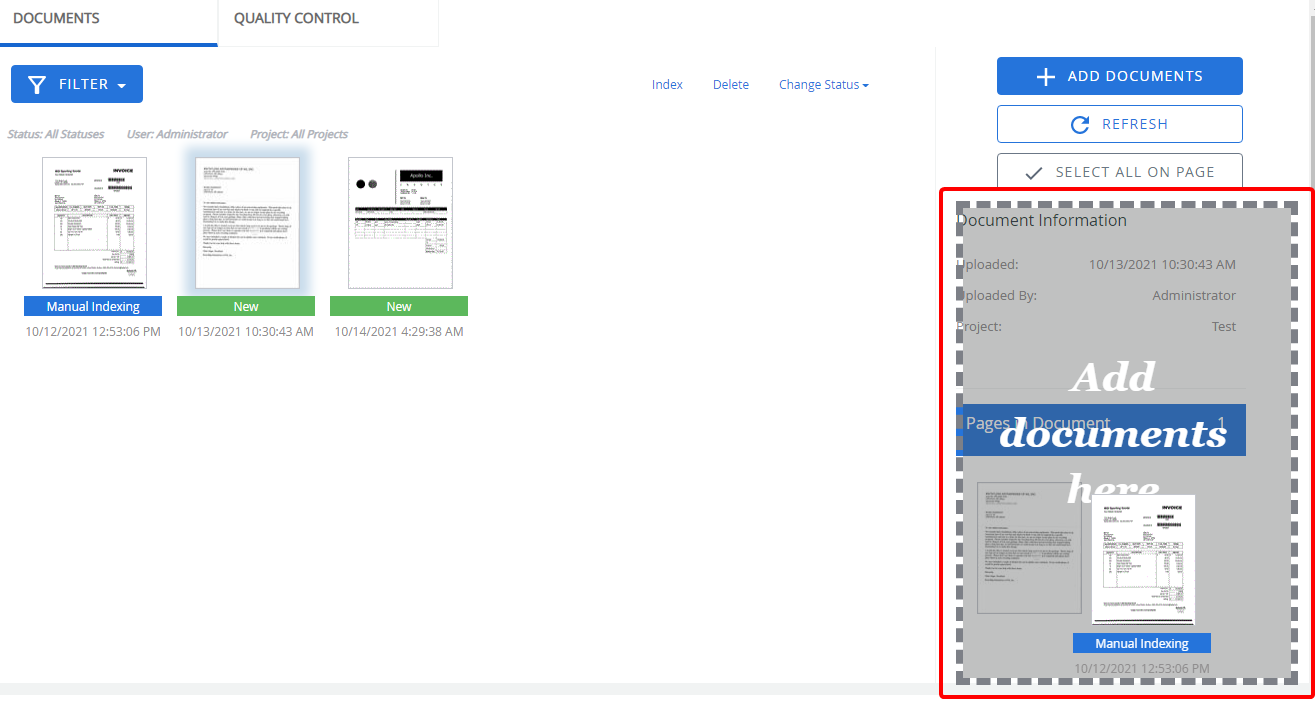
Click the document you want to add a document to.
-
Click the document you want to add, and then using a drag-and-drop operation, move the document to the Document Information section. This document will be added after the last page in the current document.
Move a page from one document to another
-
Click the document that contains the page you want to move to another document.
-
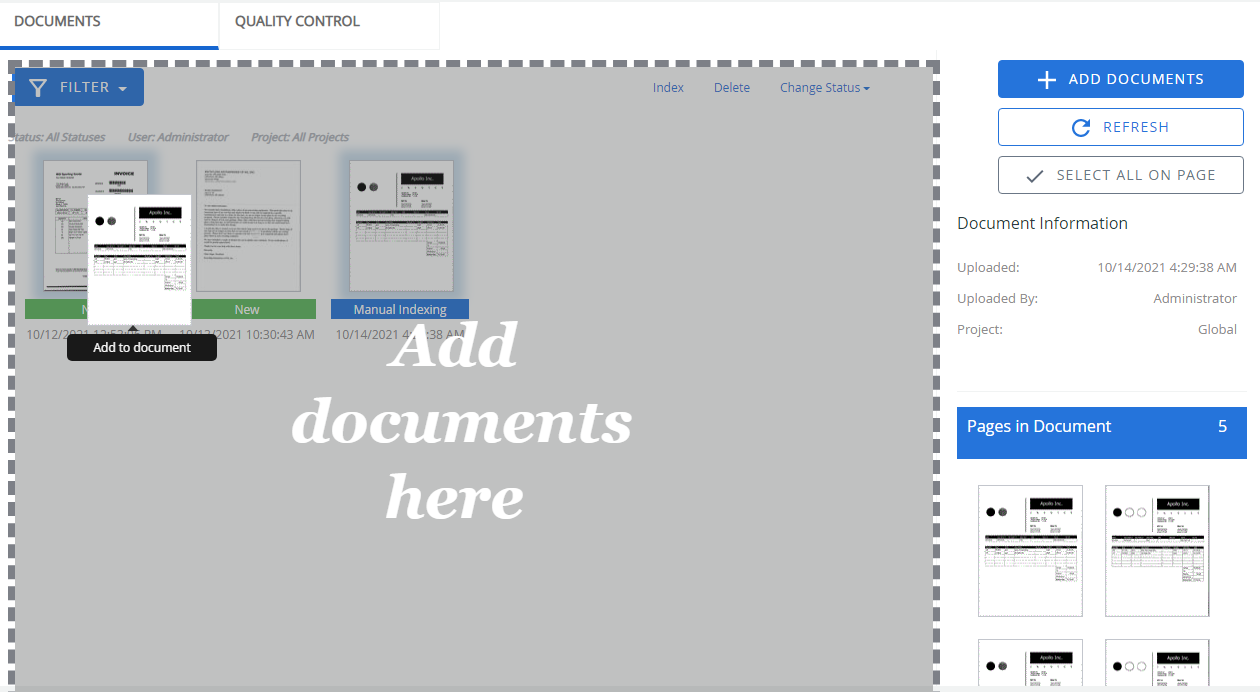
In the Document Information section, click the thumbnail image of the page you want to move to another document. To move multiple pages from one document to another, press Ctrl and then click the thumbnail images of the pages you want to move.
-
Move the image to another document in the Indexing Queue page using a drag-and-drop operation.
Split a page from a document to a new file
-
Click the document that contains the page you want to split to a new file.
-
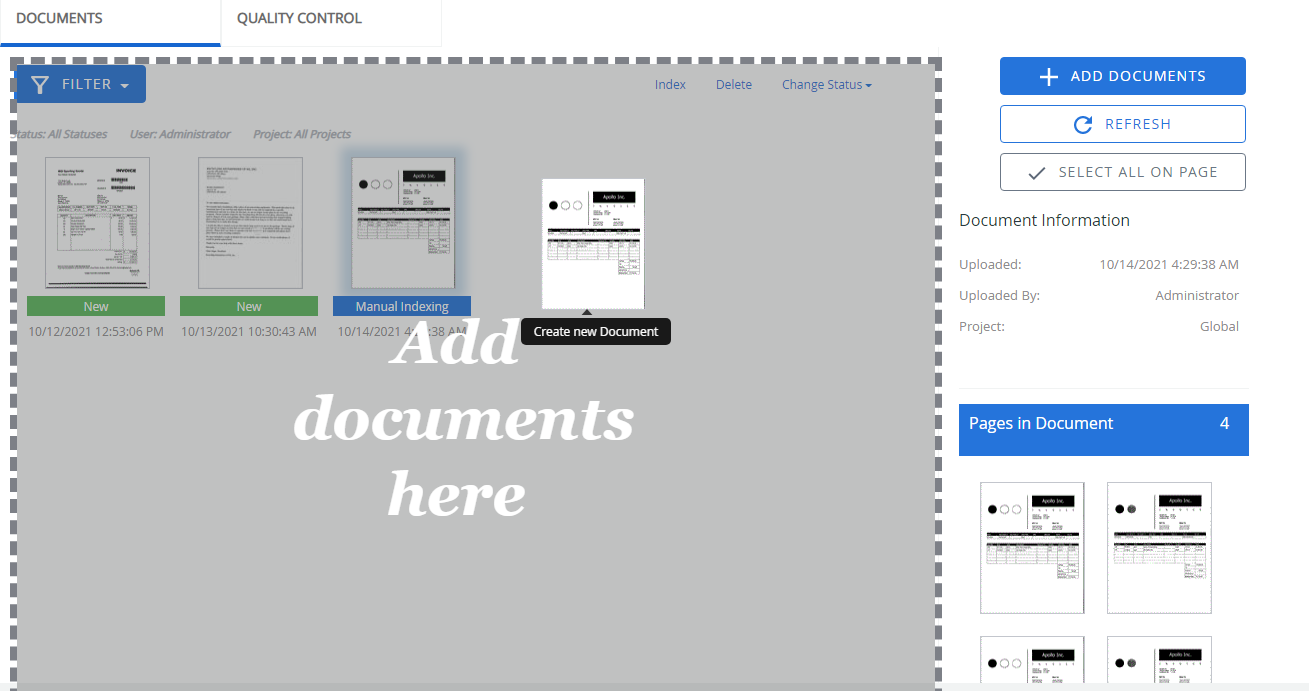
In the Document Information section, click the thumbnail image of the page you want to split. To split multiple pages from a document to a new file, press Ctrl and then click the thumbnail images of the pages you want to split.
-
Move the image to empty space on the Indexing Queue page using a drag-and-drop operation.
Delete a page from a document
FileBound does not allow you to delete a page from a document. However, you can split a page to create a new file in the Indexing Queue, and then delete that file.
-
Click the document that contains the page you want to delete.
-
In the Document Information section, click the thumbnail image of the page you want to delete.
-
Move the image to empty space on the Indexing Queue page using a drag-and-drop operation.

-
Select the newly created document.
-
Click Delete.

-
Click Yes to confirm the deletion.
Index a document
When a document is indexed in the Indexing Queue, the new file is saved and the selected pages are associated with that file and removed from the Indexing Queue.
- Click the document you want to index.
-
Click Index.

-
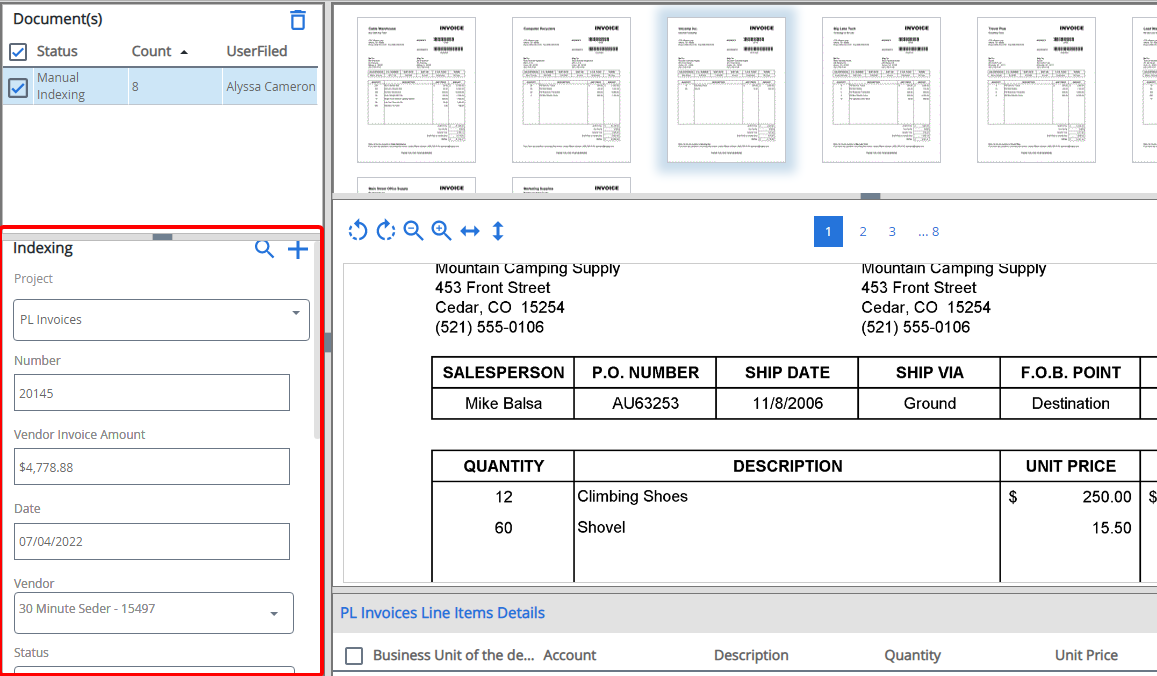
Click the page of the document that you want to index.

- Select a project from the Project list in the Indexing pane.
-
Type values for the index fields, then click Save.
Add a document to an existing file
- Click the document that you want to add to an existing file.
-
Click Index.

-
Click the page of the document that you want to index.

- Select a project from the Project list in the Indexing pane.
-
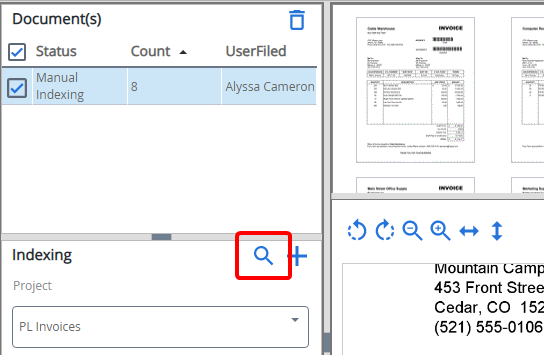
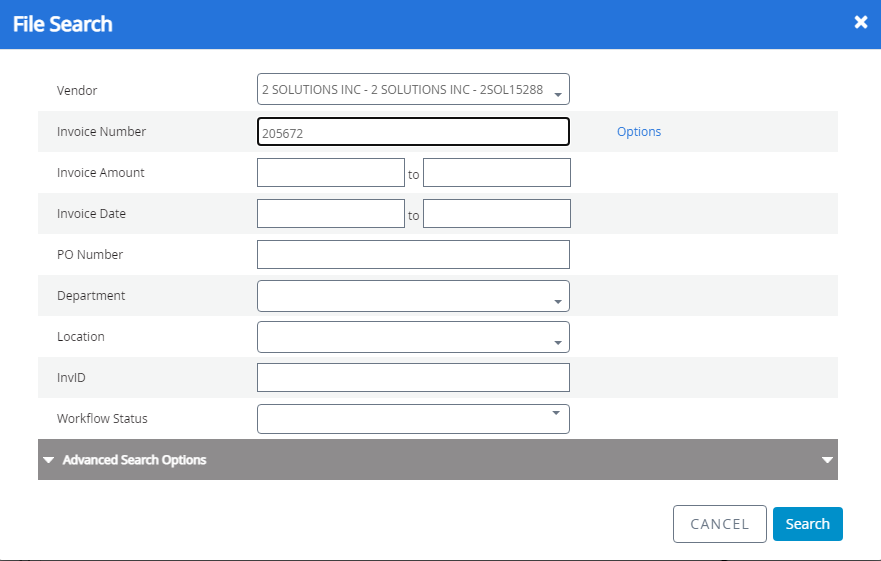
Click File Search.
-
Enter file search criteria then click Search.
-
If multiple results are returned, select the appropriate file. The index fields are populated based on the file selected.
-
Click Save.
Index multiple documents
-
Press Ctrl then click the documents you want to index.
-
Click Index.

-
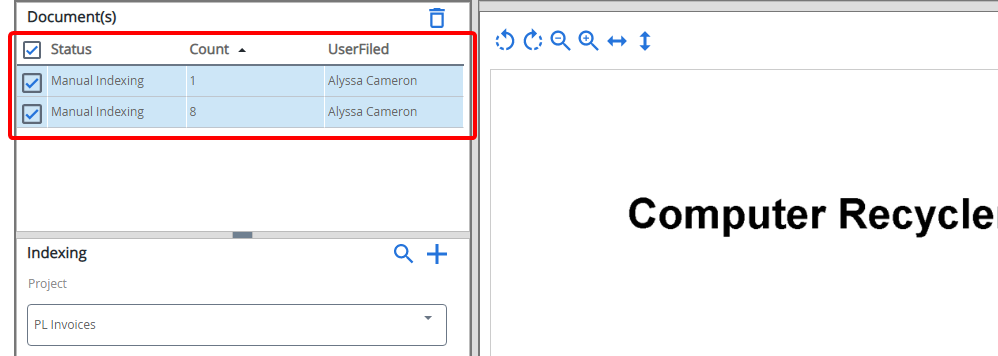
Select the check boxes next to the documents you want to index in the Document(s) pane
-
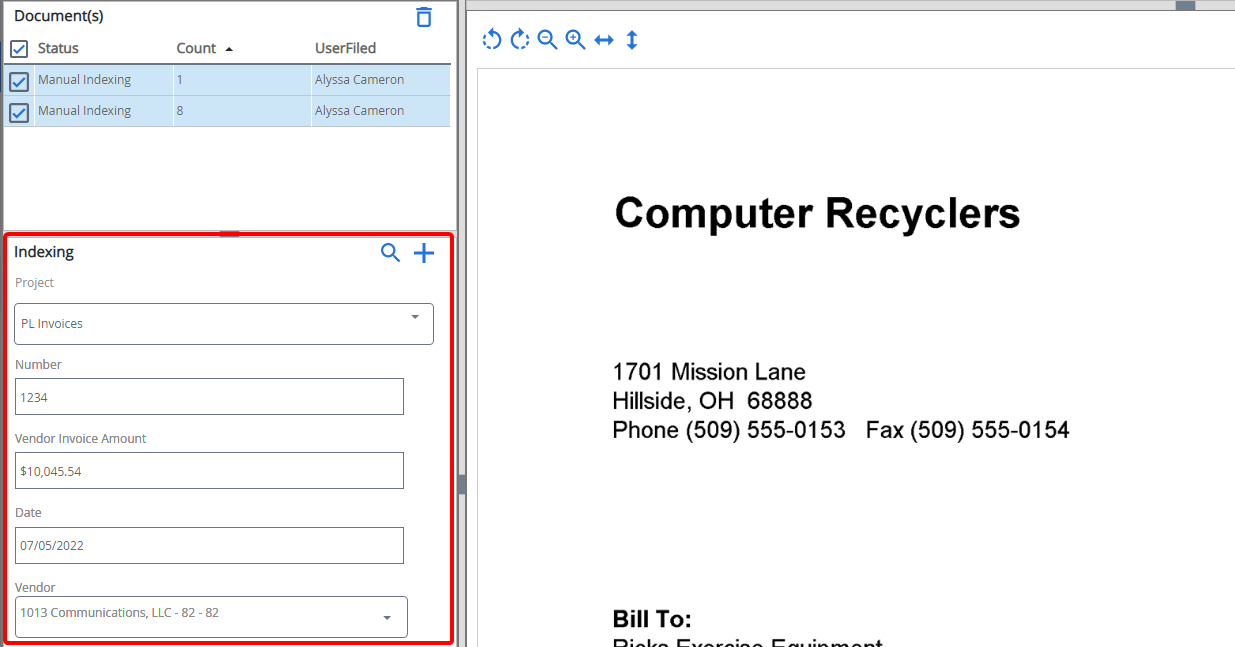
Select a project from the Project list in the Indexing pane.
-
Type index values for the index fields, then click Save.
-
In the Document Properties dialog box, select a separator (if enabled for the project) and divider.
-
Select the Apply to all selected documents check box, to index the files to the same separator and divider. If this check box is not selected, the Document Properties dialog box will open repeatedly to allow you to select different separator and divider for each document you have selected in the Document(s) pane.
-
Click OK.
Reorder pages in a document
-
Click the document that contains the pages you want to reorder.
-
Click Index.

-
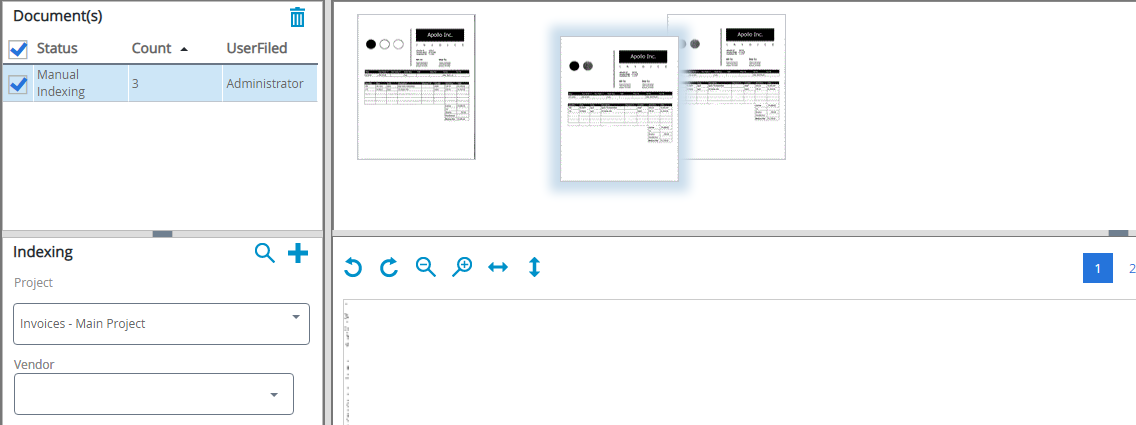
Click the page you want to reorder and move it to the desired location using a drag-and-drop operation.
Add a line item
-
Click the document that you add a line item for.
-
Click Index.

-
Click the page of the document that you want to index.

-
Select a project from the Project list in the Indexing pane.
-
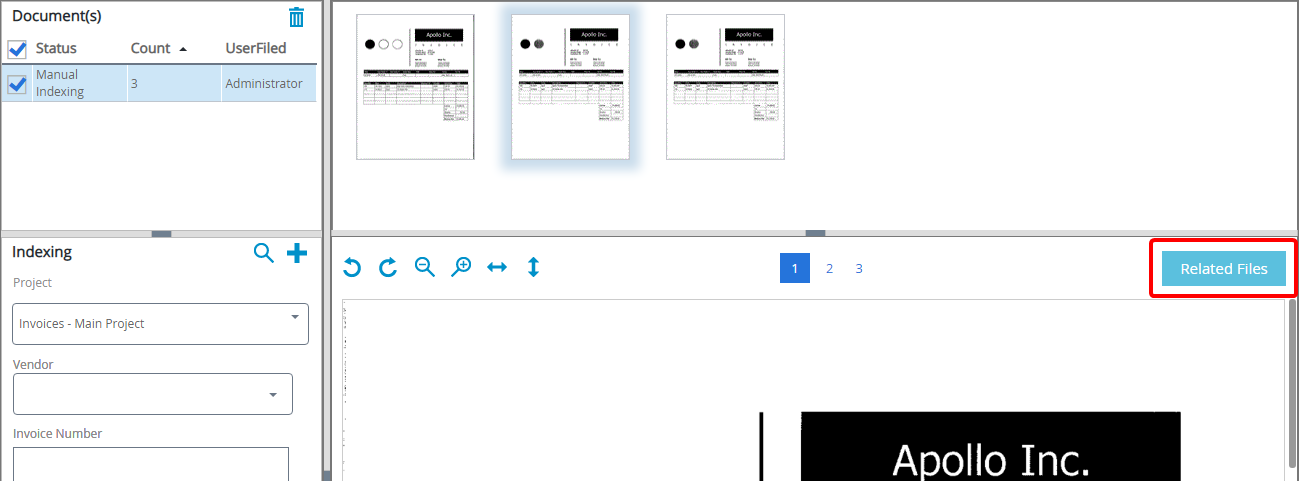
Click Related Files.
Note: The Related Files button is only available if a file relationship is established for the selected project.
-
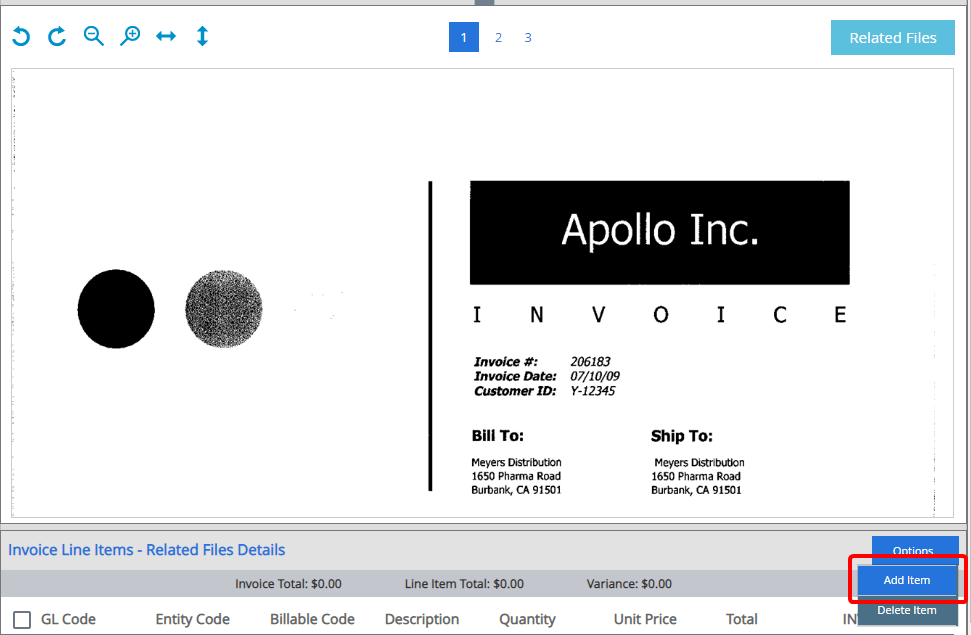
In the Options menu, click Add Item.
-
Specify the line item details in the relevant cells.
If the line item calculation is configured, the comparison of the line item values and the index value is displayed.

To delete a line item, select the check box next to the line item(s) you want to delete, then in the Options menu, click Delete Item.
Change the status of a document
- On the Navigation menu, click Indexing Queue.
-
Select the document you want to change the status of. To change the status of multiple documents, press Ctrl and then select the documents you want to change the status of.
-
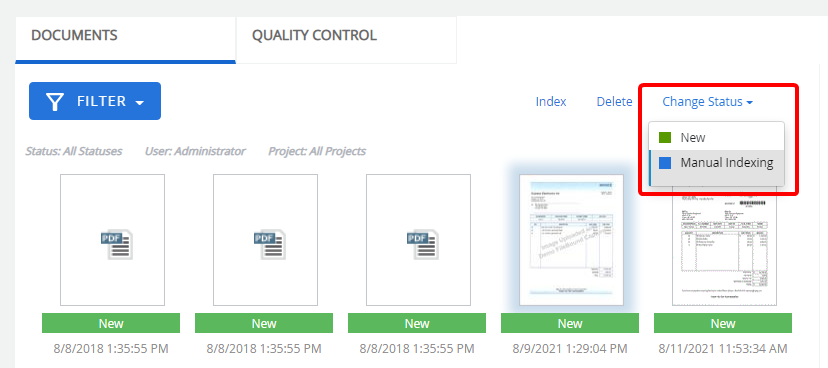
Click Change Status, then select one of the following statuses:
- New
- Manual Indexing
Delete a document from the Indexing Queue
-
On the Navigation menu, click Indexing Queue.
-
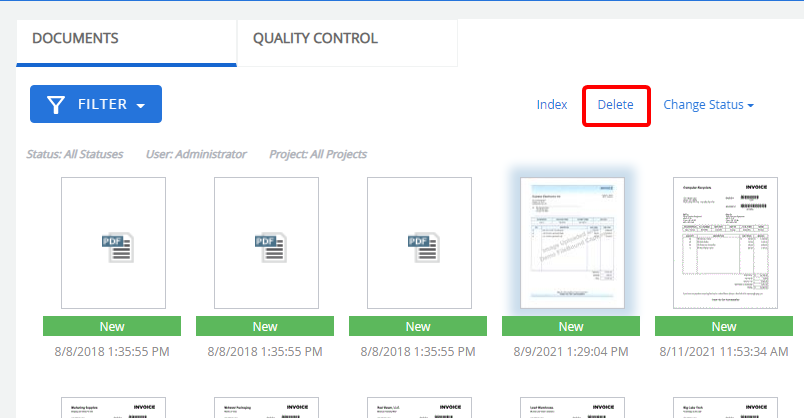
Select the document you want to delete. To delete multiple documents, press Ctrl and then click the documents you want to delete.
-
Click Delete.
-
Click Yes to confirm the deletion.
Refresh the Indexing Queue
To ensure that your Indexing Queue page is up to date, you can refresh it.
- On the Navigation menu, click Indexing Queue.
-
Click Refresh.
