The Outlook integration allows you to map email data to index fields. After an Outlook integration has been configured, Connect will notify you when it finds a file in FileBound that matches email data.
Add an Outlook integration
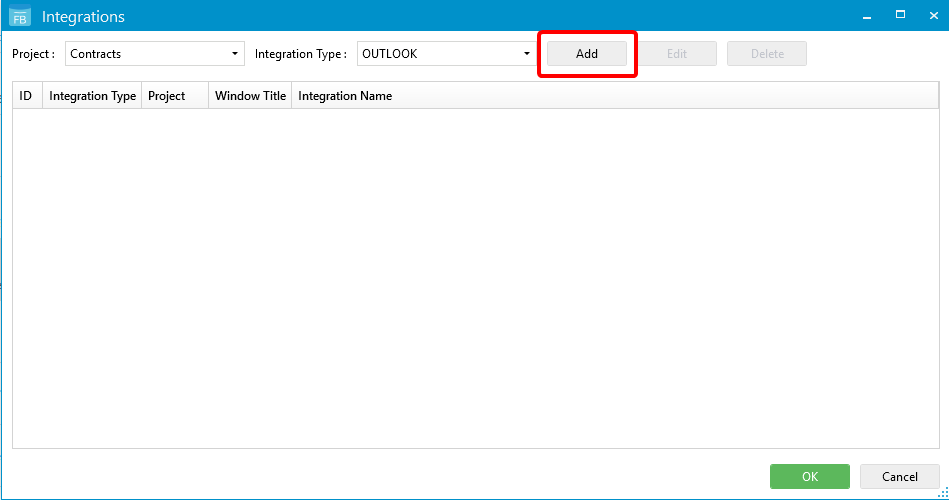
- On the Integration menu, click Setup.
- In the Project list, select a project that you want to configure the integration for.
- In the Integration Type list, select OUTLOOK.
-
Click Add.
-
In the Index Name drop-down list, select the index field you want to map.
-
In the Email Field drop-down list, select the email field you want to map to the index field, then click Add.
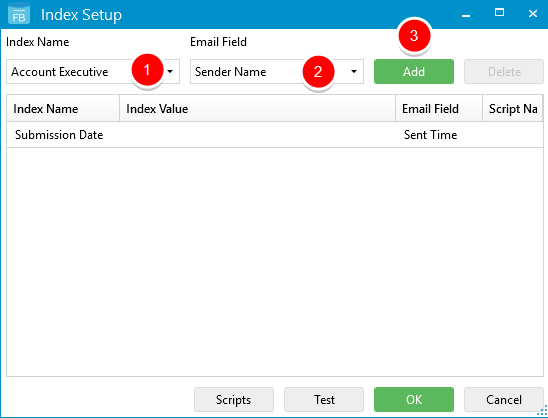
- Repeat Steps 5 and 6 to add additional mappings.
- Select an email in Microsoft Outlook and click Test to ensure that the mappings return the expected values.
- Click Scripts to generate a VBScript or PowerShell script if necessary. The script is applied to the value pulled from the integration for that field. See VBScript and PowerShell scripting for integrations for more information.
- Click OK.
- Click OK.
Use the Outlook integration
-
Select an email in your Microsoft Outlook inbox, then on the FileBound tab, click Save Email(s) to FileBound. Or, move an email to Connect using a drag-and-drop operation.
If a matching file exists in FileBound, the index field information will be populated and all applicable documents will be displayed under the separators and dividers.
If a matching file is not found in FileBound, No results found will display and the Create button will be enabled. Click Create to create a new file.
Menu