Voice Transcription
Note: This page is only currently applicable to SCV and Genesys Cloud.
Note: This page is only currently applicable to Genesys Cloud. For transcription with Engage, refer to the Upland Transcription Service section.
InGenius for SCV supports voice transcription, converting contact center audio into a text format. This section describes the steps necessary to enable transcription for your telephony provider and configure it for InGenius for SCV.
Enabling Voice Transcription for Your Telephony Provider
Though there are no steps required for configuring voice transcription in the InGenius Admin application, transcription does rely on call recording settings being enabled for your chosen telephony. Follow the steps below:
Genesys Cloud
-
To enable voice transcription for Genesys Cloud, refer to the official documentation page on configuring voice transcription.
-
To understand the limitations of the voice transcription feature with Genesys Cloud, refer to the official documentation page on limitations with voice transcription.
Enabling Recording Control in Agent Permission Set
Agents can toggle recording control, which is required for transcription, on or off in the SCV UI. In order to see the "Toggle Recording" button, users will need it to be enabled in their permission set. Follow the steps below to enable this toggle:
-
Login to your SCV Salesforce Org and navigate to Setup | Users | Permission Sets
-
Select the user group you wish to enable recording controls for from the permission sets list.
-
Select App Permissions
-
Under 'Call Center' permissions, enable 'Control Call Recording'.

The 'Toggle Recording' button should now appear for your agents in the SCV UI, and can be toggled on or off to enable transcription for the call.
Adding Conversation Body in Lightning App
In order to view voice transcriptions, you will need to add a conversation body component to the lightning app you created for your SCV Contact Center. To add a conversation body to your contact center app, follow the steps below:
-
Login to your SCV Salesforce Org and navigate to Setup | App Manager.
-
In the App Manager, find the SCV Contact Center app you created, click the
 dropdown icon and select Edit.
 -
In the Lightning App Builder, select Pages | New Page
-
Select Record Page on the 'Create a new Lightning page' panel and then click Next.
-
Add an appropriate label name, select 'Voice Call' from the 'Object' dropdown, and then click Next.
-
Select a desired layout for the page and click Finish.
-
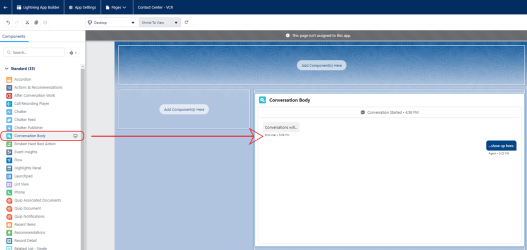
Drag the 'Conversation Body' component onto the page layout.
-
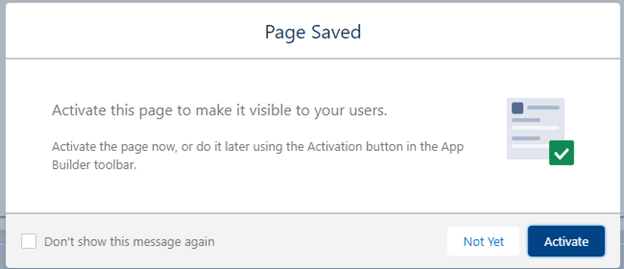
Select Activation from the top menu bar.
Note: If the Activation button from the top menu bar is greyed out, click Save. A pop up will appear asking you to activate the page, select Activate.
-
In the Activation panel, under APP DEFAULT, select 'Assign as App Default'.
-
In the Select Apps panel, check your contact center application and then click Next.
-
In the Select Form Factor panel, select 'Desktop and phone' and click Next and then Save.
