Data Sources
Data sources store information used in Cascading Options data fields. For more information about Cascading Options data fields, see Configure a cascading options data field.
Any user that is assigned to a role with the Manage DataSources permission can add, maintain, and delete data sources.
View or edit data source properties
Perform row maintenance on a data source
Add a new data source
Once a data source has been added, you need to add row data using row maintenance. See Perform row maintenance on a data source for more information.
-
On the Navigation Menu, click Settings, then click Data Sources.
-
Click New Data Source...

- In the Name box, enter a name for the data source.
-
In the Column Name box, enter a name for the data source column, then click Add Column. Repeat this step to add all columns needed for the data source.
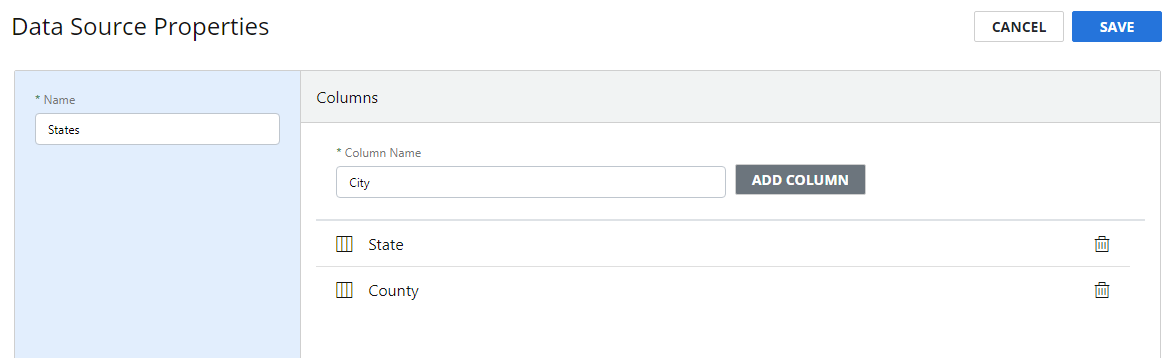
To remove a column from the data source, click Remove next to the row.
- Click Save.
View or edit data source properties
In Data Source Properties, you can rename the data source and add or remove data source columns.
-
Click the three dots next to the data source you want to view properties for, then select Properties from the drop-down menu. Or, click the name of the data source you want to view properties for.

- Modify data source properties as needed, then click Save.
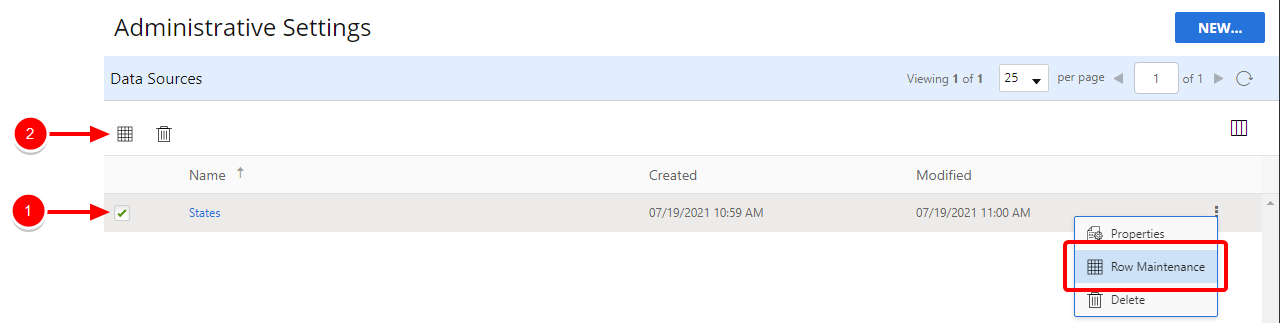
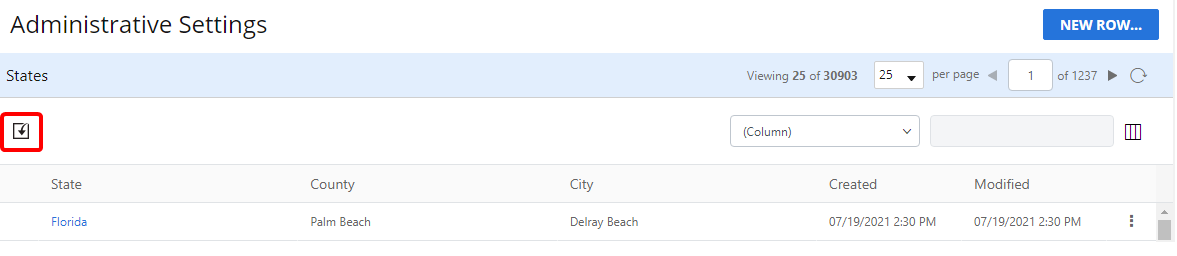
Perform row maintenance on a data source
-
Click the three dots next to the data source you want to perform row maintenance for, then select Row Maintenance from the drop-down menu or select the check box next to a data source, then click Row Maintenance.
In Row Maintenance, you can perform the following:
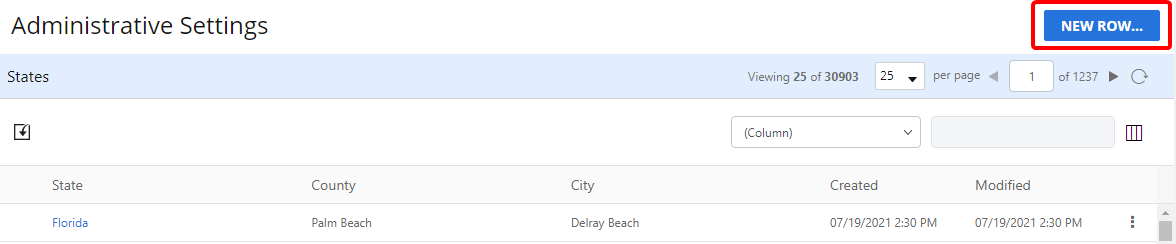
 Manually add a row
-
Click New Row...
-
Enter information for the row, then click OK.
Import rows from a CSV file
-
Click Import with CSV.
-
Click Choose File to select the .csv file containing data source information.
-
Map data source rows to applicable columns in the .csv file.
-
Select the First row is column names check box if the .csv file contains a header row.
-
Select the Replace the existing data check box to delete any existing data and replace it with the newly imported information.
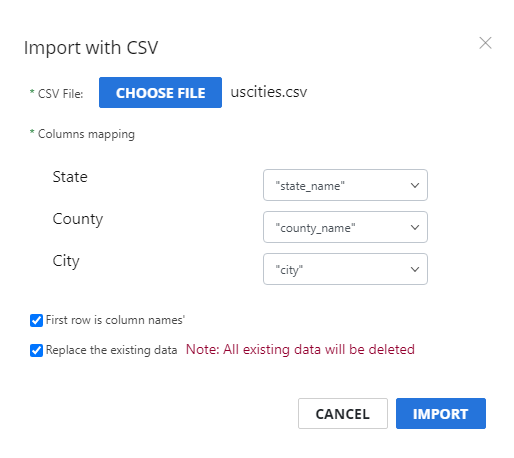
-
Click Import.
View or edit row properties
-
Click the three dots next to the data source row you want to view properties for, then select Properties from the drop-down menu. Or, click the name of the data source row you want to view properties for.
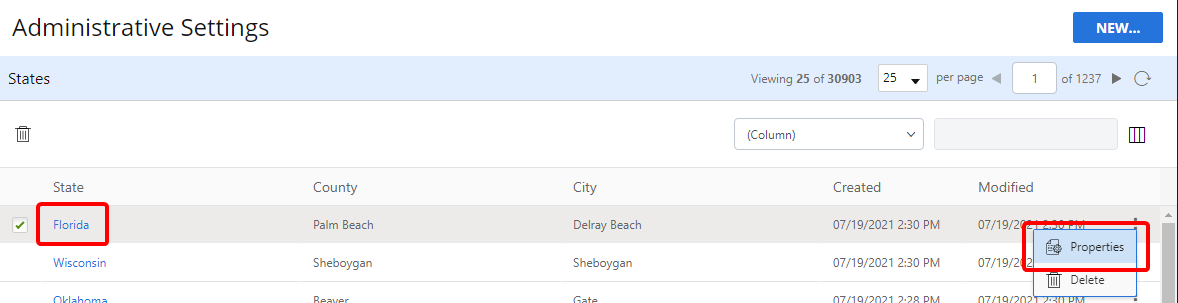
-
Modify the row properties as needed, then click Save.
Delete a row
-
Click the three dots next to the row you want to delete, then select Delete from the drop-down menu. Or, select the check box next to one or multiple rows, then click Delete.
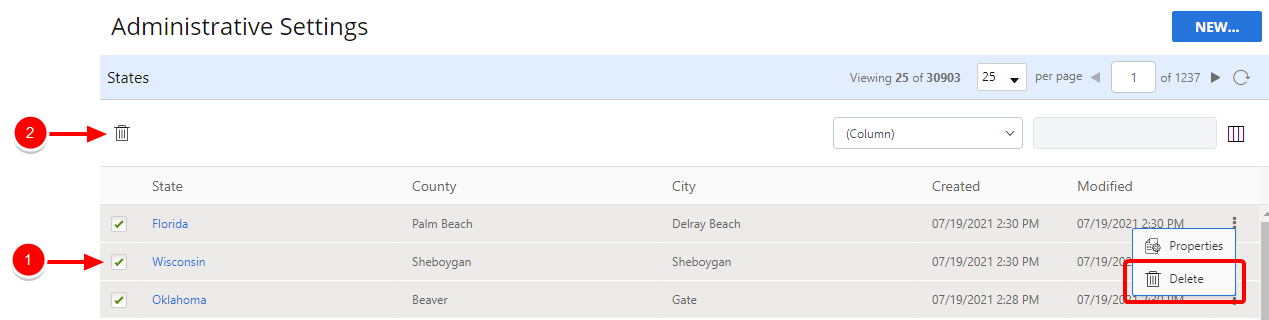
- Click Delete to confirm the deletion.
-
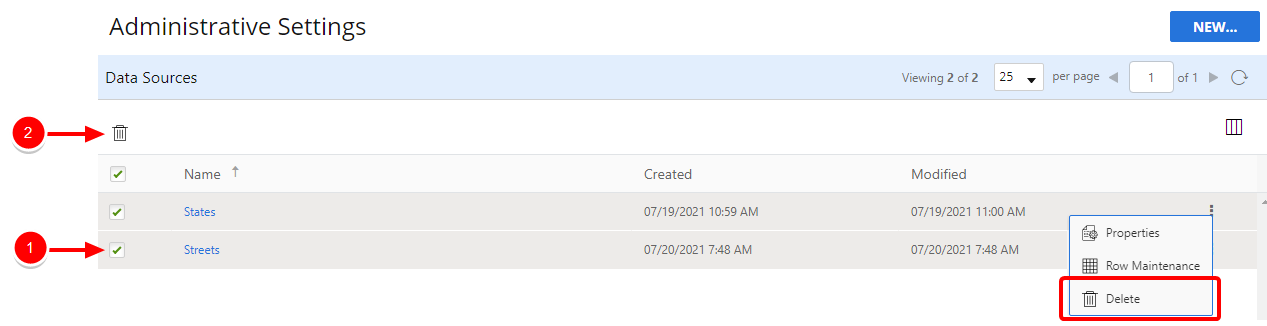
Delete a data source
-
Click the three dots next to the data source you want to delete, then select Delete from the drop-down menu. Or, select the check box next to one or multiple data sources, then click Delete.