Integrated applications
Intelligent Capture integrates with CloudFAX, FileBound, and OneDrive. Any user that is assigned to a role with the Manage Integrated Applications permission can enable/disable and configure integrated applications.
Once the integration is enabled, you must enter your credentials under Settings - Authorizations in order to access your account. See Authorizations for more information.
Enable the CloudFAX integration
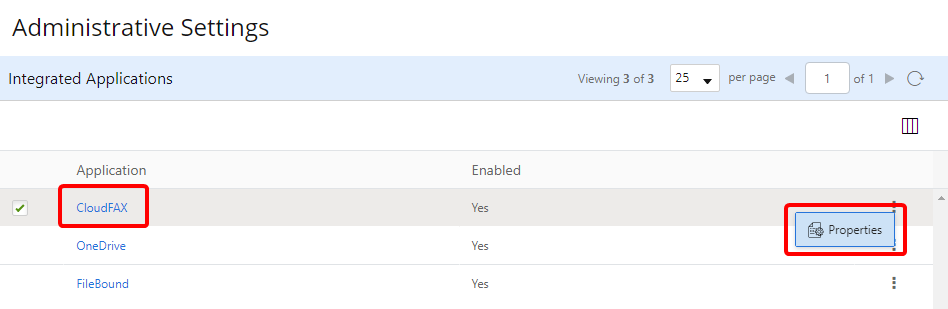
- On the Navigation Menu, click Settings, then click Integrated Applications.
-
Click the three dots next to CloudFAX, then select Properties from the drop-down menu. Or, click CloudFAX.
- Select the Enabled check box.
-
Click Add (>) next to the role(s) you want to have access to the integration. Or, move roles from the Available box to the Selected box using a drag-and-drop operation.
To remove roles from the integration, click Remove All or click Remove (X) next to specific roles in the Selected box.
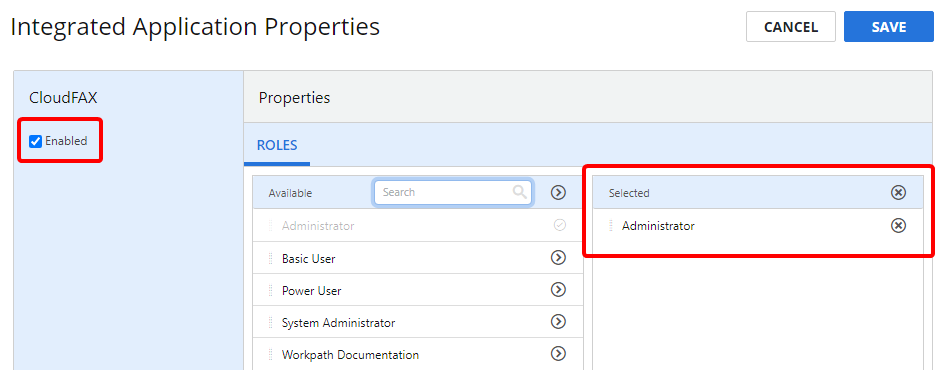
- Click Save.
Enable the FileBound integration
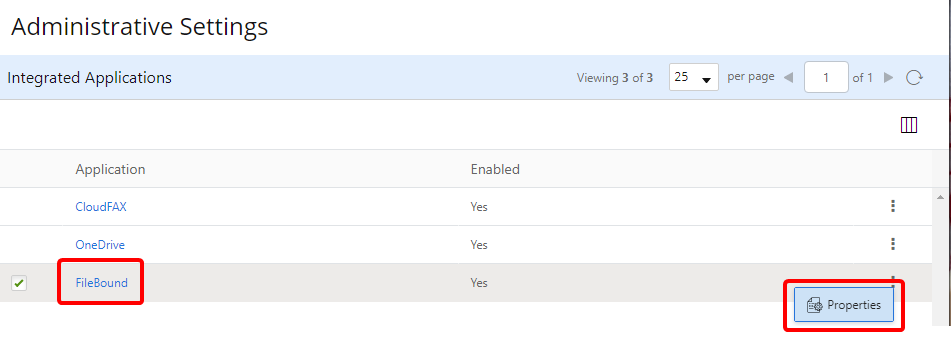
- On the Navigation Menu, click Settings, then click Integrated Applications.
-
Click the three dots next to FileBound, then select Properties from the drop-down menu. Or, click FileBound.
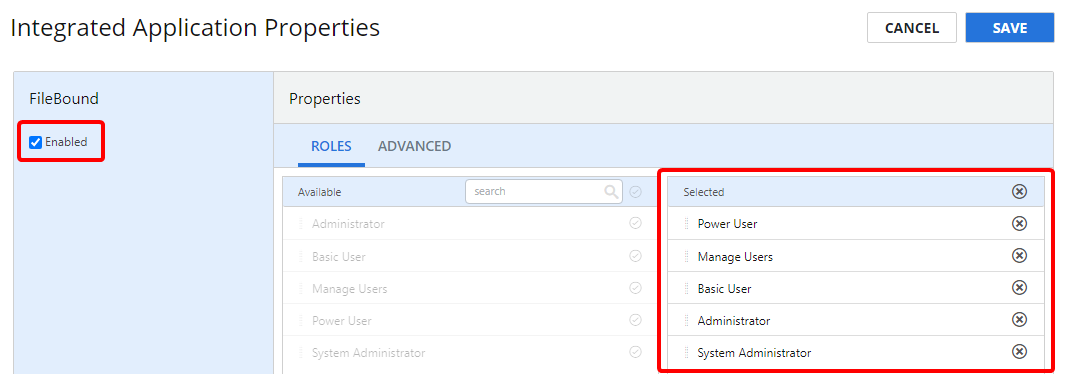
- Select the Enabled check box.
-
Click Add (>) next to the role(s) you want to have access to the integration. Or, move roles from the Available box to the Selected box using a drag-and-drop operation.
To remove roles from the integration, click Remove All or click Remove (X) next to specific roles in the Selected box.
-
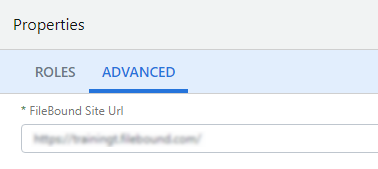
On the Advanced tab, enter the URL for your FileBound site.
- Click Save.
Enable the OneDrive Integration
-
On the Navigation Menu, click Settings, then click Integrated Applications.
-
Click the three dots next to OneDrive, then select Properties from the drop-down menu. Or, click OneDrive.

-
Select the Enabled check box.
-
Click Add (>) next to the role(s) you want to have access to the integration. Or, move roles from the Available box to the Selected box using a drag-and-drop operation.
To remove roles from the integration, click Remove All or click Remove (X) next to specific roles in the Selected box.

-
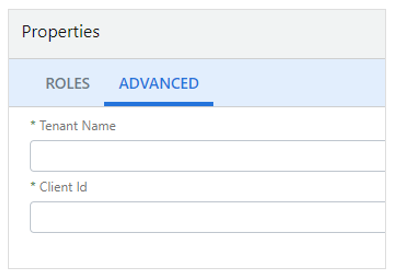
On the Advanced tab, enter the Tenant Name and Client Id for your company’s Microsoft OneDrive account.
-
Click Save.