Devices
Administrators can configure MFPs in InterFAX by using Settings - Devices.
Additional configuration for Xerox devices
Optional security for Konica Minolta devices
Download Upland Device Management Service
View or edit device properties
Add a new device
Contact Konica Minolta for information about the InterFAX App for Konica Minolta and compatible devices before setting up the device in InterFAX.
- On the Navigation Menu, click Settings, then click Devices.
-
Click Device..., then select New from the drop-down menu.

- Ensure the Enabled check box is selected.
- In the Name field, enter a name for the device.
- In the Serial Number field, enter the serial number of the device.
- In the Tag field, enter a tag. For example Region, Department, or Location (optional).
-
Select one of the following Authentication modes:
-
Generic: Authentication at the device is ignored by InterFAX. However, an InterFAX user must be selected during setup. InterFAX will associate this user with any device user at the Konica Minolta or Xerox device. This use case scenario is best suited for companies that have configured a shared community of resources where all employees are using the same resources.
Caution: A user must have already logged into InterFAX successfully before configuring the device.
- Device: Authentication takes place at the device level where the device user’s email address is verified by InterFAX. The device user must have an InterFAX user with the same email address and belong to a group of device users that share access and privileges to the device. Any device user whose email address has been verified can access InterFAX from the Konica Minolta or Xerox device.
- Login: Device level user authentication is ignored by InterFAX. The device will prompt the user to log in with their InterFAX username and password. Any device user with valid InterFAX credentials can access InterFAX from the Konica Minolta or Xerox device.
- Click Save.
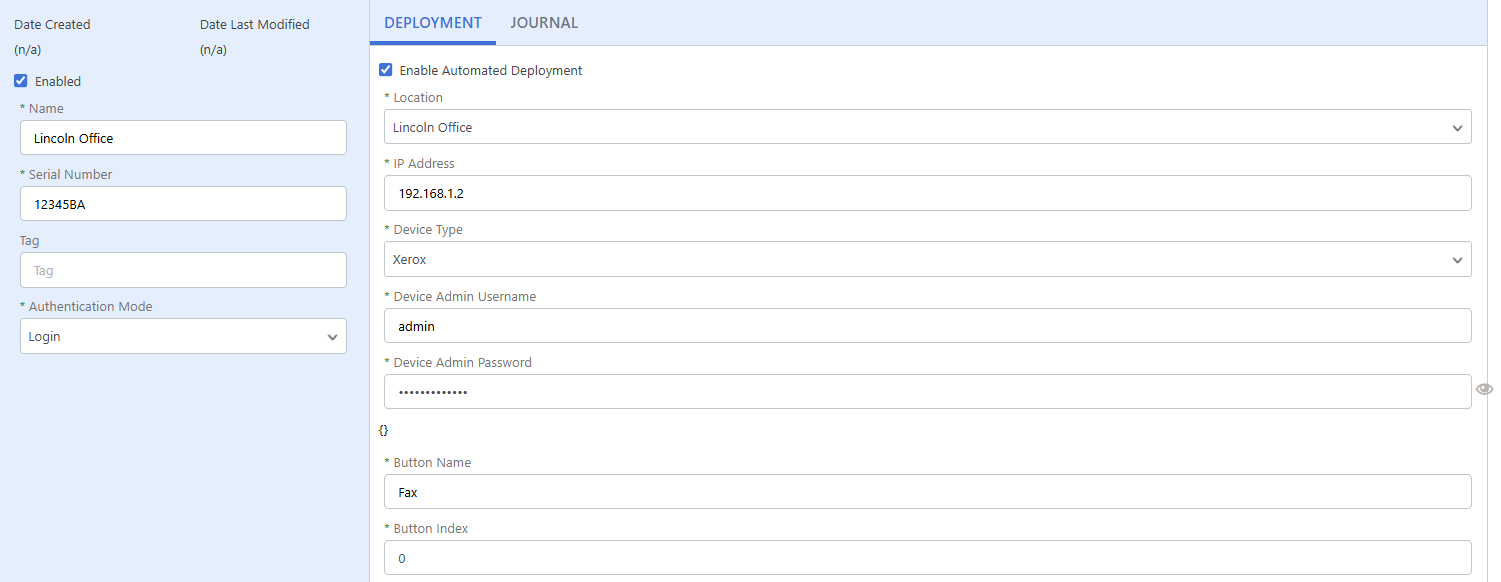
Additional configuration for Xerox devices
On the Deployment tab:
-
Select the Enable Automated Deployment check box.
-
From the Location drop-down list, select the Xerox device location. A location must be configured prior to adding a device. See Add/Edit Locations for more information.
-
In the IP Address field, enter the IP address of the Xerox device.
-
From the Device Type drop-down list, select Xerox.
-
In the Device Admin Username and Device Admin Password fields, enter the device administrator username and password.
-
In the Button field, enter a name that will be displayed on the device interface.
-
In the Button Index field, specify the numerical position of the button within the device interface.
-
Click Save.
Optional security for Konica Minolta devices
Additional security can be applied to your Konica Minolta devices by using Device Settings. A device secret and/or allowed public IP addresses are optional security measures that you can set up after the initial device setup has been completed.
InterFAX will verify the device secret and/or allowed IP addresses before access is allowed to device users.
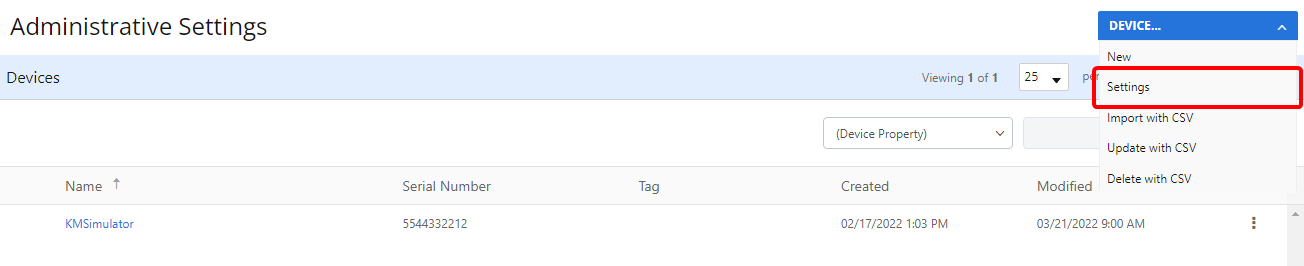
-
Click Device..., then select Settings from the drop-down menu.
-
In the Secret field, enter the secret. Only one secret is allowed for all of your devices.
Note: The device secret must also be configured on the Konica Minolta device:
- Press the Market Place button.
- Press the App Manager button on the bottom left.
- Log in using the Konica Minolta Marketplace username and password.
- Press the Settings button next to the Upland InterFAX Connector.
- Enter the secret for Device Secret, then press Save. The secrets must match exactly.
- In the Additional Properties section, click Add (+).
- In the IP Address field, enter the IP address.
- Repeat Steps 4 through 5 as needed.
- Click Save.
Note: Device information like the serial number and IP address can be found by selecting the question mark (?) icon at the device.
Import devices
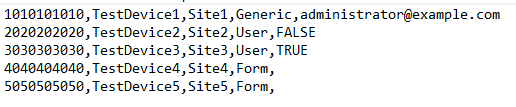
You can import devices in bulk from a .csv file. The .csv file must contain the following information in the order specified. Do not include a header row.
-
Serial Number
-
Device Name
-
Tag - this column must be included, but values are not required.
-
Authentication Mode - enter either Generic, User (device authentication), or Form (login authentication). See Add a new device for more information about authentication modes.
-
Enable Automatic Identity Mapping- enter TRUE or FALSE in this column only when using user authentication mode. Otherwise, leave it blank.
-
Username - enter a username in this column only when using a generic authentication mode. Otherwise, leave it blank.
Caution: A user must have already logged into InterFAX successfully before configuring the device.
An example of a .csv import file:
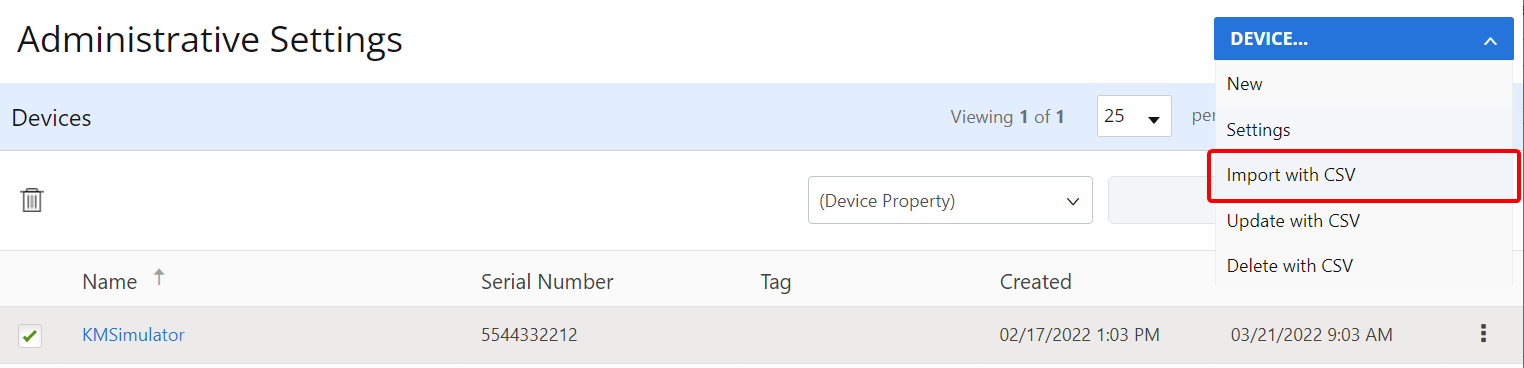
-
Click Device..., then select Import with CSV from the drop-down menu.
-
Click Choose File to locate the CSV file you want to upload or move the file to the upload area using a drag-and-drop operation.
-
Click Import.
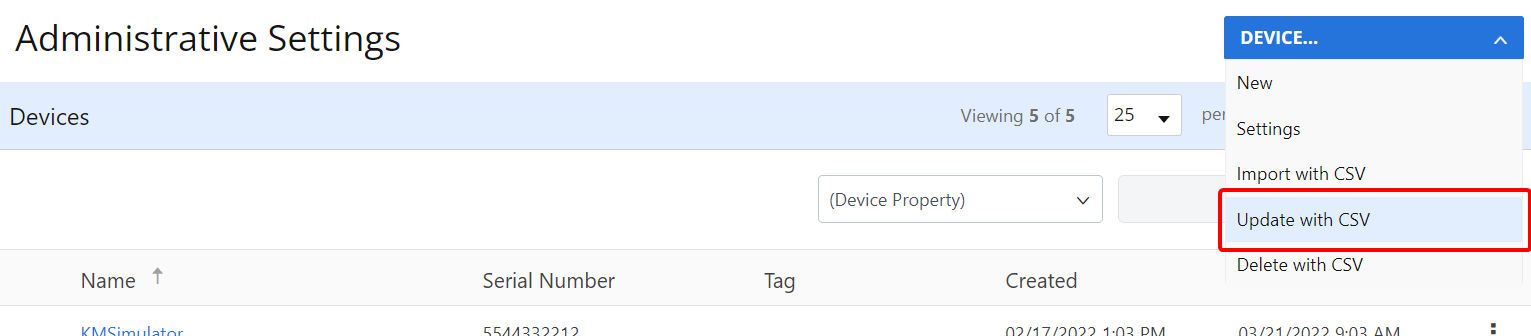
Update devices with CSV
You can make bulk changes to device names, tags, and authentication modes for existing devices using a .csv file. A device will be updated when the serial number matches a serial number in the file.
-
Click Device..., then select Update with CSV from the drop-down menu.
-
Click Choose File to locate the CSV file you want to upload or move the file to the upload area using a drag-and-drop operation.
-
Click Import.
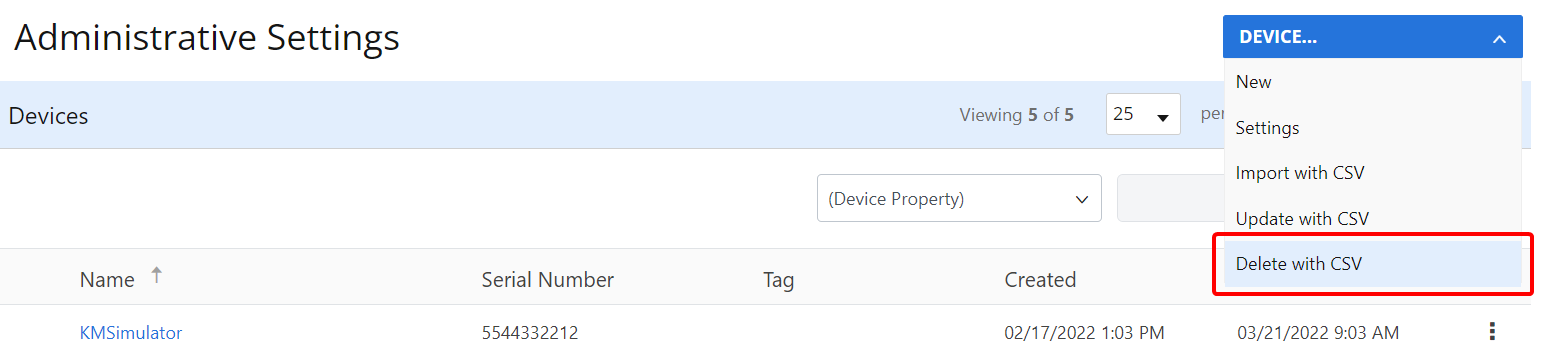
Delete devices with CSV
-
Click Device..., then select Delete with CSV from the drop-down menu. A match is made based on the serial number. A device will be deleted when the serial number matches a serial number in the file.
-
Click Choose File to locate the CSV file you want to upload or move the file to the upload area using a drag-and-drop operation.
-
Click Import.
Add/Edit Locations
This option is specific to the Xerox device integration.
Download Upland Device Management Service
This option is specific to the Xerox device integration.
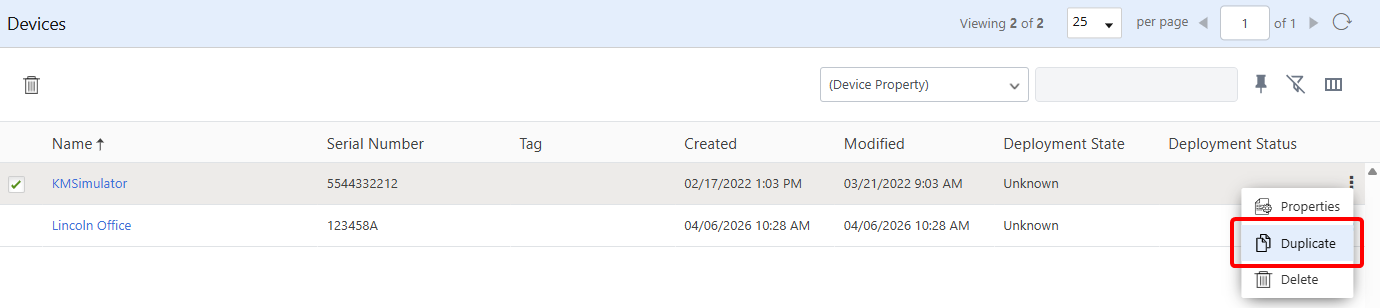
Duplicate a device
You may have a device that is already configured very similarly to a new device you want to create. Instead of configuring a new device from scratch, you can save time by duplicating the existing device and making modifications to the device properties.
-
Right-click anywhere in the device row or click the three dots next to the device you want to duplicate, then select Duplicate from the drop-down menu.
- Update the Name and Serial Number for the new device.
- Update the Authentication Mode if necessary and make any modifications to the additional properties, then click Save.
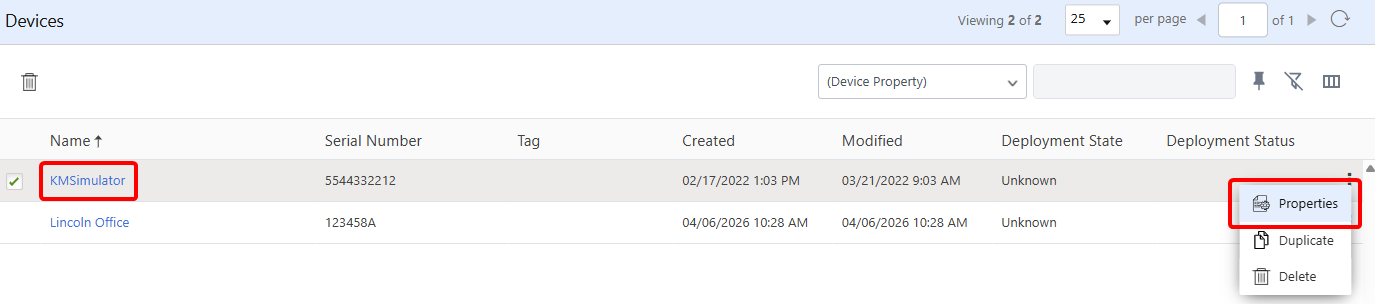
View or edit device properties
In Device Properties, you can rename the device, update the serial number, change the authentication mode, and modify additional properties.
-
Perform one of the following:
-
Right-click anywhere in the device row or click the three dots next to the device you want to view properties for, then select Properties from the drop-down menu.
-
Or, click the name of the device you want to view properties for.
-
- Modify data field properties as needed, then click Save.
Delete a device
-
Perform one of the following:
-
Right-click anywhere in the device row or click the three dots next to the device you want to delete, then select Delete from the drop-down menu.
-
Or, select the check box next to one or multiple devices, then click Delete.
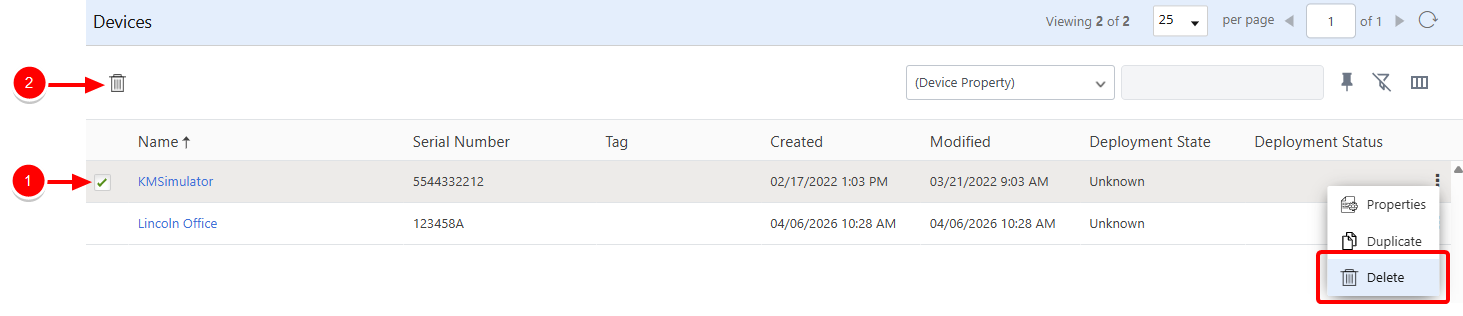
-
- Click Delete to confirm the deletion.