Email to fax
InterFAX allows you to send faxes from any standard email client, such as Outlook or Thunderbird, via web based email services such as Gmail or Yahoo! Mail, or via 3rd party applications such as Salesforce.
If you wish to broadcast to multiple recipients see Contact Lists.
-
Verify your allowed senders. In order to link your email address with your InterFAX user, the email address you would like use to submit faxes from needs to be an Allowed Sender in your settings.
The email address you used to register with InterFAX is automatically added as an allowed sender; however, any number of allowed senders can be added through your account. To manage your Allowed Senders, select My Settings, then Outgoing Options, then Allowed Emails.
-
Compose an email and verify the destination number.
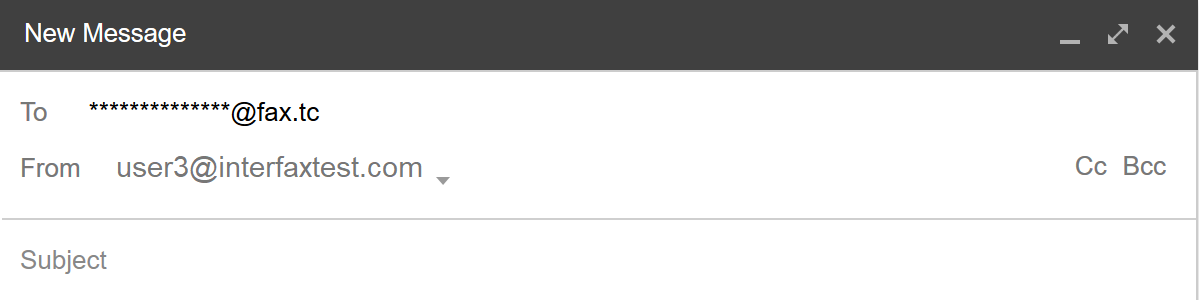
On a basic level, in order to fax from email, start by opening a new mail message and in the To: field of your email, simply enter the correctly formatted fax number followed by the extension ‘@fax.tc’.
The extension ‘@fax.tc’ allows the submission to access our servers; however, the fax number itself can be formatted in a number of ways depending on where the fax is being sent from, as well as its destination. For further information regarding the correct formatting of fax numbers, see Fax number formats.
-
Add your message and/or attachments. There are a number of options for adding content to be faxed:
- Enter the content to be faxed into the message body directly.
- Attach standard files such as ‘.DOC’ or ‘.PDF’, without text in the email body. Attachments are faxed in their order of attachment. For a complete list of supported file types, see Supported file types.
- Fax both the email body text and attachment(s).
- Type your text, attach your document(s) and add ‘/b’ (forward-slash b) to the end of the email subject line to include the email body text as a first (cover) page.
-
Click Send to send your fax. Once you click Send, your email is sent to InterFAX where it is automatically converted into a faxable format and sent to the destination number specified.
Outgoing faxes you have sent by email look just like regular mail items in your sent items and you can receive confirmation email messages with the success/failure status of the fax transmission.
Additionally, you can log in to InterFAX and view your outgoing fax queue.
-
Log in to InterFAX and click Sent Items in the Navigation Menu to follow the progress of your fax. This will show a list of all sending and sent messages, the details of each transmission, and advanced options for individual messages.
Send a fax to a contact list
Using InterFAX’s Contact Lists options, users can broadcast faxes to lists of contacts in single transactions, rather than sending individual transactions one at a time.
Tip: Before running any fax broadcast to multiple recipients, we recommend sending a single recipient test to verify that your settings are correct.
- Verify your allowed senders. In order to link your email address with your InterFAX user, the email address you would like use to submit faxes from needs to be an Allowed Sender in your settings.
- Create a contact list. See Contact Lists for more information.
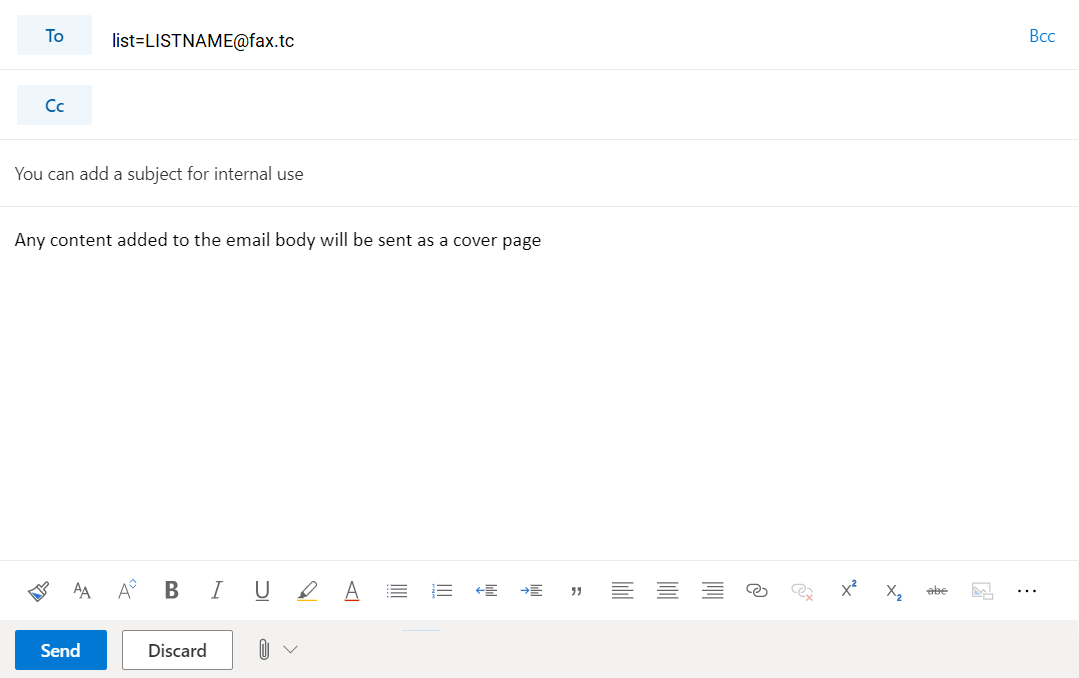
- In the To: field of your email enter list=LISTNAME@fax.tc where “LISTNAME” is the name of the list you wish to send to, as created in Step 2.
-
Add your message and/or attachments.
- Click Send. Once the individual transactions have been completed, you will receive a concentrated report with the status of your broadcast.