App Center Tab
The App Center is where you install any of Kapost's third party applications / integrations, including your various online publishing integrations.
View the App Center
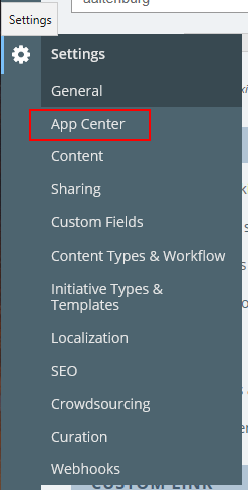
- Navigate to the settings area on the left panel. Click App Center.
- In the App Center page, you will see a list of your currently installed applications.
Install More Apps
To add a new one, click the "Install More Apps" at the bottom of this list.

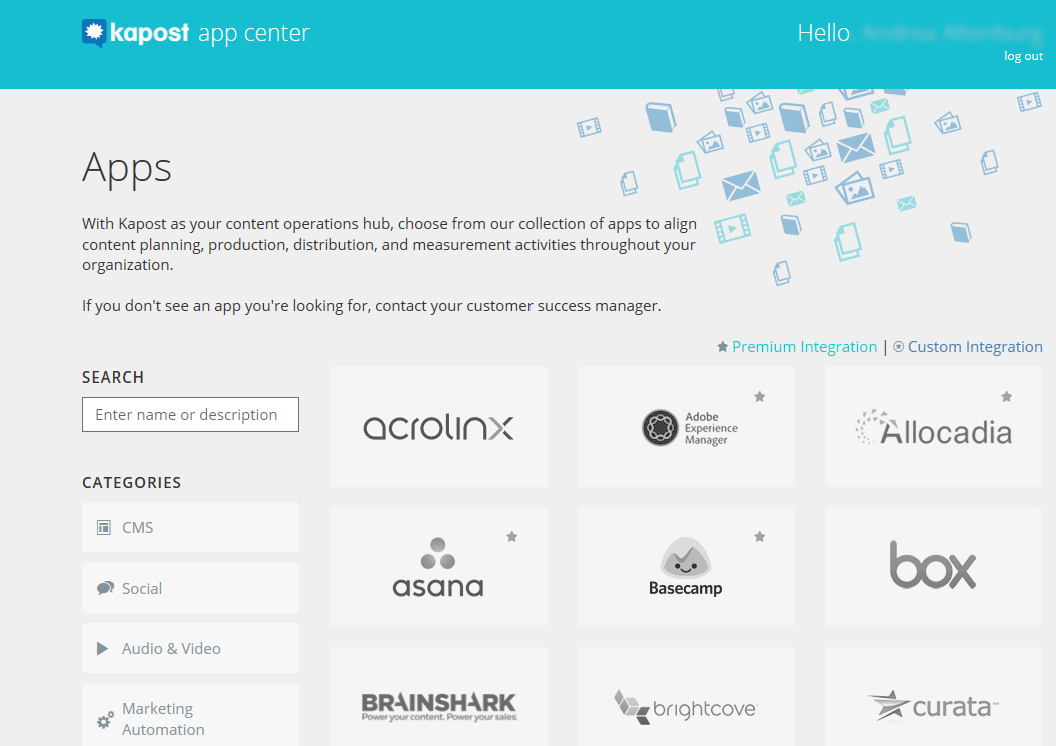
This will take you to the App Center. Click on the logo of the application/integration you would like to install.
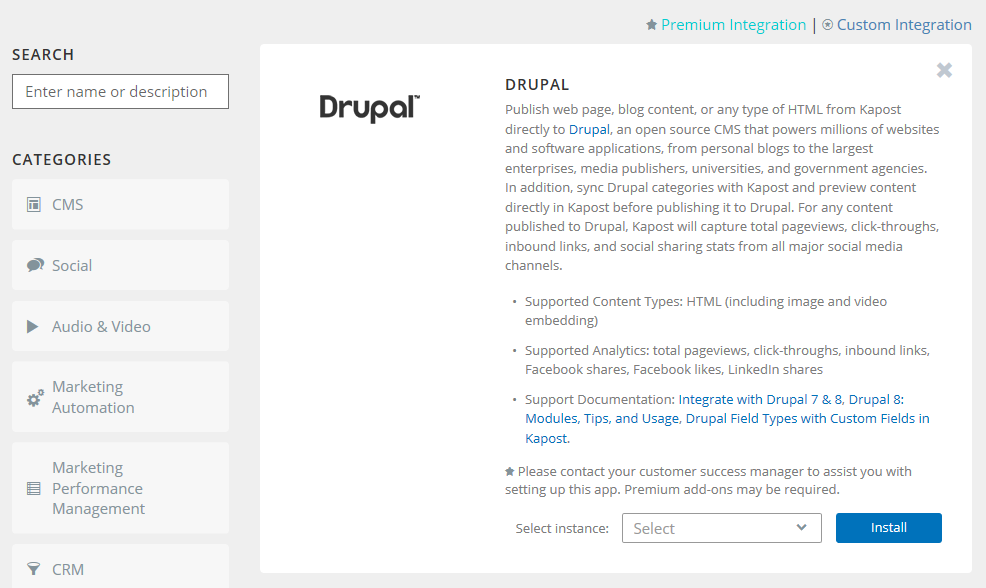
From here, it will prompt you to choose which of your accounts you would like to connect to under Select Instance. Click Install.
Clicking Install will take you back to your list of installed applications in Kapost, and prompt you to fill out your authentication information for the specific application you are trying to install. Some applications may require a few extra steps - feel free to contact your Customer Service Representative if you have any questions.
If you like to edit one of your current applications, then simply click Edit next to the application you would like to change on the App Center page.
Manage Existing Apps
If you have an integration already connected, you can view the connection information to make any changes. This could be if you want to change account information or disconnect an app.
- Navigate to the settings area on the left panel. Click App Center.

- In the App Center page, you will see a list of your currently installed applications.
- Navigate to the name of your integration.
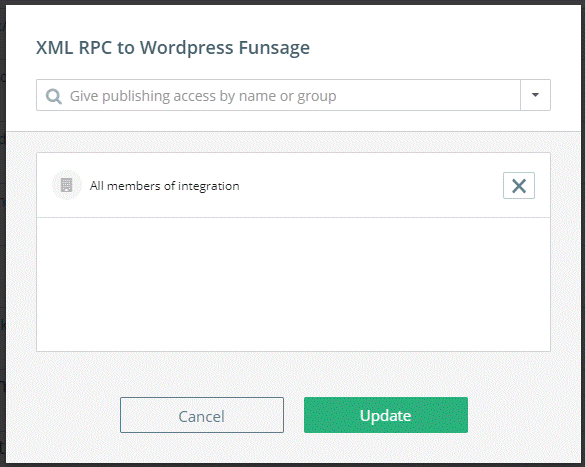
If you want to manage permissions with what accounts or groups have access to the integration, select Manage Publish Access and select the name or group to add. To remove a name or group, select the X next to their name.
To make changes to the integration connect itself, select the edit option to open the integration and make any necessary changes.
Some integrations also have an option to test the connection. Select Test next to the integration you would like to test.
Publishing
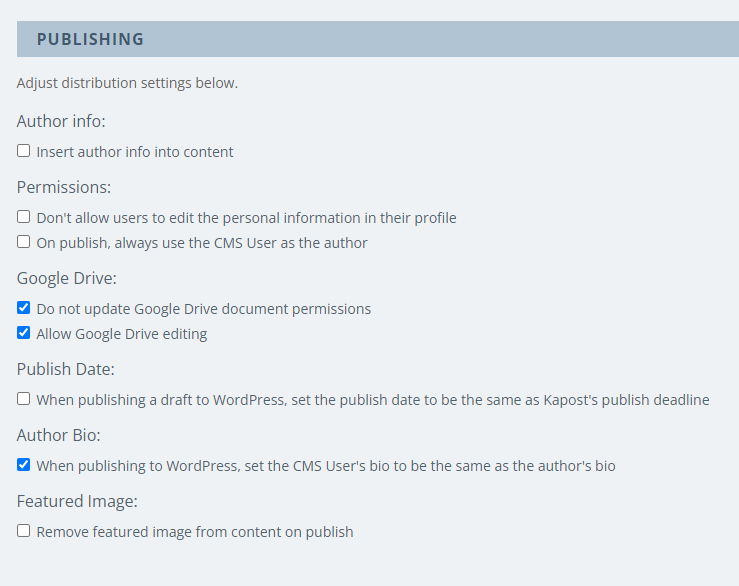
This section allows you to adjust the distribution settings when publishing to a CMS. Depending on the integrations you have selected, the options you see here may change.
Author Info
To display the author info in the content, select the Insert author info into content checkbox. Once you select this, additional options appear to customize as shown below :
-
Place username into content
-
Place bio into content
-
Place username and bio into content
Select Show in italics checkbox if you want the author info to be italicized.
Permissions
In this section, users can select the checkboxes below to adjust the profile permissions.
-
Don't allow users to edit the personal information in their profile - Used only in conjunction with Insert author info into content or When publishing to WordPress, set the CMS User's bio to be the same as the author's bio because it simply prevents the Kapost users to edit their personal information like the bio on their user profile in Kapost, thus preventing unwanted information to go over into a CMS like Wordpress.
-
On publish, always use the CMS User as the author - Whenever a user publishes to a CMS like Wordpress, Kapost will use the user connected in the App Center rather than the author/assignee of the content in Kapost.
Google Drive
In this section, users can adjust the settings and permissions related to Google Drive. To learn more, refer to Google Drive.
Publish Date
If When publishing a draft to WordPress, set the publish date to be the same as Kapost's publish deadline checkbox is selected and a draft is published to Wordpress and there is a workflow task with a task rule that says "Mark this task complete when the content is published", the publish date of the draft in Wordpress will be set to the deadline of respective task.
To learn more about Wordpress, refer to Integrate With WordPress.
Author Bio
If When publishing to WordPress, set the CMS User's bio to be the same as the author's bio checkbox is selected and a piece of content is published to Wordpress, Kapost will try and set the author's bio in Wordpress to the bio of the author/assignee of the content in Kapost.
Featured Image
The Remove featured image from content on publish checkbox must be selected only when the Wordpress theme of the connected Wordpress instance ends up duplicating the featured image after a piece of content has been published to Wordpress.