Organizing profile groups
You can also use groups to refine data analysis.
Profile groups can be dynamic or static:
-
A dynamic group is built from filtered profiles and updates when user data is added or subtracted.
-
A static group is built from data in an uploaded CSV file and does not update.
To organize profile data into groups:
For more information, see Editing profile groups.
Creating a dynamic (filtered) group
To create a dynamic group from user profiles in your company's data set:
-
Select
 Home in the left pane, and then select Groups.
 -
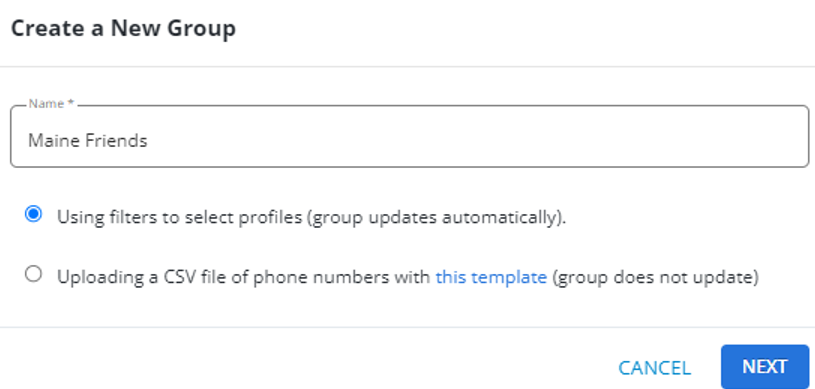
Select New Group above the Groups table.
The Create a New Group form opens.
-
Enter a descriptive name.
Note: Even though this name is available to internal users only, take the opportunity to assign a descriptive name that is meaningful to your organization.
-
Select Using filters to select profiles.
-
Select NEXT.
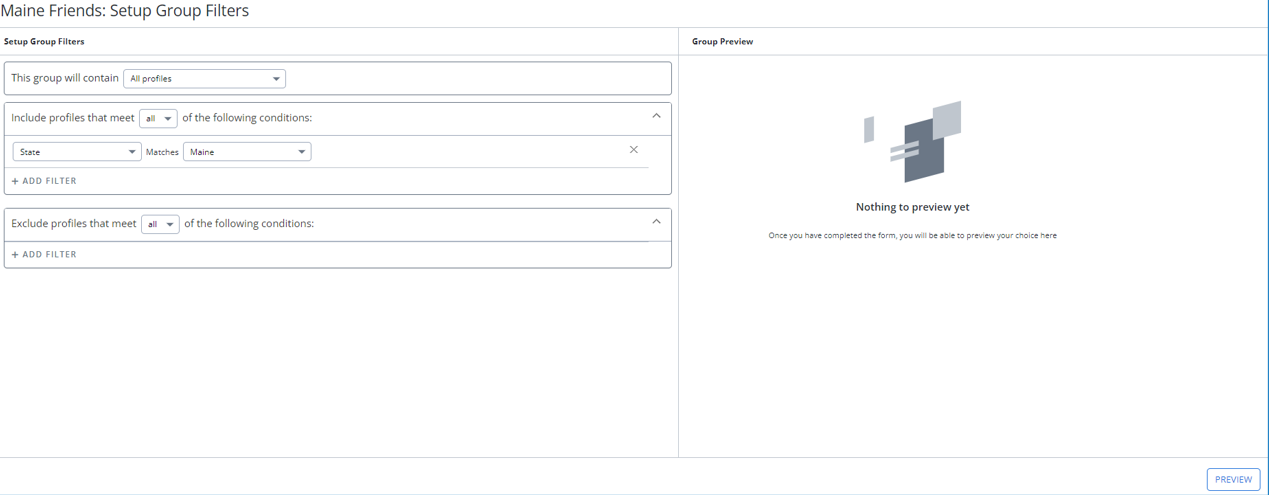
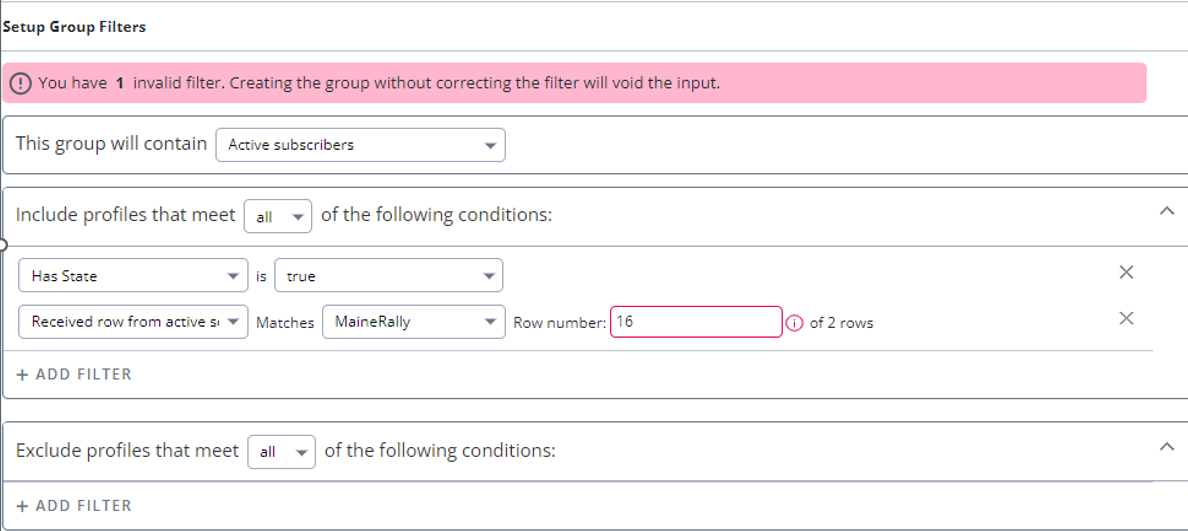
The Setup Group Filters form opens.
-
Choose the type of profiles to make up the group:
Profile type Description All profiles All profiles in your company account regardless of opt-in status. Active subscribers Only those profiles that are opted-in and subscribed to one or more active campaigns. Profiles with no subscriptions Profiles that are opted in for text messaging but not subscribed to any active campaign. (This can occur when a group of profiles is uploaded via CSV file but not subscribed to an active campaign.) Profiles with pending double opt-in Any profile that is still pending a confirmation to an opt-in message, for example:
-
Profiles with valid subscriptions to other campaigns that have never confirmed an opt-in for a different campaign.
-
Profiles that have no active subscriptions, just the pending opt-in.
Opt-outs and undeliverable phones Profiles that cannot receive text messages, for example, because the user has fully opted out of active campaigns or the phone number is a landline or has been deactivated. Declined opt-in confirmation Any profiles that interacted with an opt-in but replied No to the opt-in confirmation message, for example:
-
Profiles with valid subscriptions to other campaigns that have declined an opt-in for a different campaign.
-
Profiles that have no active subscriptions, just the decline.
Note: Individual profiles may be valid for more than one filter. When you select All profiles, though, each profile appears only once.
-
-
To filter the profiles that match the selected type:
-
Select ALL from the drop-down list to narrow the match to include every one of the filters you select.
-
Select ANY from the drop-down list to expand the match to include any one of the filters you select.
-
-
Select ADD FILTER and then select a profile field from the dropdown list. You can also filter the dropdown options by entering text in the search bar to quickly find them in the dropdown menu. To remove an added filter, click the
 remove icon available next to an added filter.
If you choose a custom field of the following types: Gender, Identity, String/Text, Age, or Number, a drop-down menu with "matches" and "contains" options are available for filtering purposes. This dropdown allows you to specify whether they want the filter to look for exact matches (matches) or partial matches (contains) within the selected field.
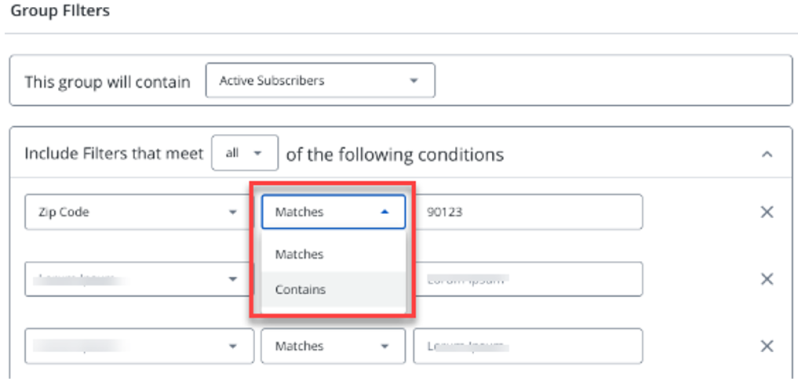
You can enter a single or comma-separated multiple values.

-
To build a filter, select an operator and then enter a value.
Tip: You can filter profiles by the political party of their elected representatives.
From the profile field drop-down list, go to the Government section, and select Political Party. Select the party to match: Republication, Democrat, or Independent, then select the position: U.S. senator, U.S. congressperson, State representative, or State senator.
-
To see the results of your selections, select PREVIEW.

You can expand and collapse include and exclude profiles sections by selecting the arrow icon available next to these sections.
You see the total number of profiles that will be included and excluded, as well as the list of profiles that will be added to the group.
If any filters are invalid, they'll be highlighted in red, and an error message is displayed showing the total count of invalid filters.
-
Adjust your selections as needed.
-
When you are done, select CREATE GROUP.
Creating a static (uploaded) group
You can create a static group by uploading profile data stored in a CSV file.
To create a static group:
-
Select
Home in the left pane, and then select Groups. -
To download a template with headers matching the fields in the profile, select CSV Template above the table.
-
Populate the CSV file with user data to add to Mobile Commons. All fields are character fields, with maximum length of 255 characters, except phone numbers, zip codes, and email addresses:
-
Phone numbers and zip codes must only contain numerical digits (0123456789):
-
Phone numbers can be any format that resembles a 10-digit US phone number (or 11-digit, if you include the leading 1). Mobile Commons will automatically strip punctuation from phone numbers, so you can input them with dashes, dots, etc., between the digits.
-
Zip codes should be 5 or 9 digits.
-
Emails should be formatted according to the RFC 5321 protocol.
Tip: Be sure to save the file in CSV format; other file types will not be accepted.
-
-
Select New Group above the table.
The Create a New Group form opens.

-
Enter a descriptive name.
-
Select Uploading a CSV file of phone numbers with this template.
-
Select NEXT.
The Upload Profiles form opens.
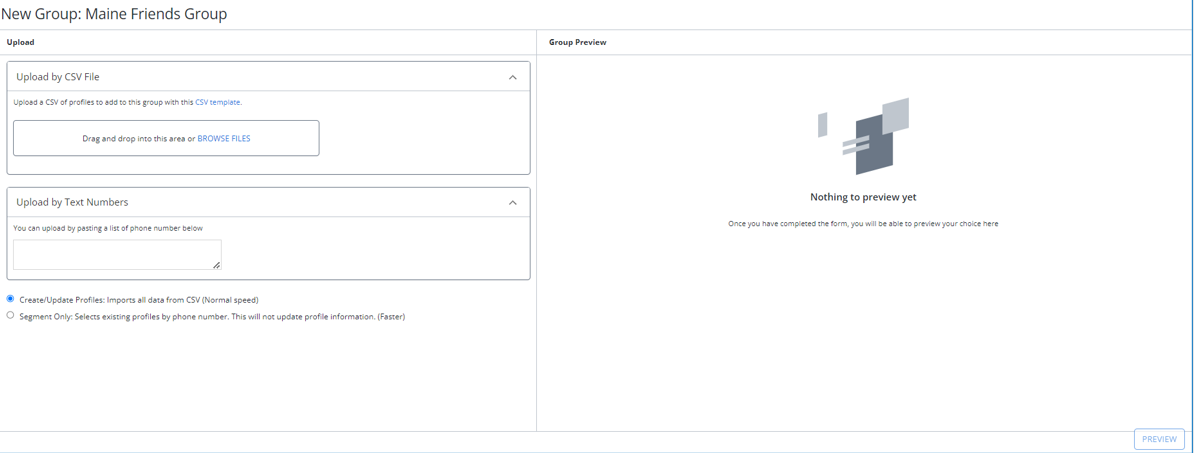
You can expand and collapse the Upload by CSV File and Upload by Text Numbers sections by selecting the arrow icon available next to these sections.
-
Select Upload by CSV File, browse files to select the CSV file to upload, and then select Open. To delete the selected file, select DELETE.

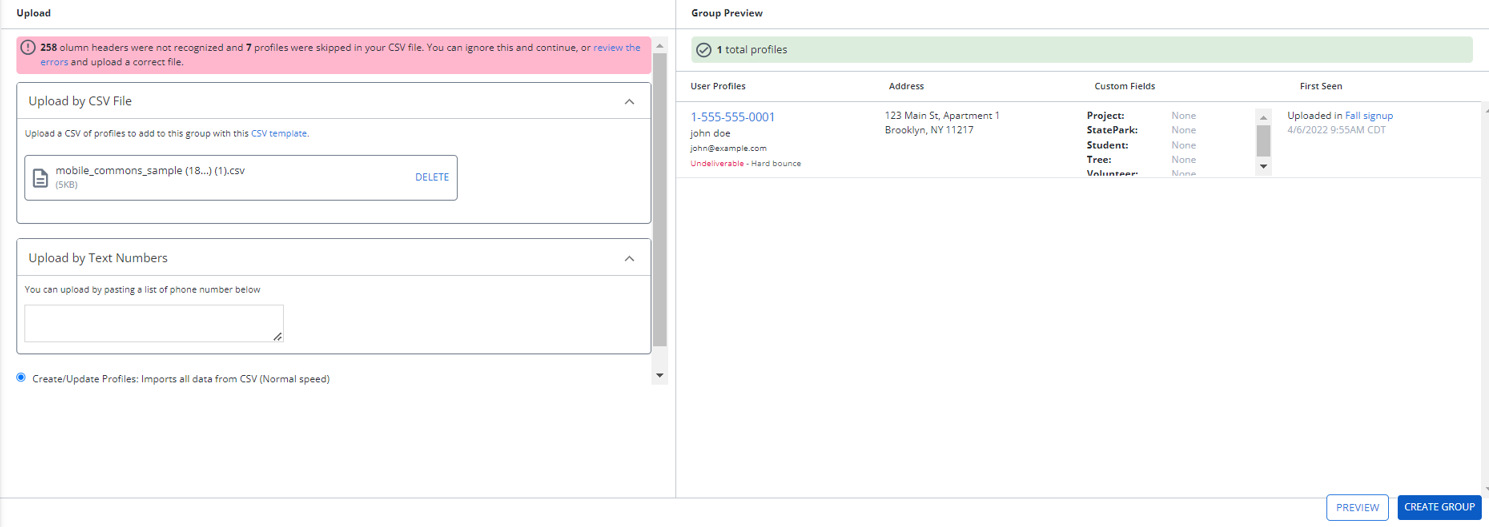
If there are any errors in the CSV file, an error message is displayed.
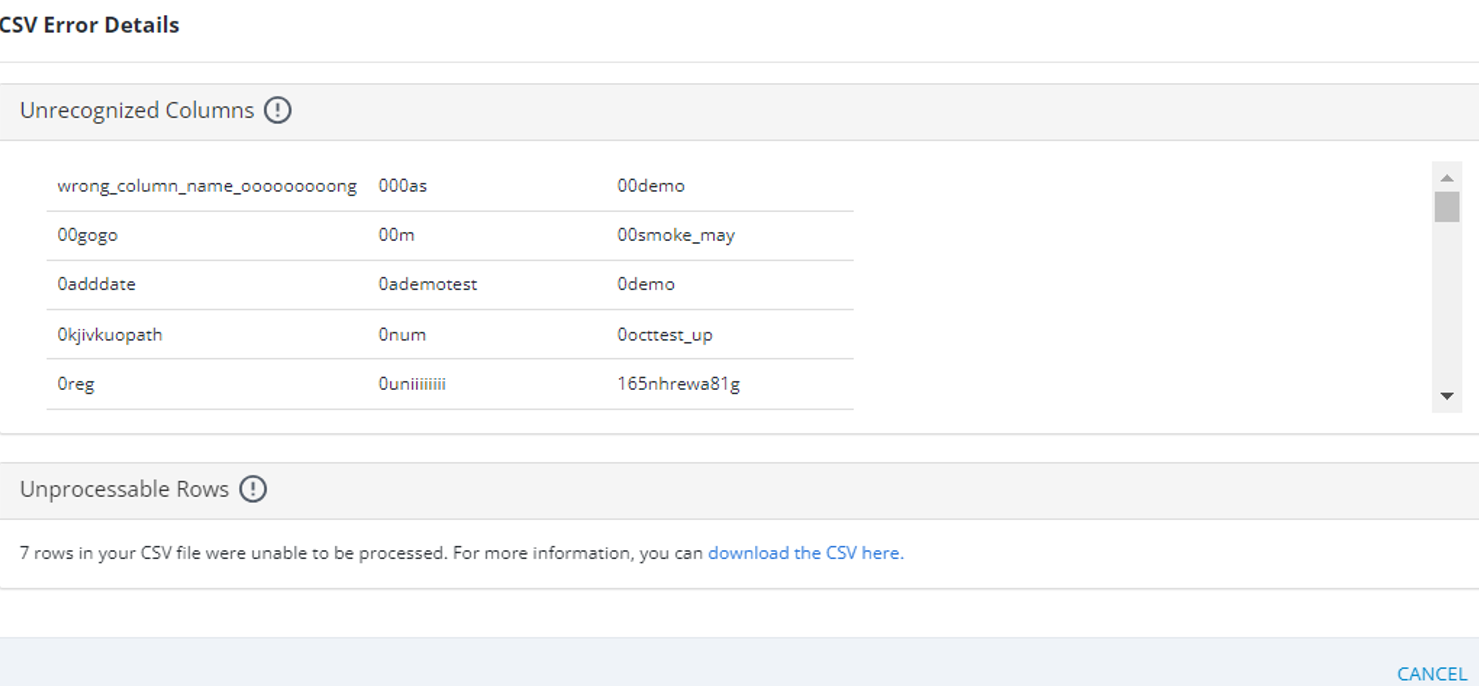
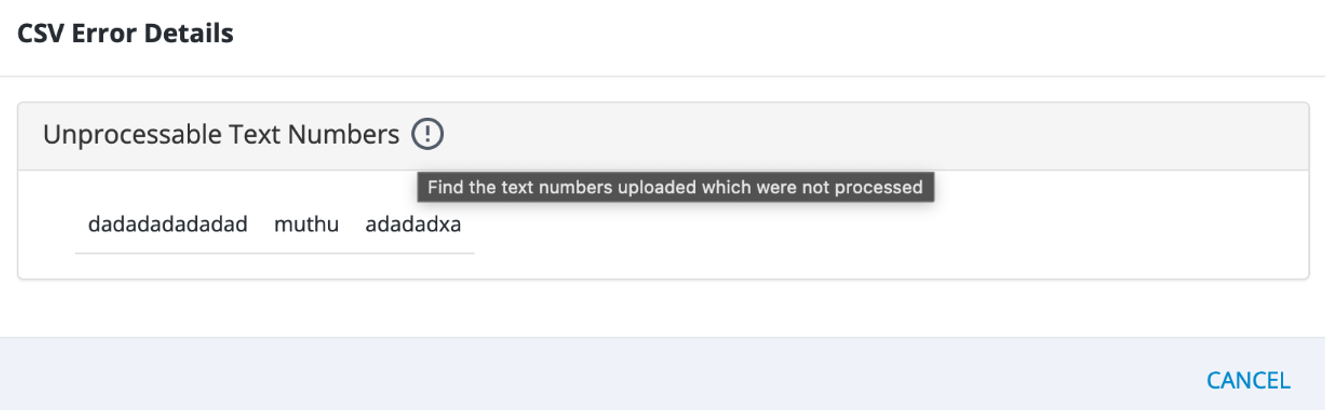
You can review the errors by clicking on “review the errors” hyperlink in the error message. This opens the “CSV Error Details” page that shows any unrecognized columns or unprocessable rows. You can download the CSV file by clicking the “download the CSV here” link available under Unprocessable Rows section to view the errors. After reviewing the errors, you can upload a correct CSV file.
Note: If you add text instead of numerical values in the “Upload by Text Numbers”, they will not be processed.
Tip: If you are uploading phone numbers only, you can paste the numbers, separated by commas, in the text box.
-
Select one of the following:
-
Create/Update Profiles to import all of the data in the CSV file.
-
Segment only to select existing profiles by phone number.
Tip: Use this option only if you are certain that all of the phone numbers are already included in your account database.
Note: You cannot create multiple records for the same phone number. If your upload file contains multiple records for the same phone number with different field values, the upload will add the data in the first row and skip the next rows.
-
-
Select Preview to see the number of profiles that will be added to the Members table for the uploaded group.
The Members table previews the profiles to be added:
Column Description User profiles List of phone numbers identifying a user, one phone number per profile.
Note: The key identifier in a user profile is the mobile phone number.
Address The user's mailing address Custom fields Any custom fields that will be populated by the uploaded data -
When you are done, select CREATE GROUP.
The new group page opens.
Creating a copy of static group
To make a copy of an existing static (uploaded) profile group:
-
Select
Home in the left pane, and then select Groups. -
Locate the static group in the Groups table, and then select the group name link.
-
In the Group Actions panel on the right, select
 Copy.
Copy.You return to the Groups table, which is filtered to include the original group only. A message in the upper-right corner indicates that the group is being copied.
-
After a few minutes, select
 Refresh in your browser to reload the page.
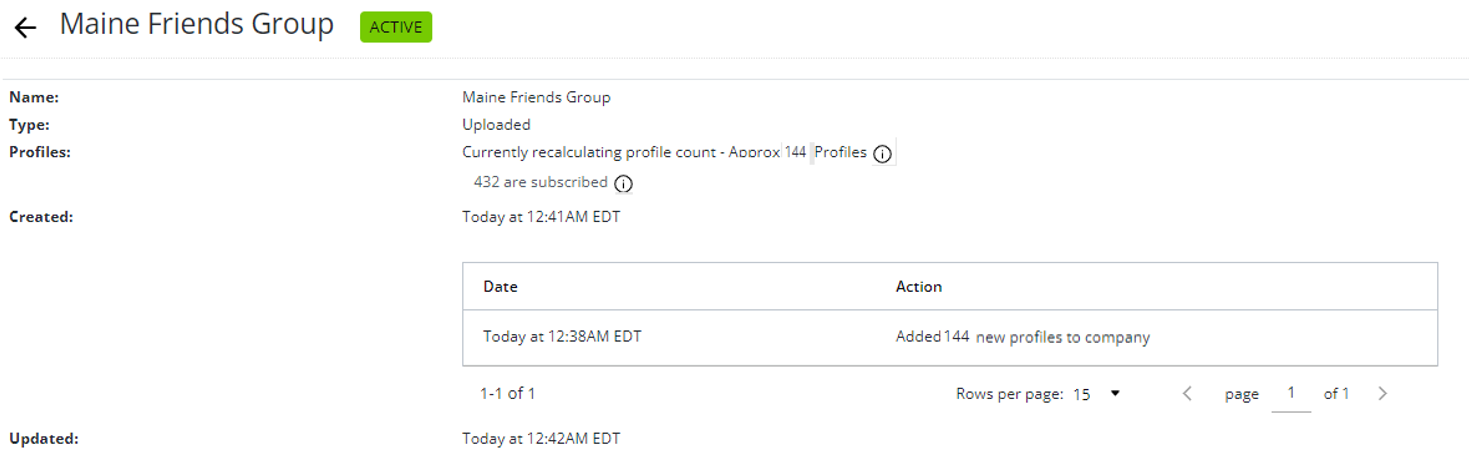
The new static group is added to the table, named groupname copy. The group record includes the number of profiles in the group, the number of profiles that are subscribed to campaigns, and the date and time when the group was created.
-
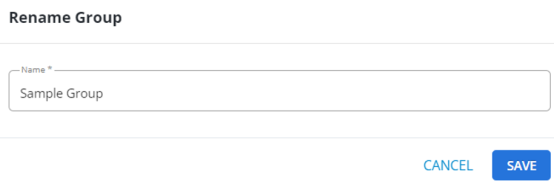
To edit the new group name, locate the copied group in the Groups table and then select the group name link. The Group Details page opens.
-
Click the
 Rename Group icon in the Name field.
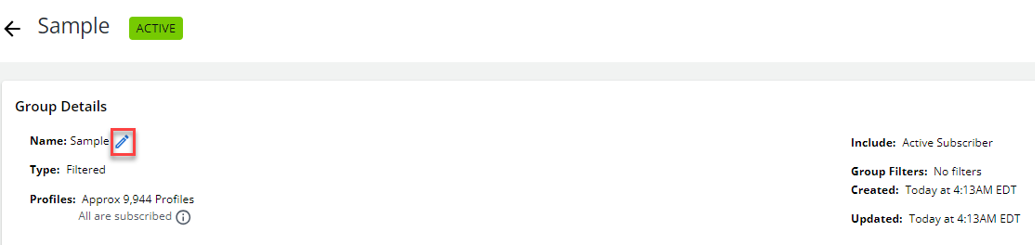
-
Enter the group name in the Name field and select SAVE.