Editing profile groups
-
For dynamic groups, you can edit the filters that select the profiles for inclusion.
-
For static groups, you can upload more profiles or remove profiles from the group.
For more information, see Organizing profile groups.
To edit profile groups:
You can also segment groups for A/B testing. For more information, see Setting up A/B testing groups.
Subscribing a group to a campaign
Caution: You may add a user or group of users to a campaign only if they had given permission to receive messages from your company, for example, if you are entering a user or group who have added their names to a sign-up sheet.
To subscribe a group to a campaign:
-
Select
 Home in the left pane, and then select Groups.
 -
Locate the group in the Groups table, and then select the group name link.
-
In the Group Actions panel on the right, select
 Subscribe to campaign.
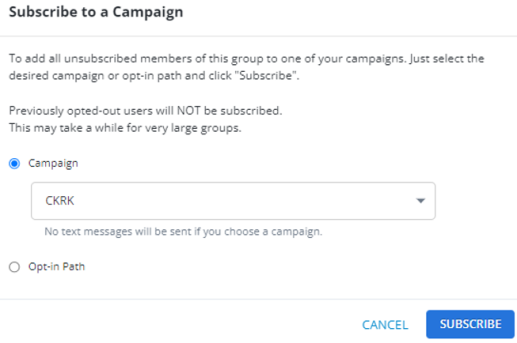
The Subscribe to a Campaign modal opens.
-
Select the radio button for Campaign or Opt-in Path. The dropdown list appears for each.
-
Select a Campaign from the dropdown list:
When you select a campaign, users in the group will become active subscribers to the campaign as soon as you select SUBSCRIBE. They will receive broadcast and message schedule messages but not the Welcome message for the opt-in path.
-
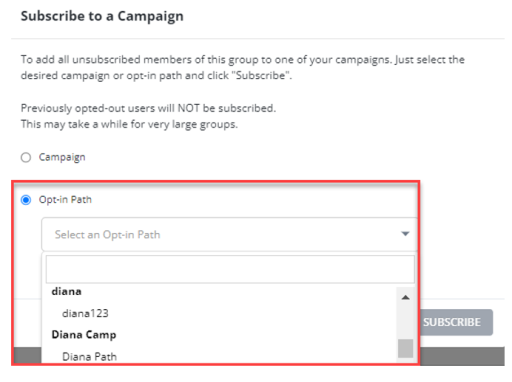
Select an opt-in path from the drop-down list:
When you select an opt-in path , which begins with a - (dash), the Welcome message for the opt-in path will be sent to users in the group as soon as you select SUBSCRIBE.
In the dropdown menu, all opt-in paths associated with the company are displayed. The opt-in paths linked to a specific campaign are listed below each campaign name, which is bolded and not selectable. The active opt-in paths related to a campaign are selectable, enabling you to identify the active opt-in paths associated with that campaign.
-
-
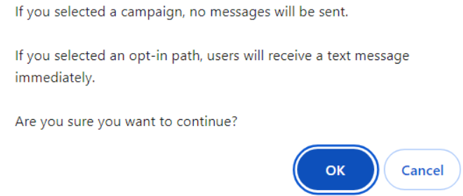
Select Subscribe. A confirmation message appears. Select OK to confirm.
Note: If a profile in the group has previously opted out of the selected campaign, the profile will not be subscribed to the campaign.
You can also subscribe a group to a campaign by sending a broadcast message to the group. For more information, see Adding a new broadcast message.
For information on subscribing an individual user to a campaign, see Subscribing a user to a campaign.
Editing the filters for a dynamic group
You can make changes to the filters for a dynamic group:
-
Select
Home in the left pane, and then select Groups. -
Locate the group in the Groups table, and then select Edit from the menu at the end of the row.
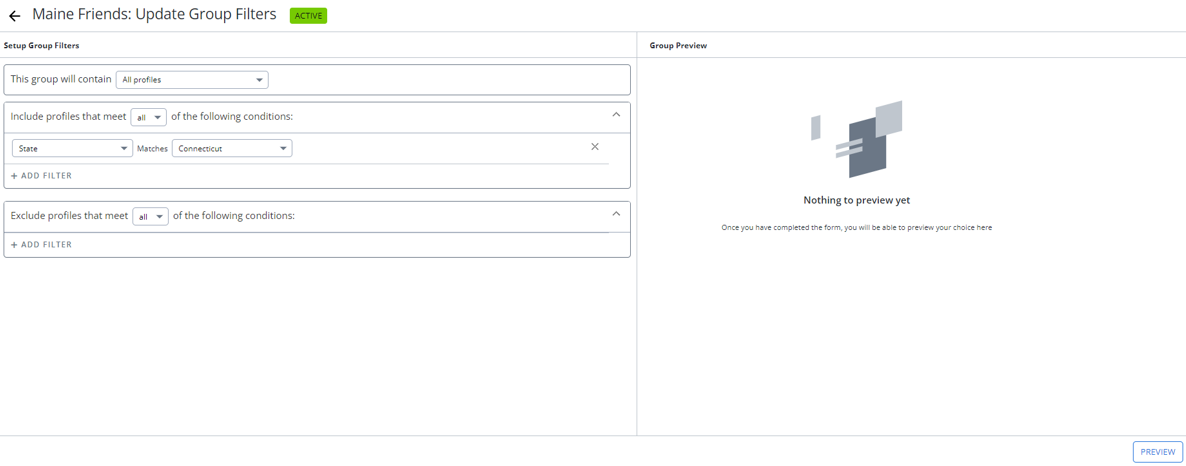
The Update Group Filters form contains your selections for the group filters.
-
Make your changes to the group filters. For more information, see Creating a dynamic (filtered) group.
-
To see the results of your selections, select PREVIEW.

-
When you are done, select UPDATE GROUP.
Adding profiles to an uploaded group
To add profiles to a static, uploaded group:
-
To identify the profiles to add, do one of the following:
-
Create a CSV file containing entries for profiles to add.
-
Collect the mobile phone numbers for profiles to add.
-
-
Select
Home in the left pane, and then select Groups. -
Locate the group in the Groups table, and then select the group name link.
-
In the Group Actions panel on the right, select
 Upload more profiles.
 -
To specify the profiles to add:
-
Select Choose File, navigate to select the CSV file, and then select Open.
-
Type or paste the mobile phone numbers into the text box.
-
-
To validate the profiles to add, select Preview Columns.
-
When all of the profiles to add have been validated, select Add to Group.
Removing profiles from an uploaded group
To remove uploaded profiles from a static, uploaded group:
-
To identify the profiles to remove, do one of the following:
-
Create a CSV file containing entries for profiles to remove.
-
Collect the mobile phone numbers for profiles to remove.
-
-
Select
Home in the left pane, and then select Groups. -
Locate the group in the Groups table, and then select the group name link.
-
In the Group Actions panel on the right, select
 Remove profiles.
 -
To specify the profiles to remove:
-
Select Choose File, navigate to select the CSV file, and then select Open.
-
Type or paste the mobile phone numbers into the text box.
-
-
To validate the profiles to remove, select Preview Columns.
-
When all of the profiles to remove have been validated, select Remove from Group.
Renaming a group
To rename an existing profile group:
-
Select
Home in the left pane, and then select Groups. -
Locate the group in the Groups table, and then select the group name link. The Group Details page opens.
-
Click the
 Rename Group icon in the Name field.
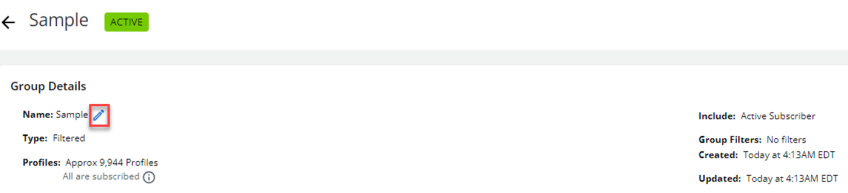
-
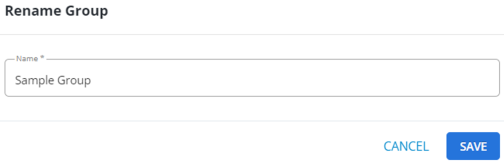
Enter the group name in the Name field and select SAVE.
Deleting one or more groups
To delete one or more profile groups:
-
Select
Home in the left pane, and then select Groups. -
You can delete an individual group or select multiple groups to delete:
-
To delete one group, locate the group in the Groups table, and then select Delete from the menu at the end of the row.
-
To delete multiple groups, locate each group in turn and select the checkbox at the end of the row, or to select all groups, select the checkbox at the top of the column. When you have selected all of the groups to delete, select
 Delete above the table.
Tip: In the menu at the end of the row, Group delete refers to removing profiles from a group, not to deleting a group.
-
-
Select OK to confirm.