Automate sample data testing
When creating flows in OL Connect Automate, you typically use sample data for development and testing. If a flow starts with a folder capture node, you can manually copy and paste one of your sample data files to that folder to trigger it. This is time-consuming, since you have to switch between the application and the file system. However, you can automate this process and trigger it directly from the flow editor. This tutorial shows you how to automate copying of sample data files into flows, using the folder capture node in OL Connect Automate.
Before starting, ensure you’re familiar with the essential concepts of OL Connect Automate and Node-RED, including editor features and flow design. See Documentation, Training, and Support for links to getting started topics and information about using samples and tutorials. Nodes shown in flow example images may display their entered names, set in the node Properties panel, instead of their default names.
Prerequisites
Files and Folders package (@objectif-lune/node-red-contrib-files-and-folders). This package provides the functionality to manipulate files and folders from within the flow. It is normally installed as part of the standard installation.
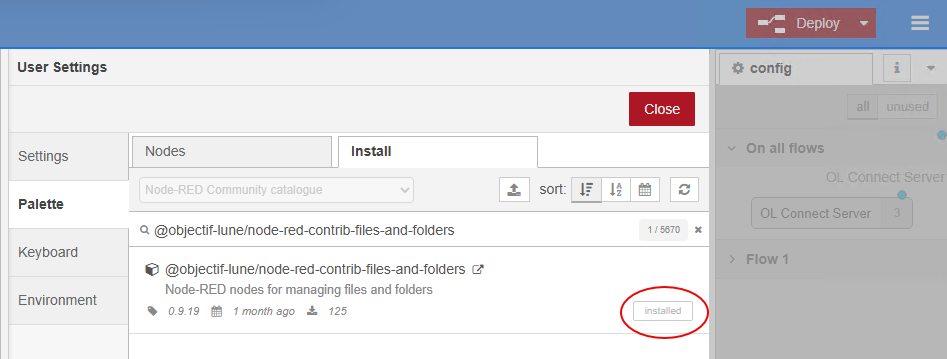
To check, or install, click the menu in the upper right. Select Manage palette, then the Palette tab on the left side of the panel. Select the Install tab, and search for @objectif-lune/node-red-contrib-files-and-folders. It will show as installed, as per the image below, or have an option to install.
Overview
The basic flow consists of two nodes: an inject node and a file operations node (from the Files and Folders package). The inject node allows you to manually start a flow by clicking its button in the editor. The file operations node is configured to copy a file from a source location to a target location.
The following image shows this flow. The file operations node is configured with two fixed paths for copying a sample data file from its source location to the folder monitored by the folder capture node for the flow you are testing.

This setup demonstrates the basic concept, but it can be improved to handle various test files and utilize a base path (or workspace folder) from a global environment variable. The latter simplifies deploying the flow across different machines.
Multiple test scenarios
The two paths can be configured in the inject node, allowing the setup to be expanded with multiple inject nodes. Each inject node can trigger the flow with a different sample data file, such as files containing varying numbers of records (e.g., 1, 10, or 1,000 records), data for testing sorting and grouping, or even an incorrect file to test error handling.
The image below shows how the inject node is configured with fixed paths for the msg.source and msg.target properties. You can add multiple inject nodes, each referencing a different sample file. Use the optional name field to give each inject node a custom label that describes the test scenario. All inject nodes link to the same file operations node.
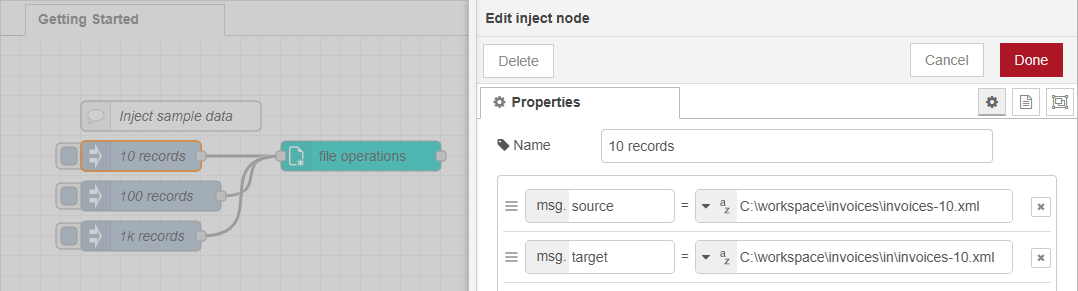
Next, configure the file operations node to copy the file from the path in msg.source to the path specified in msg.target.

While this setup allows you to test the flow with different sample files, it’s not the most efficient approach. The inject nodes contain the full path to both the source and target files, as does the folder capture node. This makes it hard to relocate the flow to a different machine where the files might be located in a different place or on a different volume. In a scenario like this, all paths must be updated manually on the respective setup.
Using Environment Variables
Global Environment Variables allow you to store and manage configuration settings or reusable values outside of your flow, making your flows more flexible and easier to adapt to different environments (e.g. development, testing, production). These variables are accessible within the flow and can be used in nodes to replace hard-coded values.
Global Environment Variables can be defined during the installation of OL Connect Automate and updated or added later. For more details, see Use environment variables in flows.
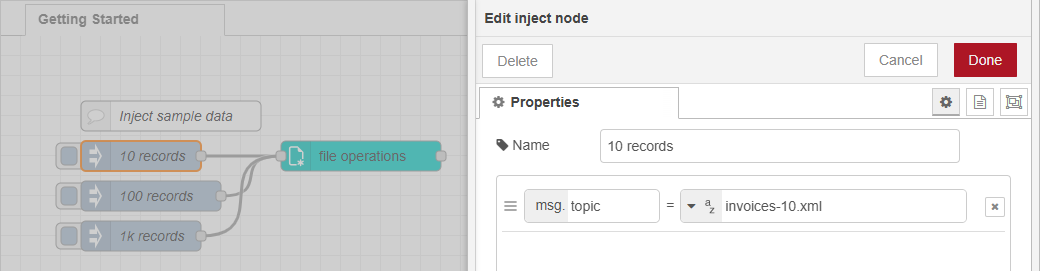
When using environment variables, the inject nodes only send the name of the sample data file. The full source and target paths are dynamically built in the file operations node, using JSONata expressions. In this example, the file name is stored in msg.topic.
In the file operations node:
-
Enable JSONata for the Source file and Target file fields by selecting
J: expression. -
Enter the JSONata expression directly in the field or click the action icon at the right side of the field (three dots) to open the JSONata Expression Editor, which includes a built-in function reference.
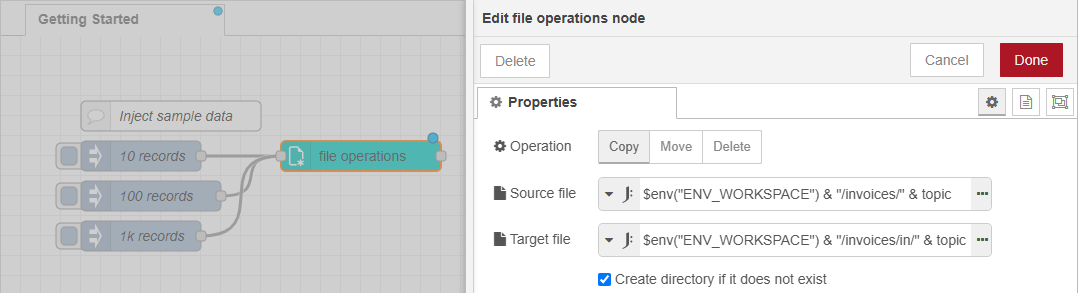
In this example, we use the $env() function to retrieve the value of the environment variable created earlier, called ENV_WORKSPACE, which stores the path to the root workspace folder. The remainder of the path is appended using the string concatenation operator (&), combined with the file name stored in msg.topic.
Therefore, the JSONata expression for the Source file is:
$env("ENV_WORKSPACE") & "/invoices/" & topic
The JSONata expression for the Target file is:
$env("ENV_WORKSPACE") & "/invoices/in" & topic
The examples used backslashes in the file paths following the Microsoft Windows format. Since OL Connect Automate is built on Node.js, you can also use forward slashes. On Windows, both forward slashes (/) and backslashes (\) work as path separators. However, when using backslashes in expressions, they need to be escaped with another backslash. For this reason, it’s often easier and clearer to use forward slashes.
Tip: Many nodes in OL Connect Automate accept JSONata expressions. For sample expressions, see JSONata expression samples