OLRP check job status
This demo highlights a sample implementation of the interactive web page that is launched by the OLRP Client (printer driver) as part of the print workflow. This is the first of three tutorials that show how to Use OL Connect Automate with OL Remote Print .
Overview
The check job status interaction flow provides a simple web page that displays a busy or processing indicator while the OL Remote Print Client (printer driver) generates the PostScript file and uploads it to the OL Remote Print server.
The web page is hosted by OL Connect Automate and is built as a self-contained HTML file. It includes:
-
The HTML structure.
-
Plain CSS styling (no CSS frameworks).
-
Embedded JavaScript for client-side interaction.
The JavaScript implements a short polling loop that repeatedly checks the status of the print job in the OLRP database.
Prerequisites
Before you begin, make sure the following are in place:
-
OL Connect Automate Automate is installed. This includes the Node-RED environment with the OL Connect Automate nodes.
-
OL Connect software is installed. The OL Connect Server and OL Connect Designer must be available on your system.
-
OL Remote Print server is installed.
-
An OL Remote Print Client (printer driver) is installed, with:
-
Interactive mode enabled.
-
URL for interaction set to
olrp/interactionfor the machine hosting OL Connect Automate. For example:http://127.0.0.1:1880/olrp/interaction
-
Flow components
The following flows handle user-facing interaction, the job status check and a test page for redirections. The nodes that comprise the flows are described in detail below.
Busy / Processing web page flow
This shows a busy or loading screen in the user’s browser when a print job is submitted through the OL Remote Print Client in interaction mode.
Endpoint - Job status flow
This flow is called by the busy page through JavaScript polling. It queries the OLRP server to check the current status of the print job.
Test page
Displays the raw job data when enabling redirection in the template node of the Busy/Processing web page flow.

Web page flow
The web page is served using a Node-Red templatenode that contains the complete HTML content, including embedded CSS and JavaScript. This approach simplifies the initial deployment by keeping everything in one place.
OL Connect Automate supports several methods for serving web content:
-
Using an OL Connect Web Template in combination with the html contentnode.
-
Serving a static HTML file directly from disk (no flow required).
-
Loading HTML from disk using the file read node within a flow.
-
Embedding the HTML directly in a template node (used in this example).
Tip: For development, it's often more efficient to load the HTML from disk using the file read node. This allows you to work in a rich editing environment like Visual Studio Code, which offers features such as syntax highlighting, live preview, and real-time editing, without requiring a redeploy of the flow after each change.
The flow begins with an http in node, which acts as the interaction endpoint triggered by the OL Remote Print Client (printer driver). In this demo, the endpoint URL is:
[GET] http://127.0.0.1:1880/olrp/interaction
This URL must be configured as the URL for Interaction during the installation of the OL Remote Print Client. When a user submits a print job in interaction mode, the printer driver calls this URL to launch the interaction flow in the user’s browser.
The flow ends with an http response node.
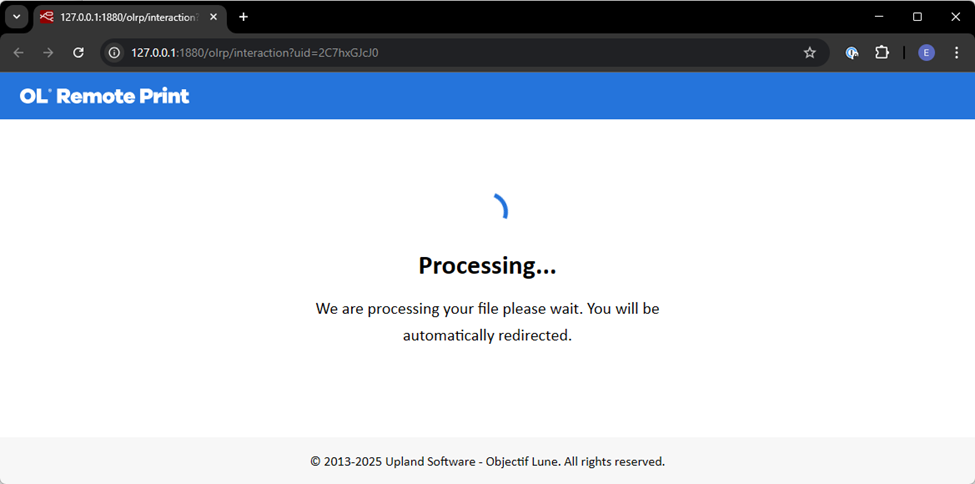
The result of this flow is a browser page showing the user a busy or processing screen when they submit a job.
Job ID handling and Status polling
The unique job identifier is passed by the printer driver as a query parameter. JavaScript embedded in the HTML (served by the template node) extracts this parameter and constructs the polling URL used to check the job status.
The HTML served by the busy/processing flow initiates JavaScript polling of the following status endpoint:
[GET] http://127.0.0.1:1880/olrp/interaction/:jobId/status
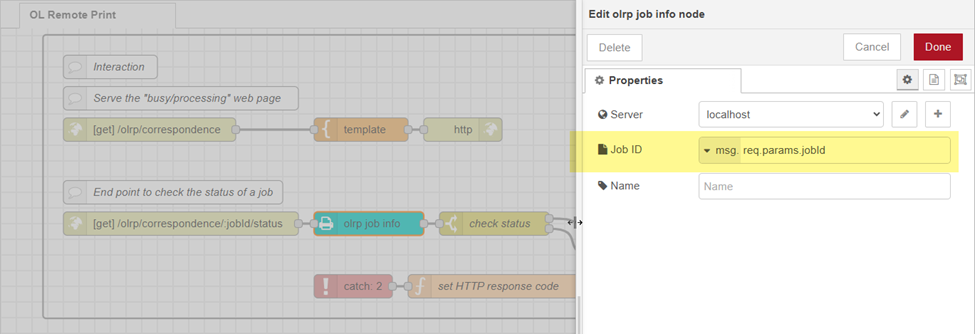
This URL is handled by a second http in node, which uses a named path parameter (:jobId) to extract the job ID directly from the URL. Named path parameters, segments prefixed with a colon, are a standard feature of the underlying Node-RED engine and are automatically mapped to the msg.req.params object.
In this case, the job ID is accessed using:
msg.req.params.jobId
Tip: You can validate these named path parameters by connecting a debug node after the http in node and inspecting the complete msg object in the debug panel.
The value is assigned to the Job ID field of the olrp job info node, which uses it to retrieve the job’s metadata from the OLRP server.
A change node performs a text condition to check if the job status is received. If this condition is true, the flow updates the status to confirmed using the olrp set status node.
Setting the status to confirmed indicates that the solution has acknowledged the job and it is now available for subsequent processing by the rest of the flow.
Error Trapping
If an error occurs, for example, if the job is not found on the OLRP server or if a request times out, the catch node is triggered. It captures the error and routes it to a function node, which defines the appropriate HTTP response code (such as 404 for Not Found or 500 for Server Error).
You can customize the behavior of the function node to suit your needs.
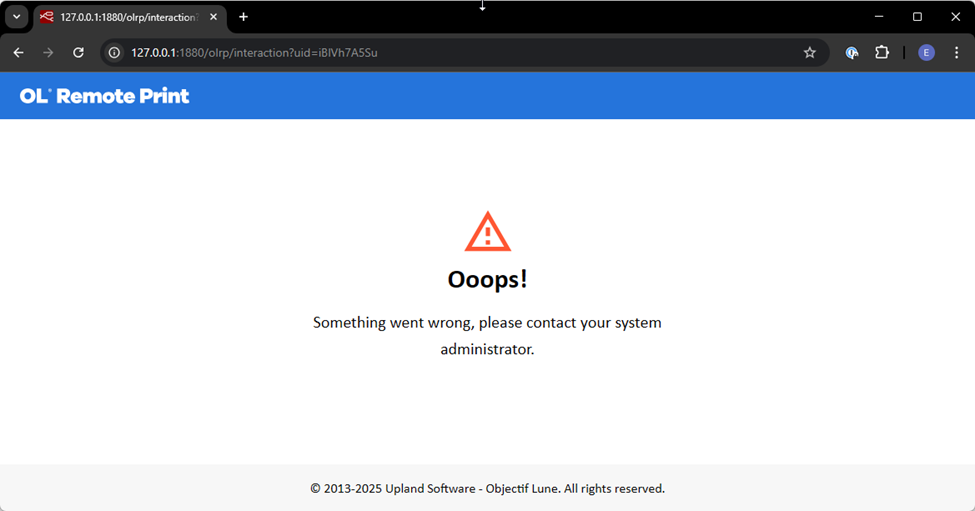
The response is sent back to the JavaScript code embedded in the web page, allowing the interface to display a user-friendly error message, as shown below. This provides basic feedback in cases of communication failure or job resolution issues.
For additional customization, see Redirect to a custom solution.