Add a Document to a Gate
Documents can either be URLs or local files on your computer. A Document can be uploaded at the work item level or tied to a specific gate. When Documents are attached to specific gates, they can be attached to gate approval requests.
Tip: While editing a Gated Project's details, the "Version Deliverable Documents on Gate Advance" checkbox can be selected.
See "Version Deliverable Documents on Gate Advance" from the Edit Work Details page for more information.
Documents can be added to gates in two ways:
To add a document to a gate through the Documents section:
Before You Start: Users require the "Add Document" Project permission on the work item in order to add new Documents to it.
-
Click the Add button on the Documents section.

-
Click the Choose Document button to browse through your computer for a document OR drag and drop a document into the dotted-line box.
Note: You can add more than one document at a time by repeating Step 2.
-
Click Add Description.
-
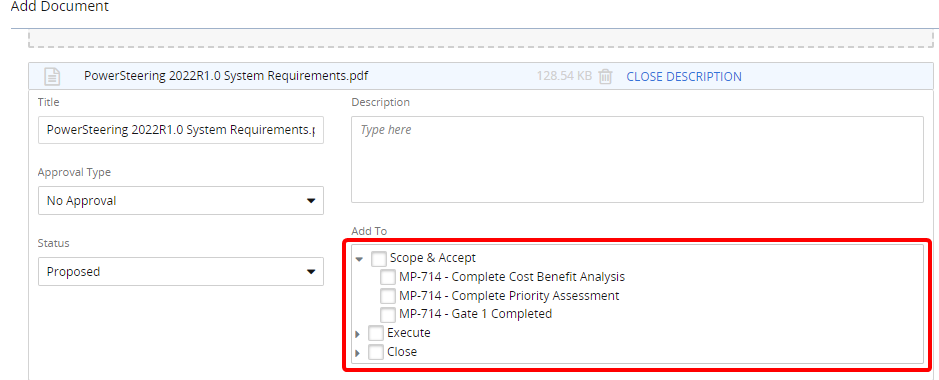
Use the checkboxes in the "Add To" field to select the gate(s) you wish to attach the document to:
Tip: Click on the arrows
 to expand the gates. This allows you to add the Document to multiple Descendants at once.
 -
(Optional) Select the "Required" checkbox if the document must be marked "Complete" before the gate can be advanced.

-
(Optional) Fill in any additional details.
-
Click the Save button.
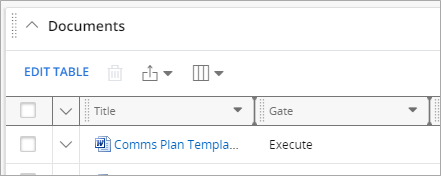
The new document should be visible in the Documents section with the corresponding gate in the "Gate" column:
To add a document to a gate through the Descendants section:
Before You Start: Users require the "Add Document" Project permission on the work item in order to add new Documents to it.
-
Click Add/Remove on the Descendants section.

-
Click the Add New button.
-
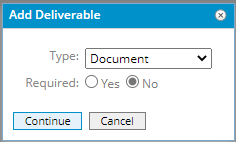
Select "Document" from the "Type" drop-down menu.
-
(Optional) Select Yes for "Required" if the document must be marked "Complete" before the gate can be advanced.
-
Click Continue.
-
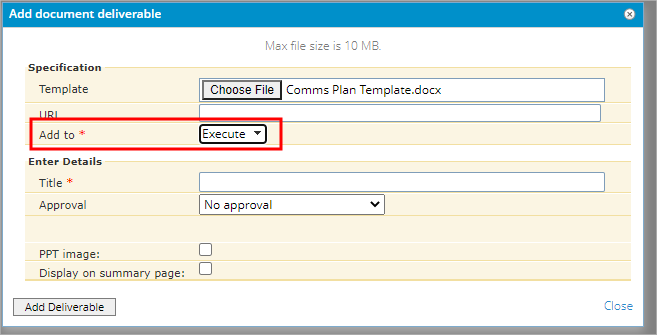
Click the Choose Document button to browse through your computer for a document OR enter a link in the "URL" textbox that links to your document.
-
Open the "Add to:" drop-down menu.
-
Select the gate(s) you wish to attach the documents to.
-
Fill in any additional fields.
Note: The "Title" field is required.
Tip:
PPT Image: If the document is an image file (.jpeg, .png, or .gif file formats), check this box if you want the image to be included in your PowerPoint project summary file. The PowerSteering Administrator must have the PowerPoint template configured to use images.
Display on summary page: If the document is an image file (.jpeg, .png, or .gif file formats), check this box if you want the image to appear in the Details section of the Project Summary page. -
Click the Add Deliverable button.
-
Click Done.
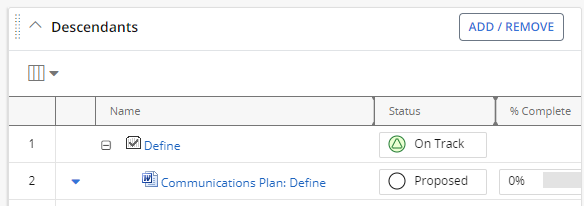
After selecting Done, the new document now appears as a deliverable under the selected gate:
