Data Extract Columns Tab
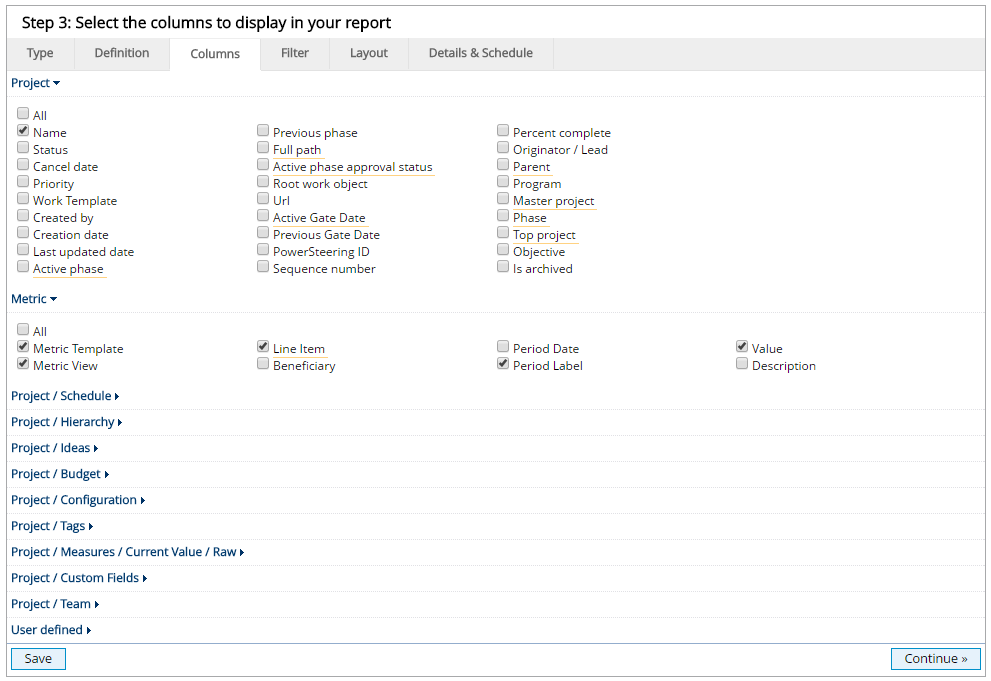
The Columns tab is used to add information to your data extract job. For every check box you select, a new column is added to your data extract job. You will have opportunity later in the process to update the name of the column header and rearrange the order of how the columns appear.
1. Click Columns Tab

- Click the Columns tab.
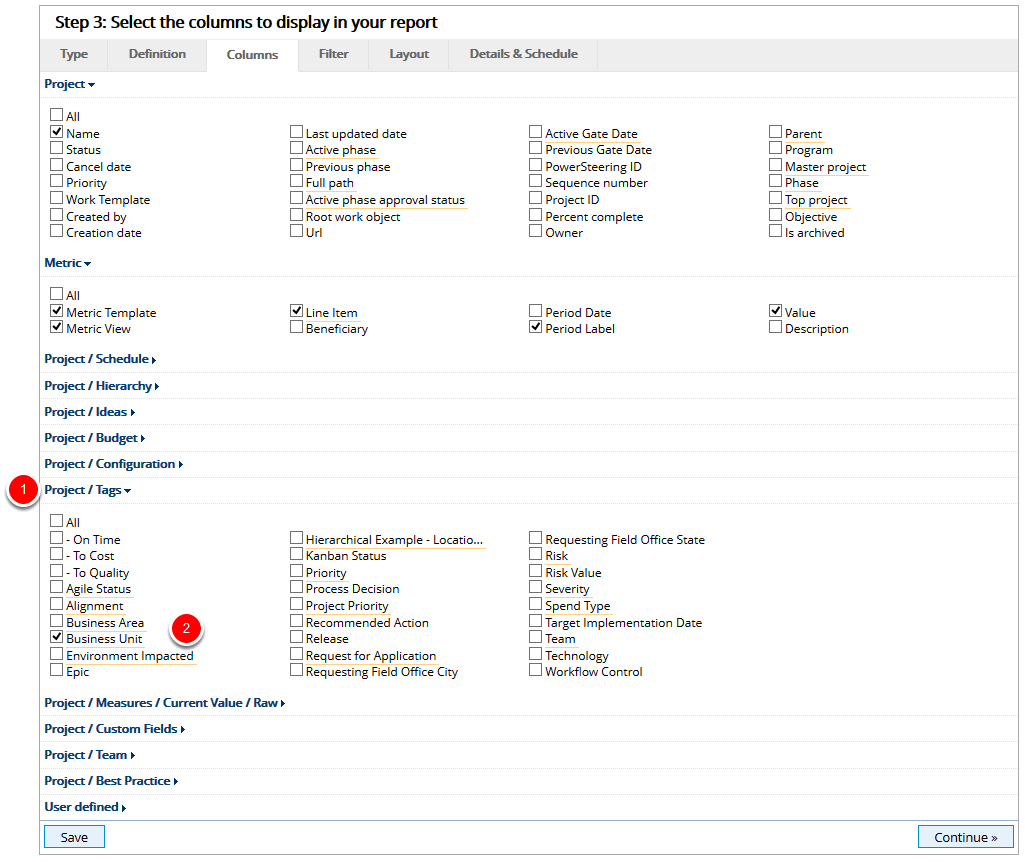
The column fields are organized by subject category under different headings that expand and collapse when selected. For example, if you want information associated with the project's tags, you would click on the Project / Tags link to view the columns and then select the check boxes associated with the information you want in your data extract job.
The User defined column options for the Data Extract work just like they do for the Report Wizard. See Add an Arithmetic Calculation to a Report, Add a Currency Conversion to a Report, and Add a Metric Value to a Report for information about these column options.
2. Select Columns

- Click on a column category heading link to expand the section and view the available columns.
- Select the check box for each column you want to add to your data extract job.
- Repeat Steps 1 and 2 until you have added all the desired columns to your data extract job.
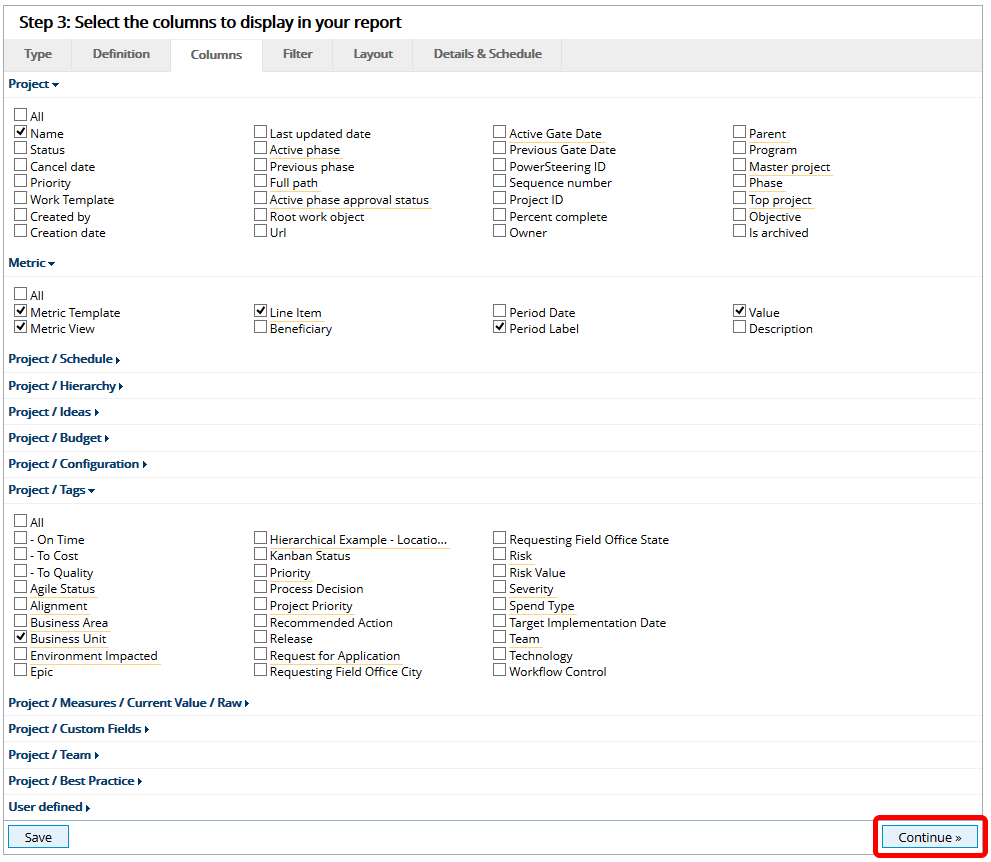
3. Click Continue or Tab

- Click Continue to go to the Filters tab, or click another tab within the Data Extract.