Collaboration platforms play an integral part in fostering a streamlined method of communication among team members.
PSA has integrated Microsoft Teams into the Project Edit. Upon configuring the integration, users with Modify right to Projects security permission (Setup > Organization > System > Security > Security Profile > Setup > Work) can then create a MS Team by clicking on the Create Team button located on the Project Edit page and add project members. The integration brings all the members of the project into one Microsoft Teams space for discussion and sharing documents.
This article details how to establish the connection between PSA and Microsoft Teams.
Note:
- The Microsoft Teams integration license in PSA must be turned on. For assistance, please contact PSA Support.
- An Application (client) ID, Directory (tenant) ID and Client Secret are necessary to establish the connection with Microsoft Teams. For more information refer to Set Up the Microsoft Teams Integration: Creating an App in Azure.
- Users with the Can Modify Microsoft Teams Integration security permission (Setup > Organization > System > Security > Security Profile > Setup > Collaboration) have access to the Configuration Settings for Microsoft Teams page wherein the connection can be established.
-
From the Icon Bar click Integrations
 .
. -
From the Navigation Menu click Microsoft Teams.
-
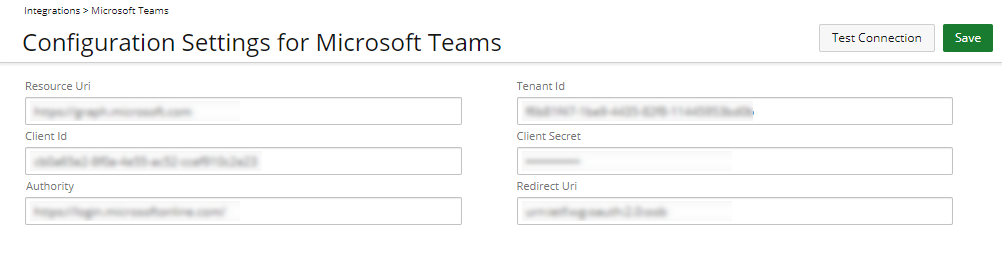
Enter the following required information:
-
Resource Uri: Enter https://graph.microsoft.com
-
Client Id: Enter the Application (client) ID as outlined in Step 2 of Set Up the Microsoft Teams Integration: Creating an App in Azure.
- Authority: Enter https://login.microsoftonline.com/
-
Tenant Id: Enter the Directory (tenant) ID as outlined in Step 2 of Set Up the Microsoft Teams Integration: Creating an App in Azure.
- Client Secret: Enter the Client Secret as outlined in Step 3 of Set Up the Microsoft Teams Integration: Creating an App in Azure.
- Redirect Uri: Enter: urn:ietf:wg:oauth:2.0:oob-PSA
-
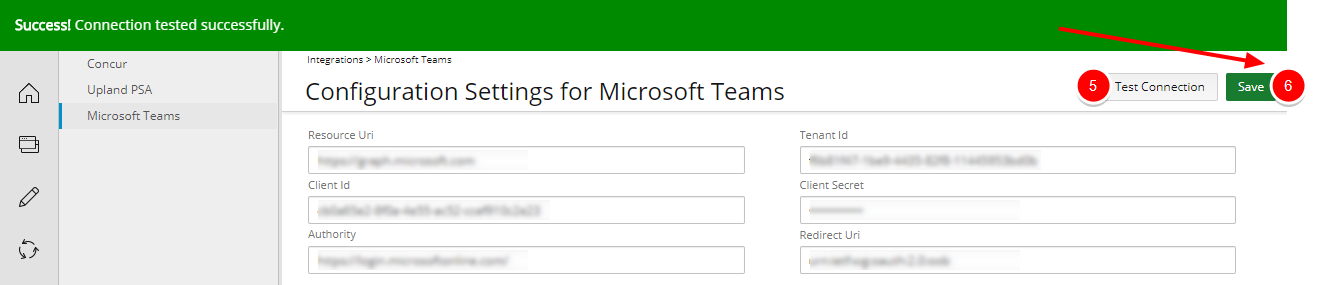
- Click the Test Connection button to verify the connection.
- Upon the success message bar displaying, click Save.